
When using wood products, it is essential the wood has been inspected to meet your requirements. For example, you may want to identify wood with knots that show cracks, a potential quality issue, so the wood can be assessed and sorted according to your needs. You may want to remove all wood that shows cracks on the sides.
You can identify wood surface defects using computer vision.
In this guide, we are going to show how to use a wood surface inspection system using computer vision. We will use a pre-trained model that can identify various features of wood, including dead knots and cracks. We will show how to connect this model to your own cameras.
Here is an example of a model identifying wood defects:

Without further ado, let’s get started!
Using Computer Vision for Wood Surface Inspection
Artificial intelligence-based systems are ideal for wood surface inspection. Such systems, also referred to as computer vision, enable you to identify the presence and location of various wood surface defects or variations.
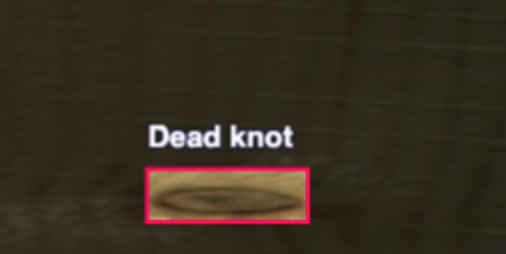
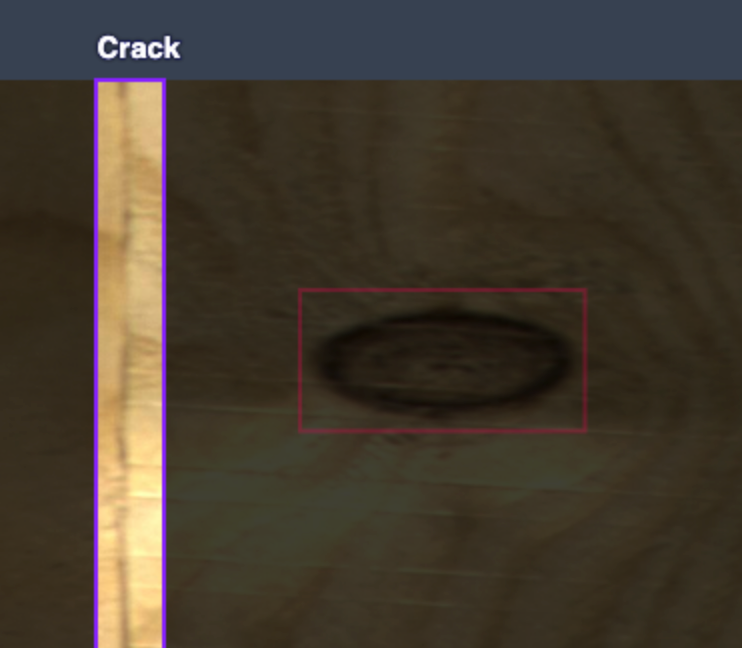
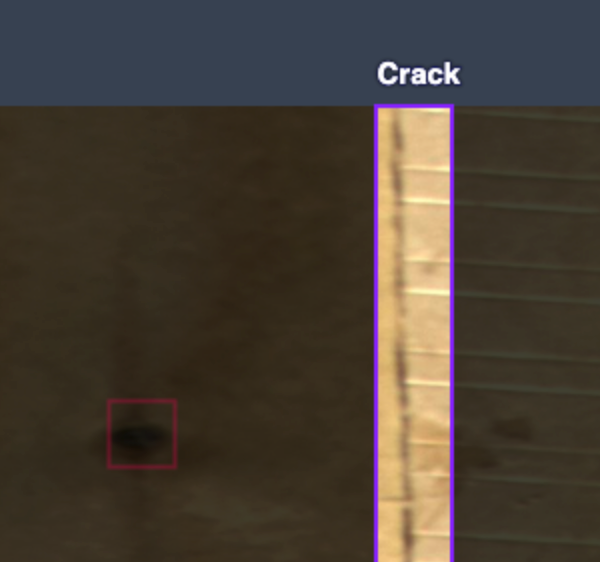
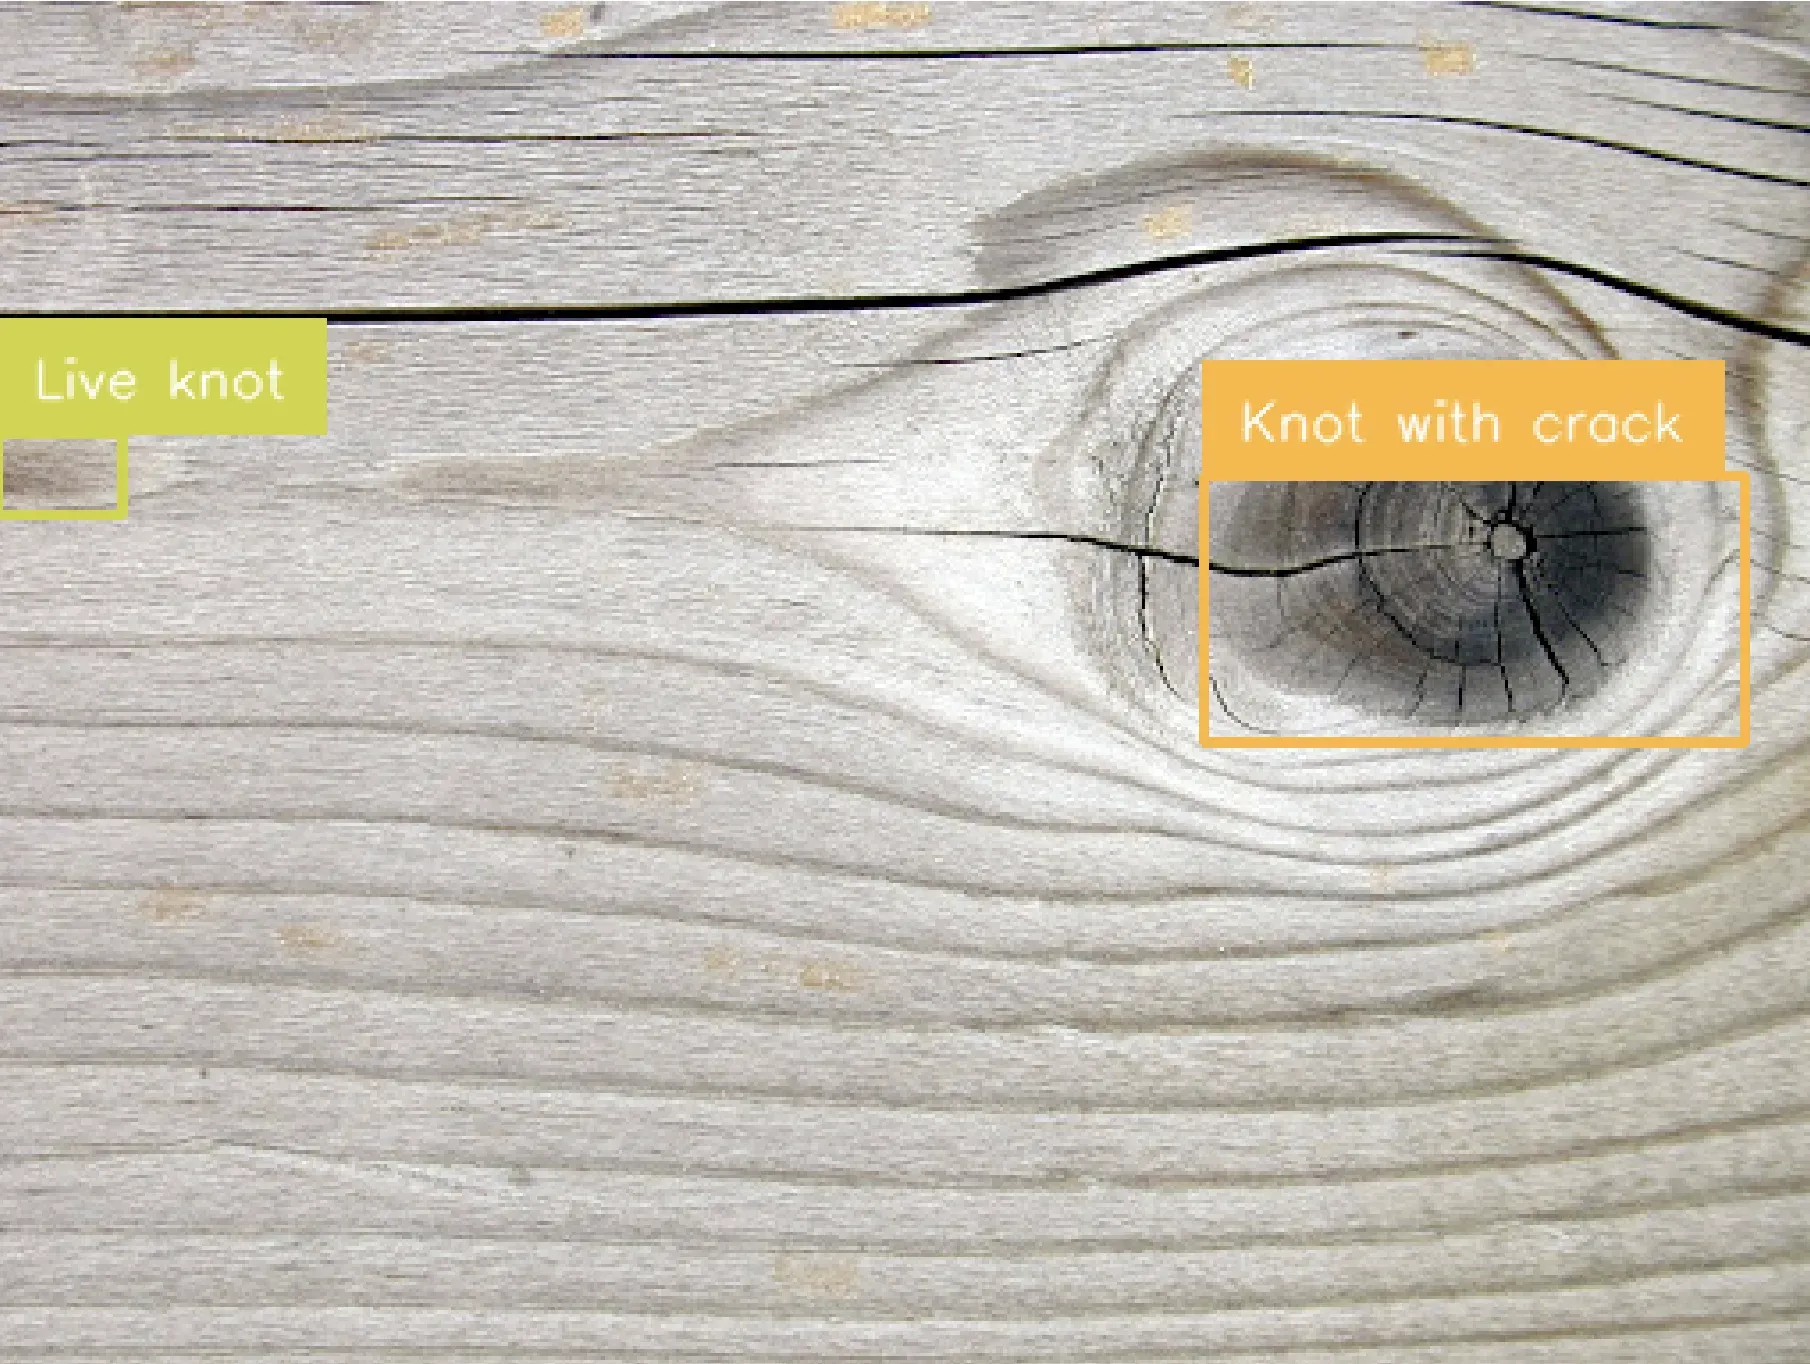
Computer vision systems are trained to identify defects of interest. This process works by labeling images and training a vision model to identify specific characteristics. In each image, you annotate the regions of interest. For example, you might annotate dead knots or cracks or the presence of resin. Here are a few images that have been labeled to teach a model how to identify such defects:
Once you have labeled images, you can train a model. This model will be able to identify defects. The more images you have labeled, the more accurate the model will be.
You can then use your model to write custom logic that integrates with your systems. For example, you may send knots with cracks for human inspection. You may reject any piece of wood with more than three knots and use the wood for a different purpose.
In this guide, we will use a pre-made model. With that said, you may want to train your own model to achieve the best accuracy for your use case. We will talk more about this process in the last step of the guide.
Deploy a Wood Surface Inspection System
Let’s walk through the steps to deploy a wood surface inspection system.
Step #1: Create a Roboflow Account
To get started, first create a free Roboflow account. You can use this account to retrieve an API key that gives you access to the wood detection model we will use in this guide.
Step #2: Test the Model
Before you deploy a model, you should test it on a few images to make sure the model is fit for purpose. Go to the Wood Detection model on Roboflow Universe. Click “Model” in the sidebar to test the model.
Drag an image that features a wood defect onto the page. The model will run on your image and results will appear on screen. If a defect – for example, a crack – is not detected, lower the Confidence Threshold in the right sidebar.
This model is trained to identify:
- Live knots
- Dead knots
- Resin
- Knots with cracks
The model can identify other classes but those are not relevant to this guide.
Here are the results of the model running on a crack that appears on the side of a block of wood:
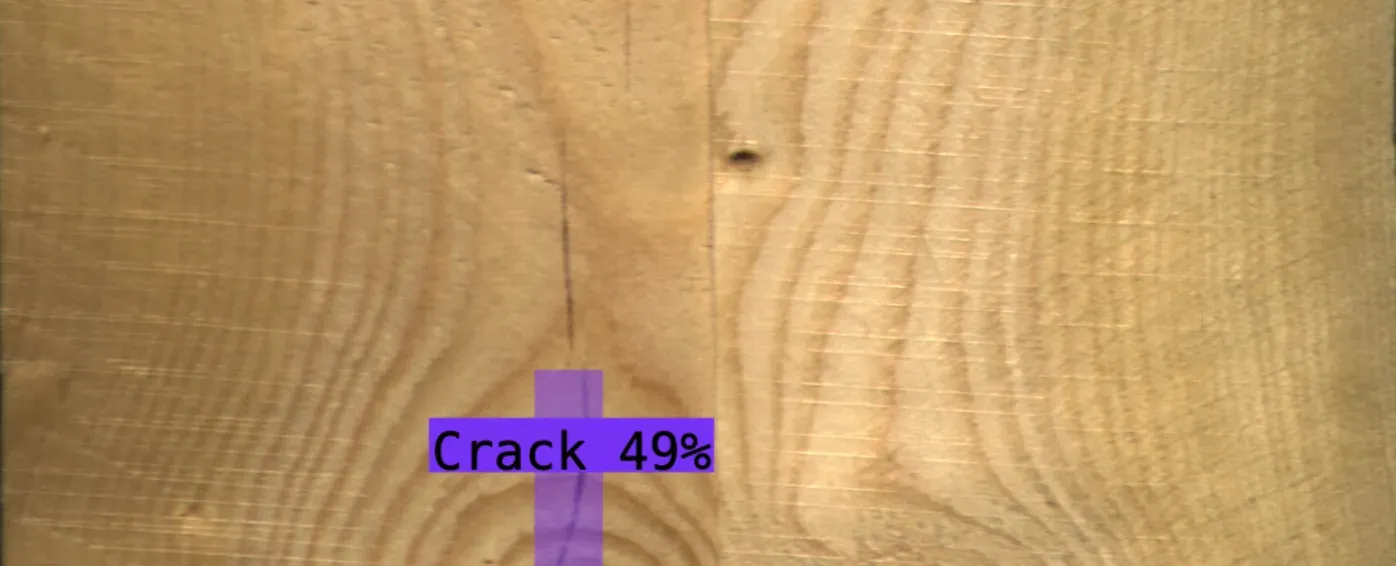
The model successfully identified the wood crack.
Step #3: Deploy the Model
You can deploy the model on your own hardware with Roboflow Inference. Inference is an open source tool for deploying vision models. Inference has been used to power millions of computer vision model API calls.
You can deploy your model on NVIDIA Jetsons, Raspberry Pis, macOS systems (ideal for testing), Windows machines, and other devices.
To install Inference, run:
pip install inferenceThen, create a new Python file and add the following code:
from inference import get_roboflow_model
import supervision as sv
import cv2

image_file = "image.jpeg"
image = cv2.imread(image_file)

model = get_roboflow_model(model_id="wood-defect-detection-jvj8f/1")

results = model.infer(image)

detections = sv.Detections.from_roboflow(results[0].dict(by_alias=True, exclude_none=True))

bounding_box_annotator = sv.BoundingBoxAnnotator()
label_annotator = sv.LabelAnnotator()

annotated_image = bounding_box_annotator.annotate(
    scene=image, detections=detections)
annotated_image = label_annotator.annotate(
    scene=annotated_image, detections=detections)

sv.plot_image(annotated_image)
In this code, we run our computer vision model on an image. We then show the results of the model on an image.
Let’s run our code on an image featuring a knot with a crack. The code will run slowly the first time while the model is downloaded for use on your device. Then, the model will run much faster.
Here are the results:
Our model successfully identified the defect in the wood.
Step #4: Write Business Logic
With a computer vision model in place, the next step is to write business logic using your model predictions.
For example, you could build an automated human review or rejection system. This system could move pieces of wood with specific defects – for example, knots with cracks – to a particular part of a facility for further review. The defect could be logged in an internal inventory management system so you can track the incidence rate of defects alongside the batch from where the wood came.
Training Your Own Model
If the model above did not work well for your use case, we recommend training your own model. Training your own model will lead to higher accuracy. This is because models perform best on data similar to the environment in which the model will be deployed.
We recommend collecting images of wood from your own facility. Then, you can build a model using those images. To build a model, you need to:
- Collect images.
- Label regions of interest (i.e. wood knots, cracks).
- Train a model.
- Deploy your model using the instructions above.
You can train the first version of a computer vision model in an afternoon.
To learn how to train your own computer vision model, refer to the Roboflow Getting Started guide. The Getting Started guide includes all the information you need to build a computer vision model.
Conclusion
You can use computer vision to identify the presence of wood surface defects and build a wood surface inspection system. In this guide, we demonstrated how to deploy a pre-made model on your own hardware. We tested the model on Roboflow Universe then used Inference to deploy our model.
Toward the end of the guide, we provided information on how you can train your own wood surface inspection model for optimal performance.
If you need assistance training your own vision model, contact the Roboflow sales team. Our sales team are experts in developing custom computer vision solutions for manufacturing and quality assurance use cases.