
Computer vision models learn best when they are trained using data that is unique and varied. Seeing objects in different ways helps a model “generalize”, which means to learn more general features that it can use to identify features in images. This is useful because it helps a model perform well when used in different locations.
The crux of a strong model is training on images representative of your use case, but you can often attain higher model performance by adding augmented images to your dataset.
In this guide, you will learn what data augmentation is, why it is important, and what augmentations are commonly used in computer vision. We will also talk about how to generate augmented data for use in training models.
Without further ado, let’s get started!
What is Data Augmentation?
Data augmentation is the process of creating permutations of existing images in a dataset to create new images. For example, you can augment an image by increasing and decreasing the brightness. This would help a model learn to better identify objects of interest in different lighting conditions. You can augment by changing the angle of the image, helping the model to detect an object at different angles.
Consider a scenario where you want to train a model to detect vehicles. Applying a brightness augmentation would be helpful because the model may be used in rain and shine; scenarios where the brightness varies. By adding the brightness augmentation, the model will have more examples of data from which to train.
Data augmentation can be applied to a range of machine learning tasks, such as audio processing and computer vision. For this guide, we’ll focus on computer vision. Specifically, we will talk about augmentation in the context of object detection, segmentation, and classification, three popular vision tasks where augmented data can improve performance.
Let’s talk about some of the data augmentation methods used for creating computer vision datasets.
What Data Augmentations Are Used in Vision?
There are a wide range of data augmentations used in computer vision, from changing brightness to adding random noise to images. Here are a few of the most common:
- Rotation: Rotate images by different degrees (i.e. 90, 180). This is useful if a model may be expected to have to identify objects that are at an angle. A common augmentation to apply is a 90 degree rotation.
- Random crop: Crop an image at a random position. This may result in cropping through an object, which allows a model to better learn how to identify objects that are not fully in view.
- Exposure: Increase or decrease the brightness in an image. This is useful if a model is likely to be used in areas with different lighting.
- Blur: Apply a blur effect to an image.
- Flip: Flip an image up to down or left to right. This augmentation should be avoided if you are recognizing text.
- Saturation: Change the intensity of color in an image. This augmentation is useful if lighting conditions may vary in your production environment.
- Random noise: Apply white and black pixels across an image. This makes the image “fuzzier”.
- Mosaic augmentation: Combine different images together. Particularly useful for aerial imagery projects.
Augmentations can be applied to a whole image or, in object detection, a bounding box. A bounding box is a region of interest in an image that contains an object you want to identify.
Data Augmentation Best Practices
With your newfound information of augmentation, you may be wondering “how can I use augmentation to expand my dataset and create a more robust model?” Great question!
The best place to start is to train a model without any augmentations so you can develop an understanding of how your model performs with the underlying dataset.
If your model performs poorly without augmentations, it is likely there are other problems you need to address with your dataset. Asking questions like “are the images in my dataset representative of my use case?” and auditing the quality of labels will help address dataset quality issues.
Once you have trained a first version of your model and you are content with your dataset, you can start to apply augmentations.
Augmentations come in two varieties: color-based (photometric) and geometric based. Color-based augmentations (i.e. contrast, altering saturation, and changing brightness) rarely decrease performance when applied correctly. For example, randomly changing brightness by 5% in either direction is a very safe assumption in most cases, and you should consider doing more if simulating a dark room.
Given color-based augmentations are unlikely to reduce performance when applied logically (that is, an image preview that could occur in a real world setting a user is aiming to emulate), we recommend applying many/all of these at first go vs step-by-step.
For geometric augmentations (i.e. rotating, shearing, cropping, and flipping images), we recommend being selective and testing. More geometric augmentations is not always better.
The most appropriate augmentations for a dataset vary depending on what you are trying to identify.
How do you know what augmentations to apply? Take a look at the list above and ask whether each augmentation is likely to have an impact on model performance based on our description.
Above all, experiment! Think about which augmentations may have an impact, test and evaluate their impact, then make a decision about what augmentations to use in training a version of your model for use in production. Start with color-based, then graduate to geometric augmentations.
How to Generate Augmented Data
You can build custom scripts, use open source libraries, or use software like Roboflow to augment your data. Roboflow’s dataset versioning features allow you to keep track of different versions of your dataset. Augmentations are applied to a dataset version rather than your underlying dataset, so you can easily experiment with different augmentations.
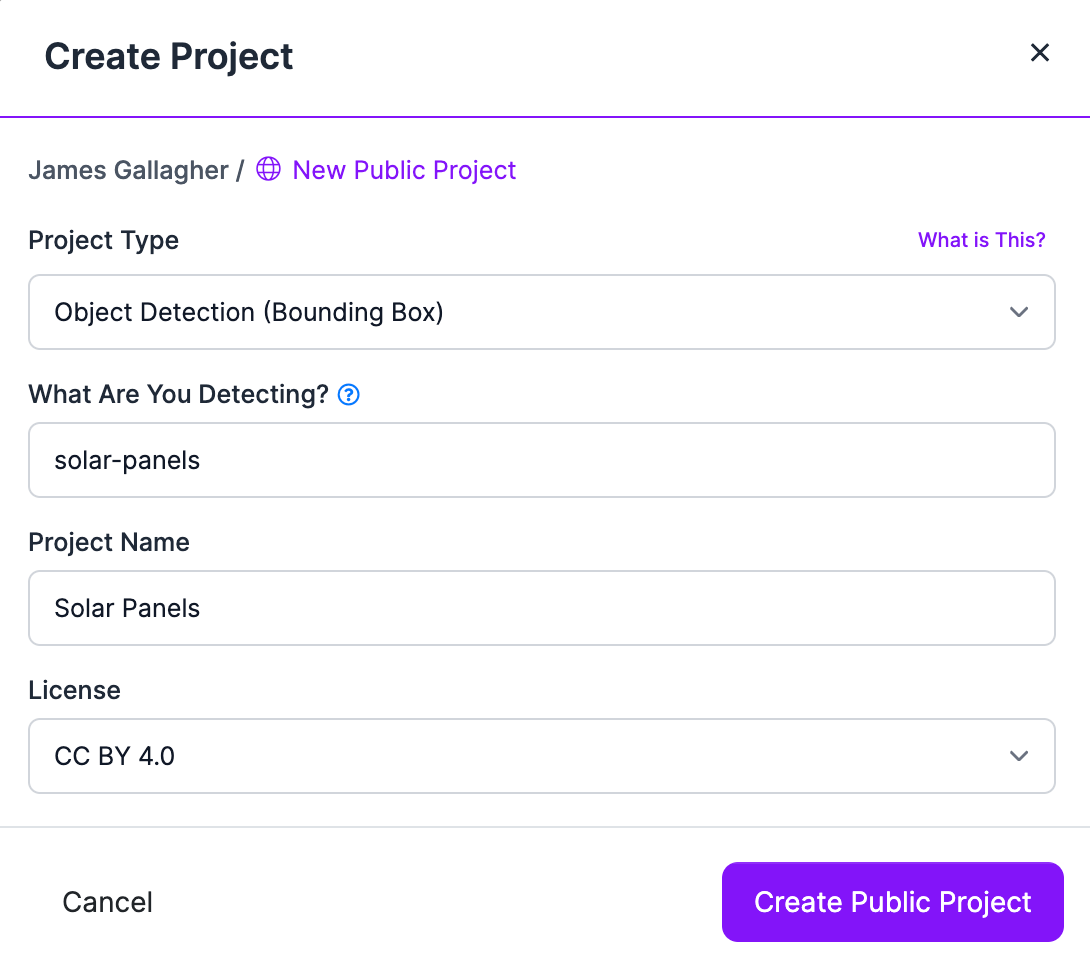
To augment data with Roboflow, first sign up for a free account and follow the in-app onboarding. Then, click the “Create New Project” button on the homepage. Choose a name for your project and select the task type for your project (detection, classification, segmentation):
Once you have created a project, upload your images to Roboflow. You can do so by dragging and dropping a folder of images. If you have not yet labeled images in your dataset, you can label them in Roboflow Annotate.
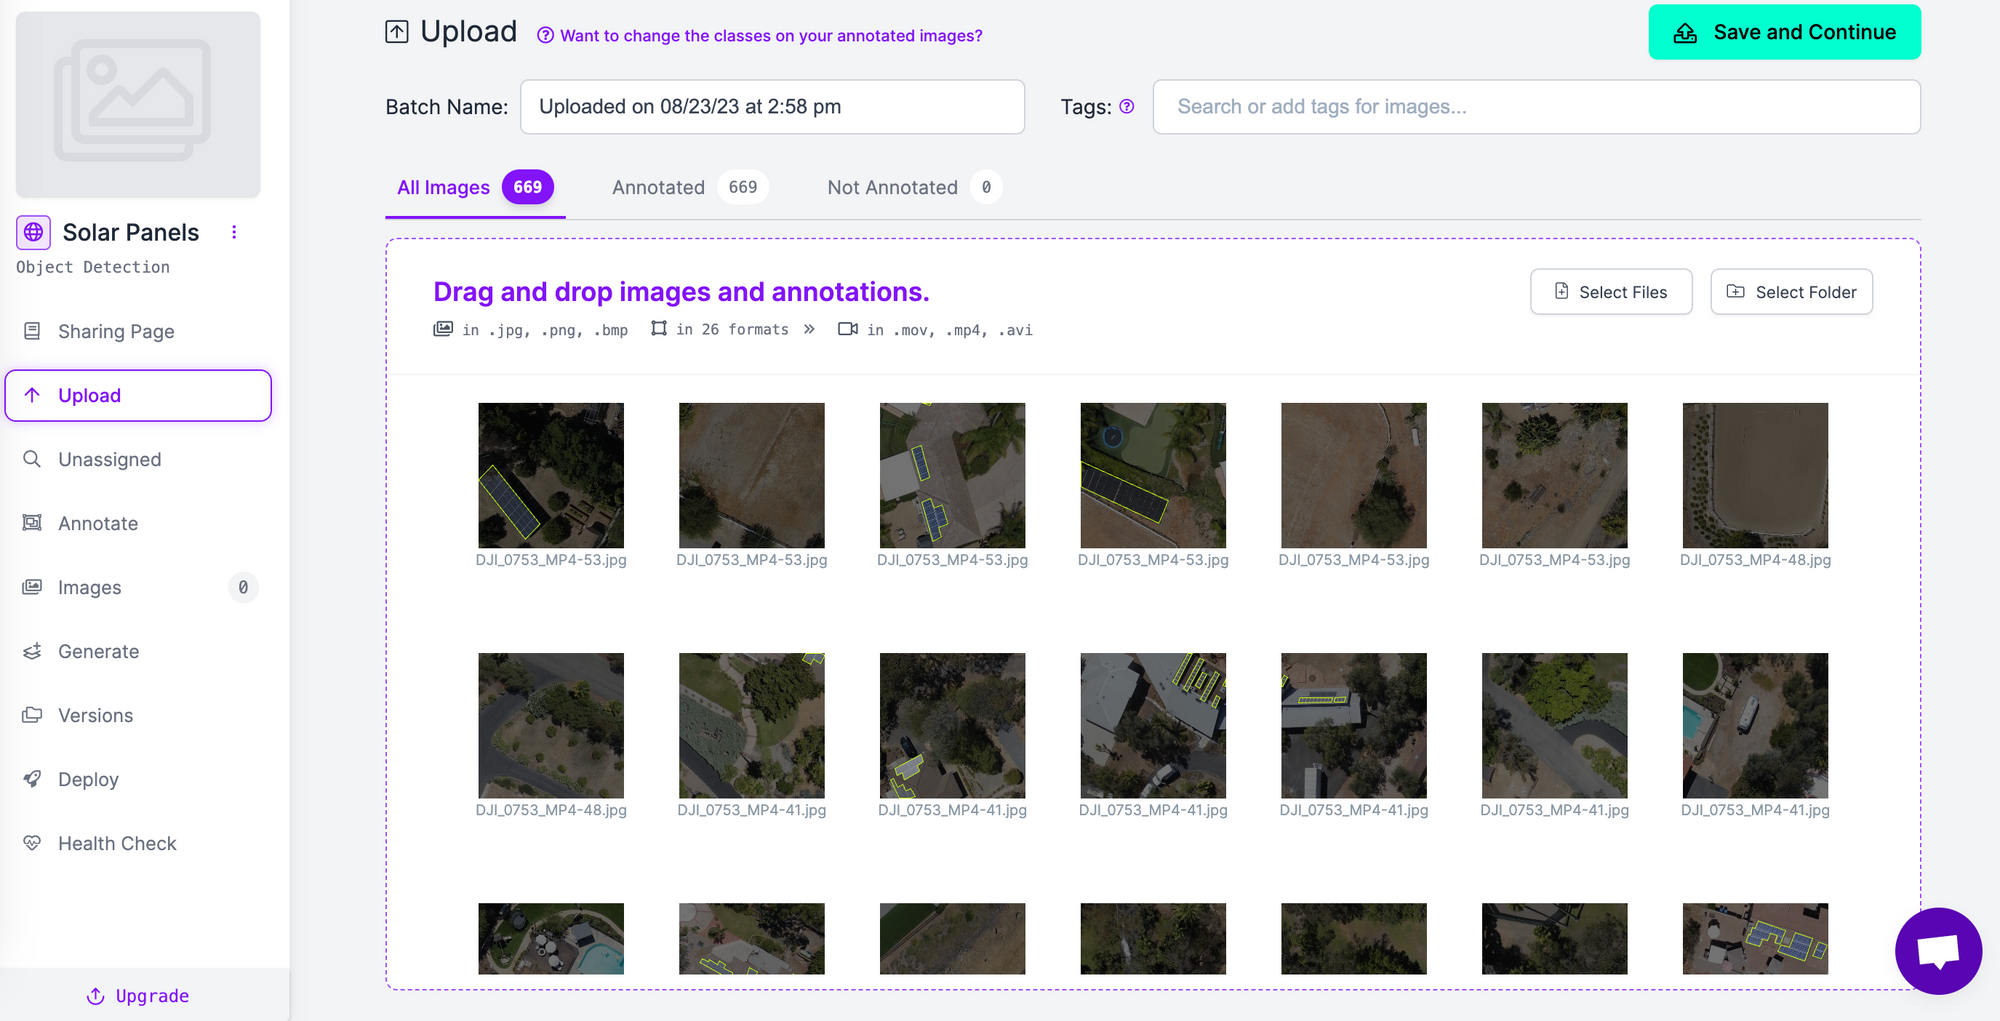
Click the “Save and Continue” button in the top right corner, then wait for your images to upload. This may take a few moments depending on how many images are in your dataset.
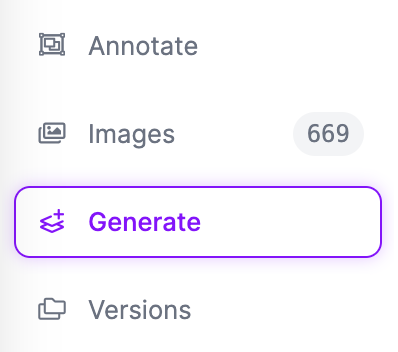
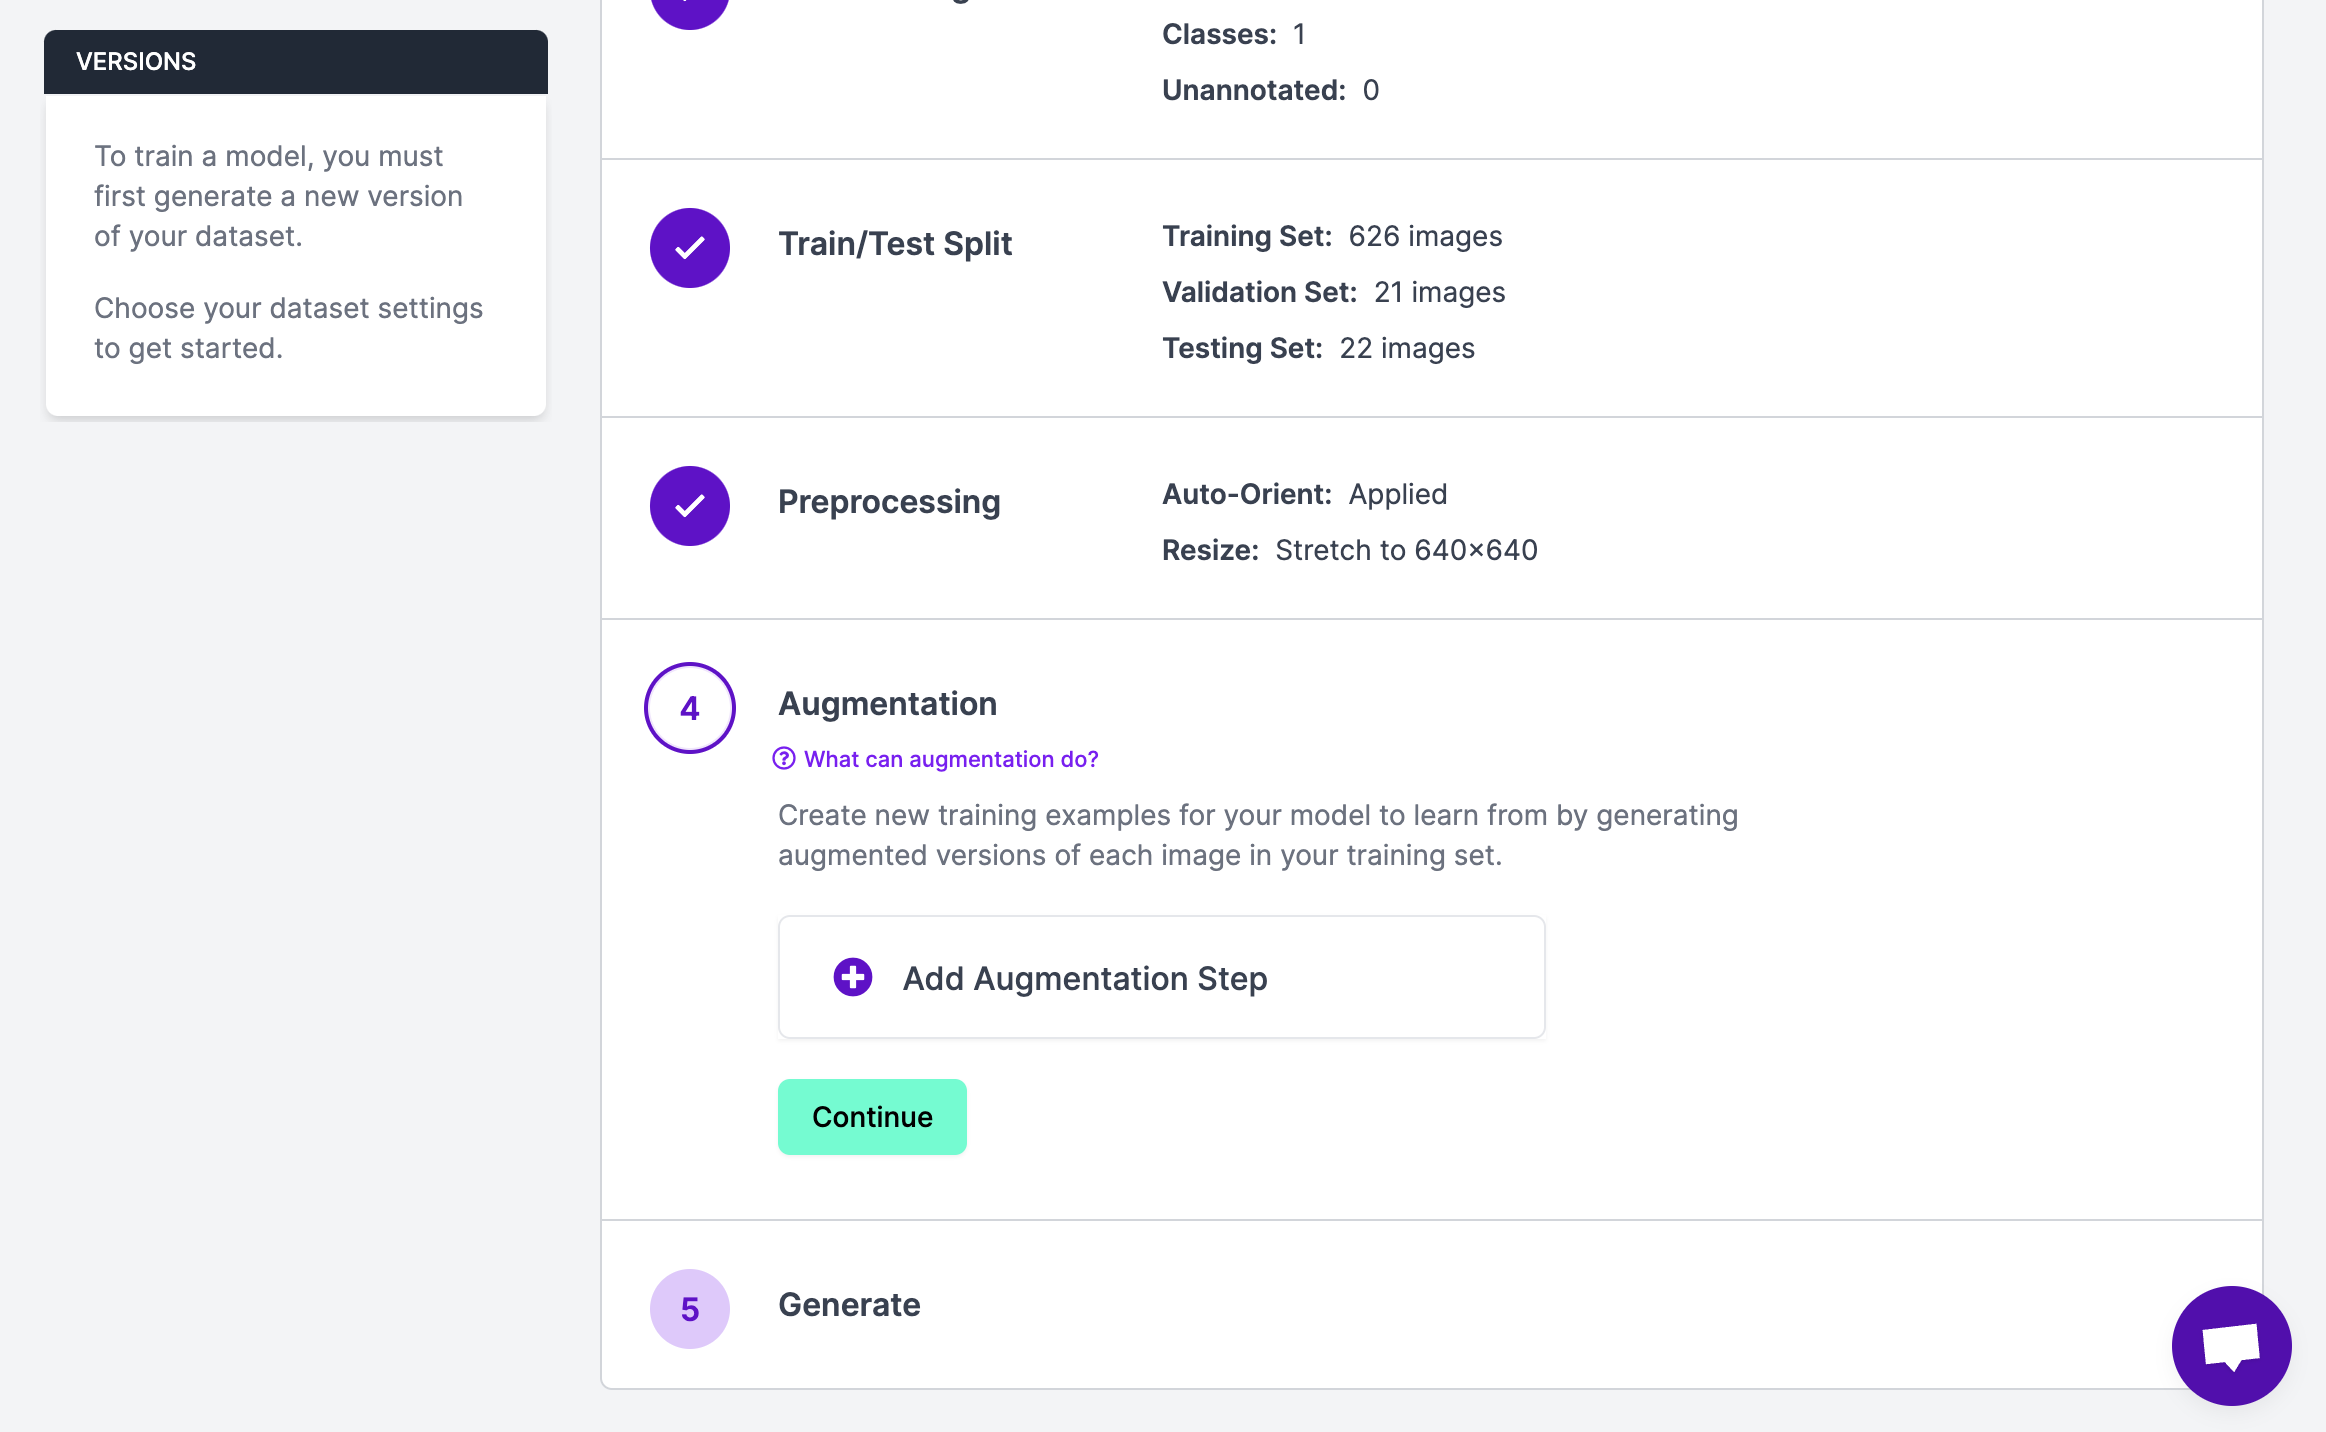
Once you have uploaded your images, click the “Generate” link in the Roboflow dashboard sidebar:
This will take you to a page where you can apply both augmentations and data preprocessing steps:
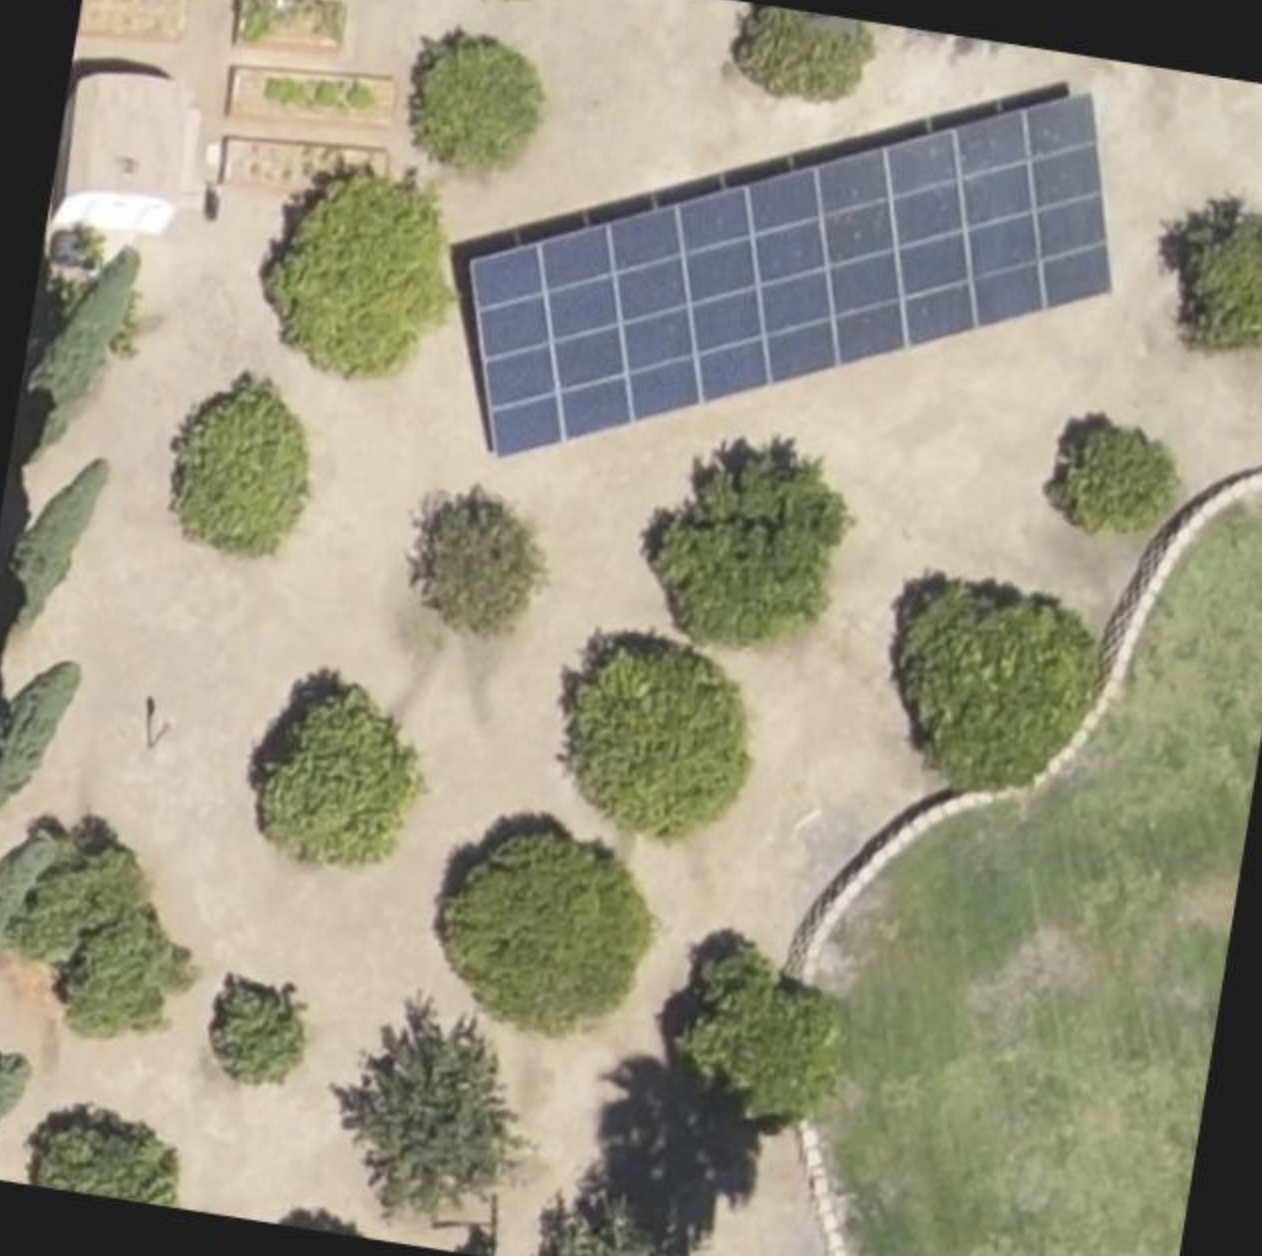
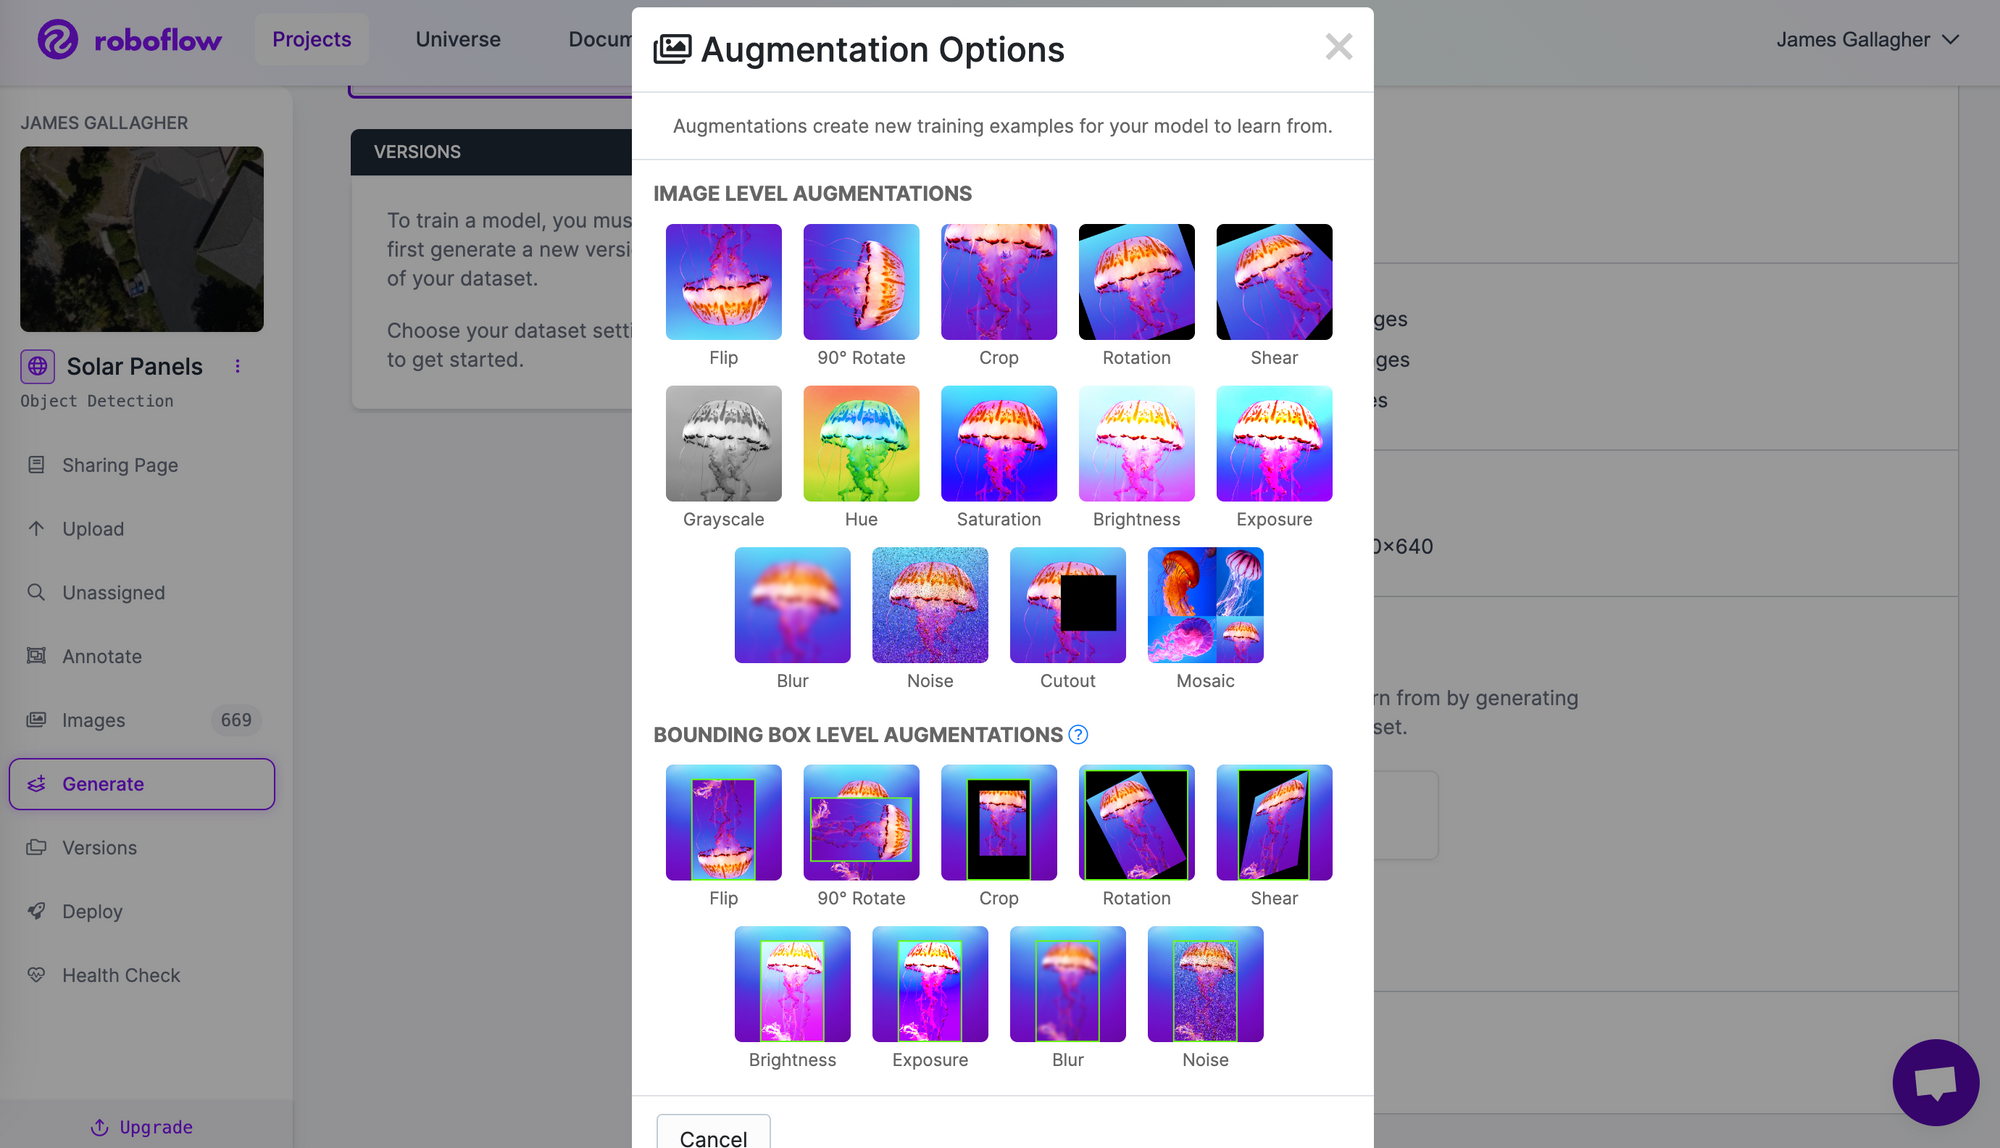
For this guide, we are working with a solar panel dataset. Applying a brightness augmentation makes sense because the aerial imagery in the dataset may feature houses in dark and light conditions. We can also apply a mosaic augmentation, which will merge different images together. This augmentation is commonly used in aerial imagery datasets. We could add a noise augmentation, as there may be noise occluding objects of interest (birds, parts of trees, etc.).
To apply an augmentation, click the button to add an augmentation. A window will pop up from which you can choose different augmentations:
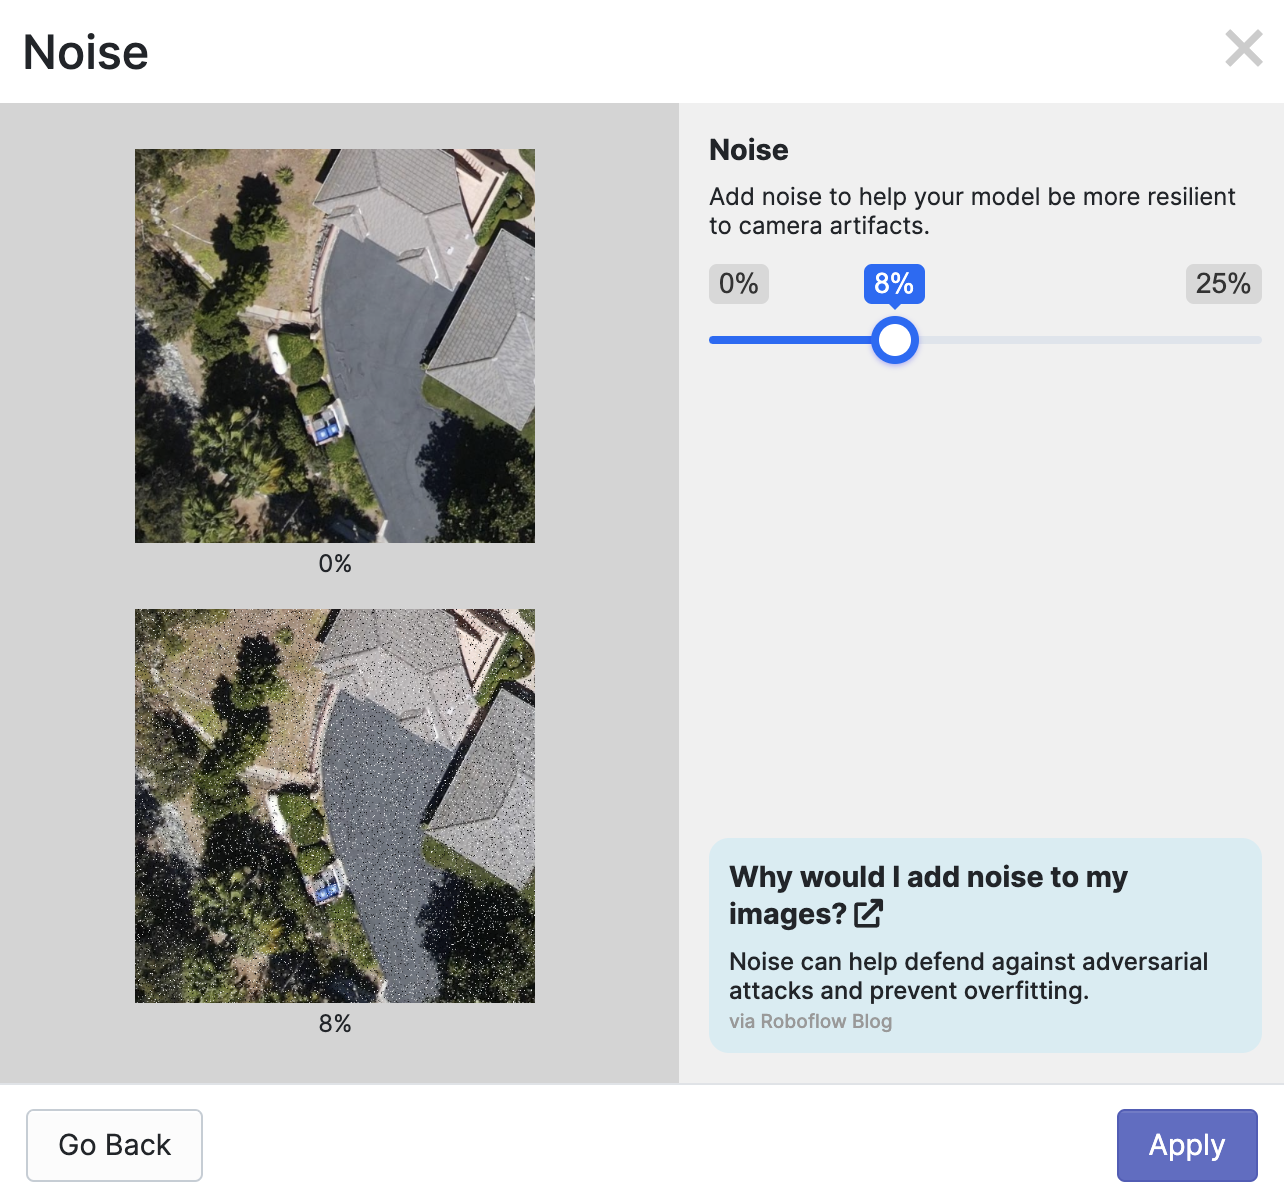
Select the augmentation you want to apply. Then, you will be asked to configure the augmentation, if required. The options available will depend on the augmentation you want to apply. For the noise augmentation, for example, we can control how much noise to introduce into images:
Once you have selected all of the augmentations you want to apply to your dataset, you will be asked to choose how many you want to generate. We recommend choosing a multiple no greater than 3x to start.
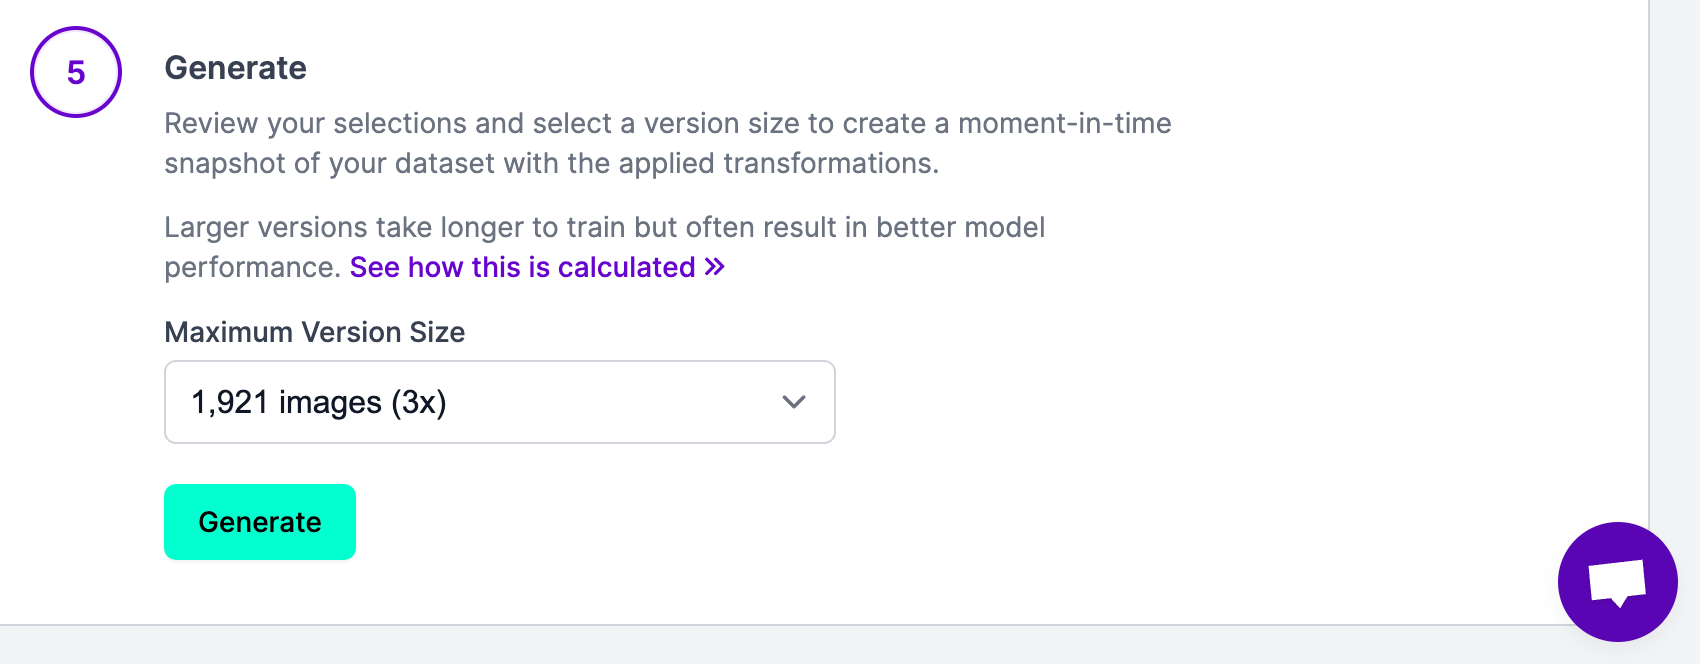
Once you have configured your augmentations, click “Generate” at the bottom of the page. This will generate a version of your dataset. The amount of time it takes to generate your dataset version will vary depending on how many images are in your dataset.
After augmented images have been generated, you will be taken to a page where you can export your dataset or use it to train a model on Roboflow:
Congratulations! You’ve successfully applied augmentations to a computer vision dataset.You now have the knowledge and tools you need to improve model robustness by having a more varied dataset.
Conclusion
Augmented images are generated by applying transformations to images in a dataset. Adding augmented images can help a model generalize and develop a better understanding of the objects of interest that you want to identify.
Before you generate augmented images, make sure your model attains a good baseline level of performance. Adding augmented images to a dataset not fit for purpose will not be effective. Once you are happy with your dataset, you can apply augmentations. We recommend starting with color-based augmentations, then trying geometric augmentations appropriate for your use case.
With Roboflow, you can easily generate augmented images without code. Our tool comes with a dataset versioning tool that lets you easily track and store different versions of a dataset, thereby helping you easily manage your datasets as you experiment with different augmentations.