When you are running inference on a vision model in real time, reducing inference latency is essential. For real time use cases, Roboflow recommends UDP inference instead of HTTP. UDP inference ensures that dropped or slow packets do not block inference from continuing, so your model will run smoothly in real time.
Roboflow Inference, an open source solution for running inference on vision models, supports UDP inference out of the box. Using Roboflow Inference with UDP gives you all of the benefits of Roboflow Inference, including:
- A standard API through which to run vision inference;
- Modular implementations of common architectures, so you don’t have to implement tensor parsing logic;
- A model registry so you can easily switch between models with different architectures, and more.
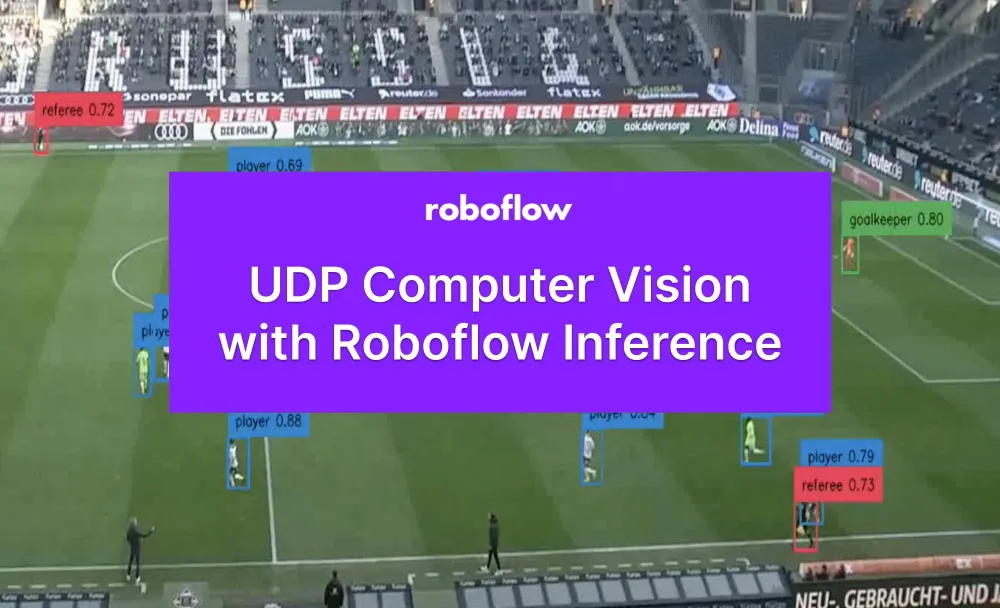
In this guide, we are going to show how to use the UDP Roboflow Inference container for use in running inference on a real time live stream. This container has been used to power real-time use cases for well-known sports broadcasts around the world.
We'll run inference on a video clip of a football game:
Without further ado, let’s get started!
How to Use Inference with UDP
UDP with Roboflow Inference is supported using the Inference UDP Docker container. This container sets up a server that accepts a camera stream and sends predictions to a client.
To use Inference with UDP, you need to set up two projects:
- A Docker container running Roboflow Inference’s UDP server, and;
- A client that can receive predictions and handle post-processing logic (i.e. save predictions, trigger an event).
Below, we will set up Inference to do real-time inference with a webcam. For this example, we’ll use a football player detection model hosted on Roboflow. You can use any model you want.
To get set up, you will need:
- A device with access to a CUDA-enabled GPU for this project, and;
- A stable internet connection.
An internet connection is not required after you set up the server.
Step #1: Download the Inference Docker Image
First, we need to pull the Roboflow Inference UDP Docker image. If you don’t already have Docker installed on the device on which you want to run inference, follow the official Docker installation instructions to get set up. Once Docker is installed on your machine, run the following command to download the Inference UDP container:
docker pull roboflow/roboflow-inference-server-udp-gpuThis command will take a few minutes to run depending on the strength of your internet connection.
Step #2: Configure a Receiving Server
The Inference server will run inference on a webcam stream and return predictions to a receiving server. Before we can set up our Inference server, we need a receiving server ready to handle requests.
We have written an example receiving server for use with UDP streams. To retrieve the server code, run the following command:
git clone https://github.com/roboflow/inferenceThe UDP server is in the examples/inference-client/udp.py file.
To start the receiving server, run the following command:
python3 udp.py --port=5000When you start the receiving server, you should see a message like this:
UDP server up and listening on http://localhost:12345You can update the udp.py script as necessary with your prediction post-processing logic. For example, you can log predictions to a file, trigger an event (i.e. a webhook) when a prediction is found, count predictions in a region, and more.
Step #3: Configure and Run the Inference Server
Next, we need to configure the UDP server to use a model. For this guide, we will use a rock paper scissors model hosted on Roboflow. You can use any model supported by Roboflow Inference over UDP. To learn more about supported models, refer to the Inference README.
We can write a Docker command to run Inference:
# use a stream
docker run --gpus=all --net=host -e STREAM_ID=0 -e MODEL_ID=MODEL_ID -e API_KEY=API_KEY roboflow/roboflow-inference-server-udp-gpu:latest

# run inference on a video
docker run --gpus=all --net=host -e STREAM_ID=video.mov -e MODEL_ID=MODEL_ID -e API_KEY=API_KEY roboflow/roboflow-inference-server-udp-gpu:latest
We will need the following pieces of information:
- A
STREAM_ID, which is the ID for the camera you are using. This will be 0 if your device only has one camera set up. If your device has more than one camera set up and you don’t want to use the default camera (0), you may need to increase this number until you find the right camera. You can also provide a video file. For this example, we'll use a video. - Your Roboflow API key. Learn how to retrieve your Roboflow API key.
- Your model ID and version number. Learn how to retrieve your model ID and version number. The final value should look like
<model_id>/<version>. - A
SERVER_ID, which is the address of the server that will receive inference data. If you are using the server we set up in the last step, the server will behttp://localhost:5000.
Substitute out your STEAM_ID, MODEL_ID, SERVER_ID, and API_KEY as relevant in the Docker command above.
Make sure your UDP receiving server from Step #2 is set up. When you are ready, run the Docker command you have written to start the server. You should see a message like appear in the console.
If you are using a model hosted on Roboflow, it may take a few moments for the server to start for the first time. This is because the model weights need to be downloaded for use on your device.
Here is an example of the output from the inference server (left) and the client (right:
With this output, you can do whatever you want. In real-time scenarios, you could use this output to trigger events. You could also post-process the video for later use, such as in highlighting players when showing an action moment in a sports broadcast. For the example above, we wrote a custom script to parse these predictions into a video. The results are below:
You can find the script that plots predictions from the server in the project GitHub repository.
We do not recommend plotting predictions coming over UDP in real time unless latency is essential, as there is a lot of work needed to synchronize video frames so predictions are displayed on the right frame. Hence, our visual example above is post-processing a video.
Our UDP inference system is working successfully!
Conclusion
Sending inference requests to a server over UDP allows you to run inference and retrieve results much more efficiently than over HTTP. In this guide, we demonstrated how to set up Roboflow Inference to run inference on models over UDP, and how to receive predictions from the UDP server for use in application logic.
Now you have all of the resources you need to run inference with UDP and Inference!