Roboflow offers the ability to deploy models as Snapchat lenses using Snapchat’s Lens Studio. This capability opens up exciting opportunities for creating interactive and engaging augmented reality experiences.
In this blog post, we'll dive into a detailed walkthrough showcasing how Roboflow's integration with Lens Studio works. From a trained model to a functioning lens, we'll cover each step along the way.
The ease of use offered by Roboflow's platform enables individuals at all levels of expertise to accomplish the successful training and deployment of models, emphasizing its accessibility and user-friendly nature for everyone embarking on their computer vision journey.
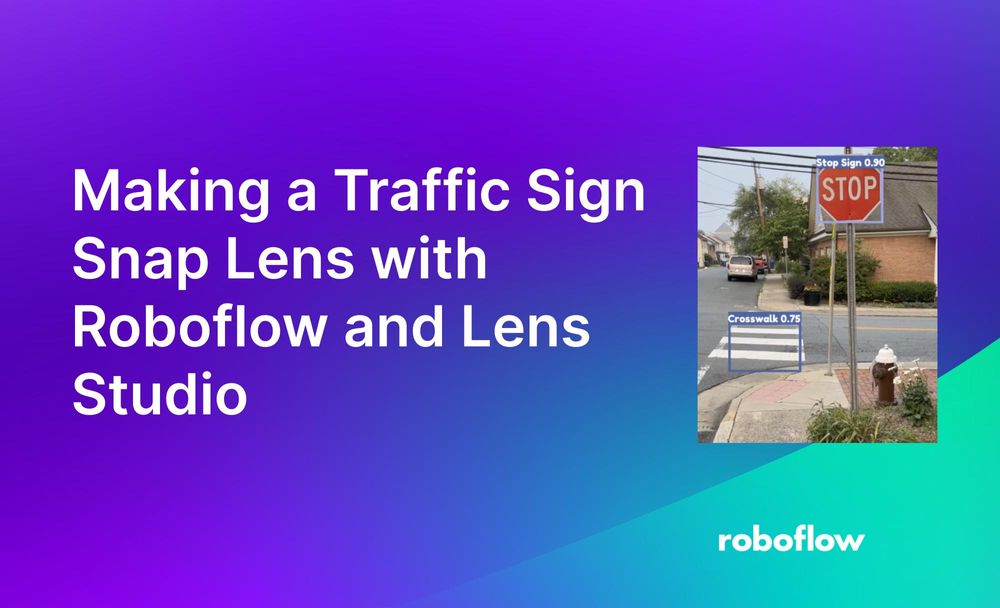
Here is an example of the model in action:
Let's get started!
Step #1: Getting Started with Roboflow
To begin, ensure you have a Roboflow account. If you don't have one yet, sign up for a free Roboflow account and follow along to these tutorials which show how to create a computer vision model with Roboflow.
Step #2: Use a Trained Model
In this demo, we'll start with a trained model that focuses on stop sign and crosswalk detection. The model was trained using approximately 1500 annotated images sourced from Roboflow Universe.
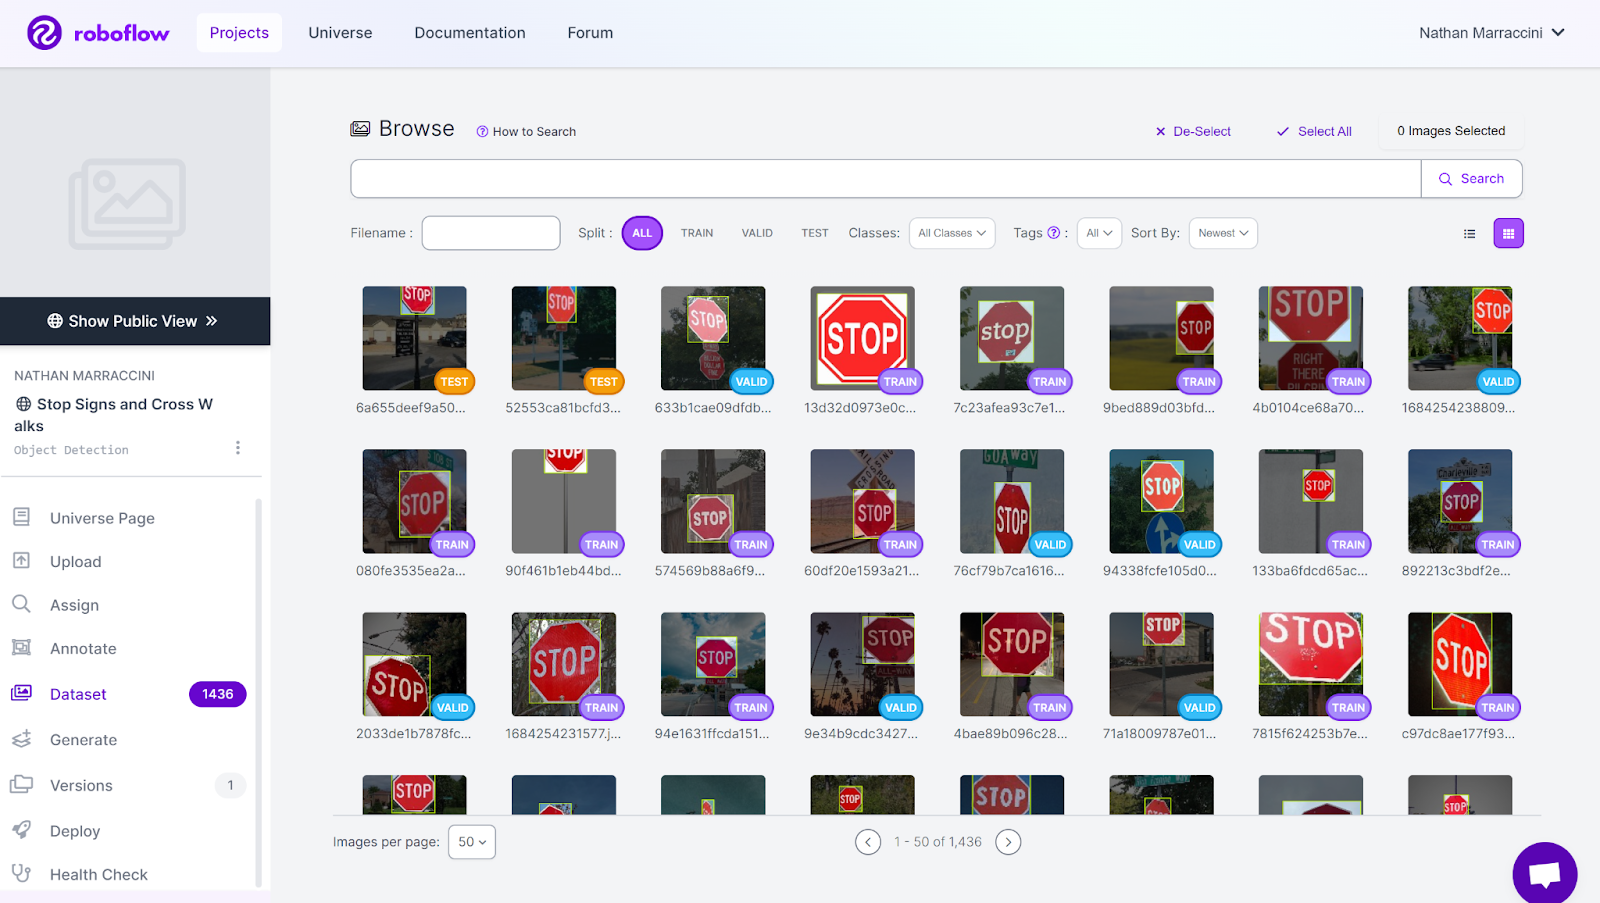
Alternatively, you can use one of the 50,000+ pre-trained models on Universe. To use a Universe model, explore Universe for a dataset, then click “Models” in the sidebar. Skip to Section #4 for the next steps you’ll need to follow.
With Roboflow Universe, you gain access to a vast collection of resources for your computer vision projects. This includes nearly 150 million images, 200,000 datasets, and 50,000 fine-tuned models. The platform simplifies the process of gathering annotated images, making it easy to obtain the necessary data for training a wide range of models.

Step #3: Model Testing and Deployment
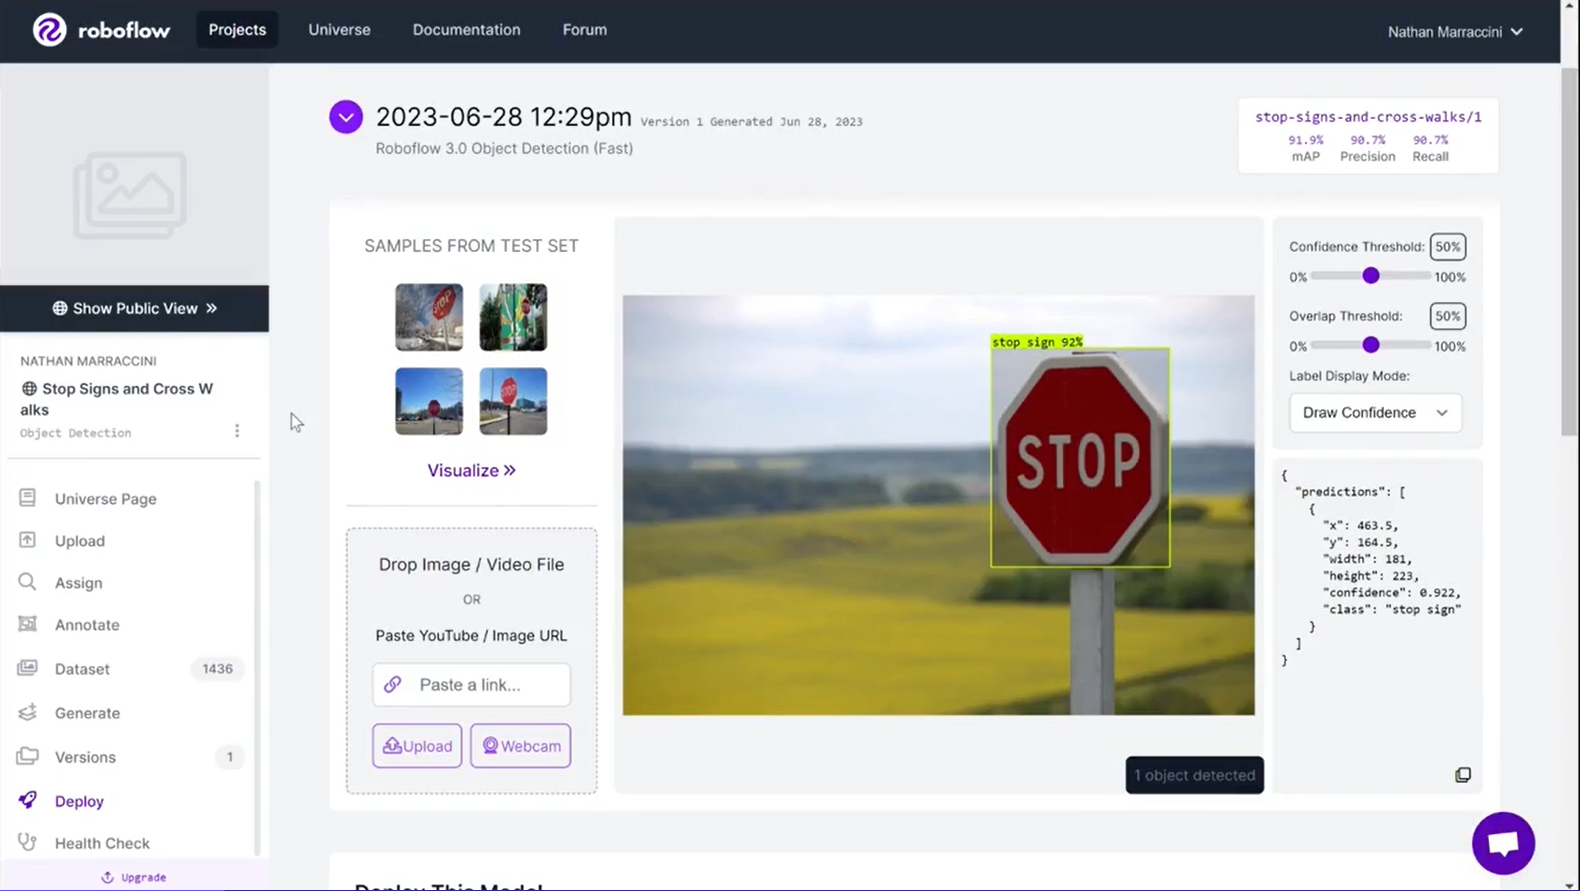
Navigate to your trained model on Roboflow's platform and click on the "Deploy" option that is located on the left side of your screen:

This opens a page where you can test your model using various media types, such as images, videos, or even your webcam. In the example below, a stop sign image is used, showcasing the model's ability to detect the sign with 92% confidence.
Step #4: Integrate with Snapchat Lens Studio
After confirming that the model performs as desired, scroll down and click on “Use with Snap AR’s Lens Studio”.
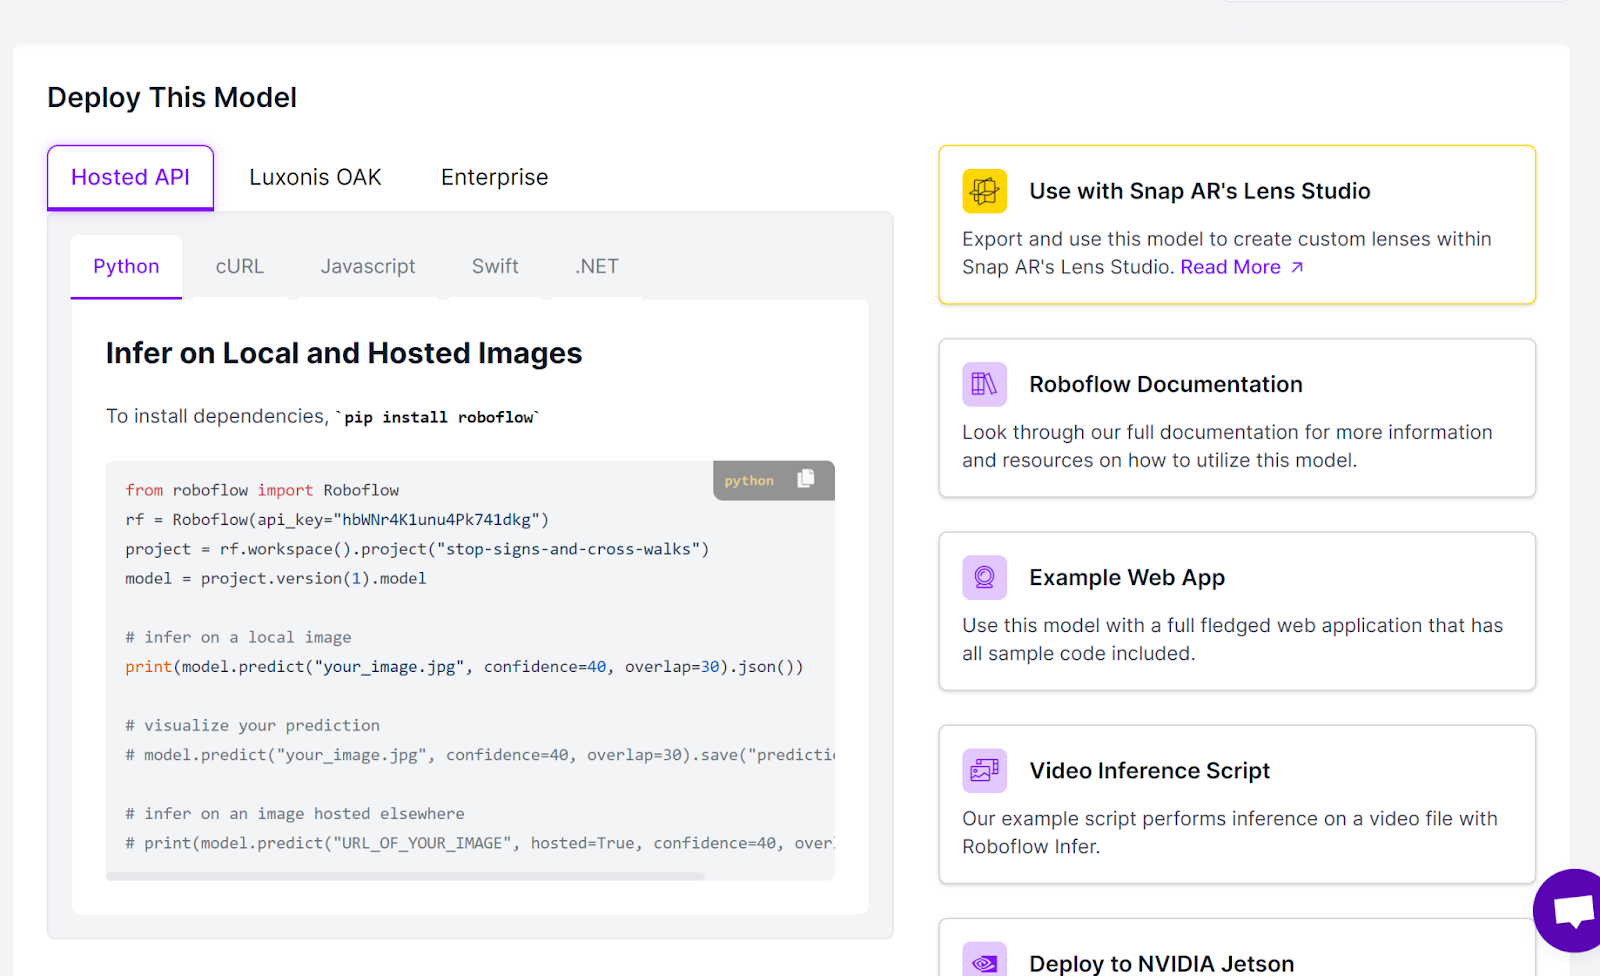
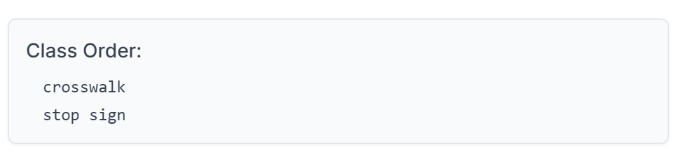
This brings you to a screen that displays instructions on what files will be downloaded and the order of classes used in your model. This order will be important in subsequent steps.
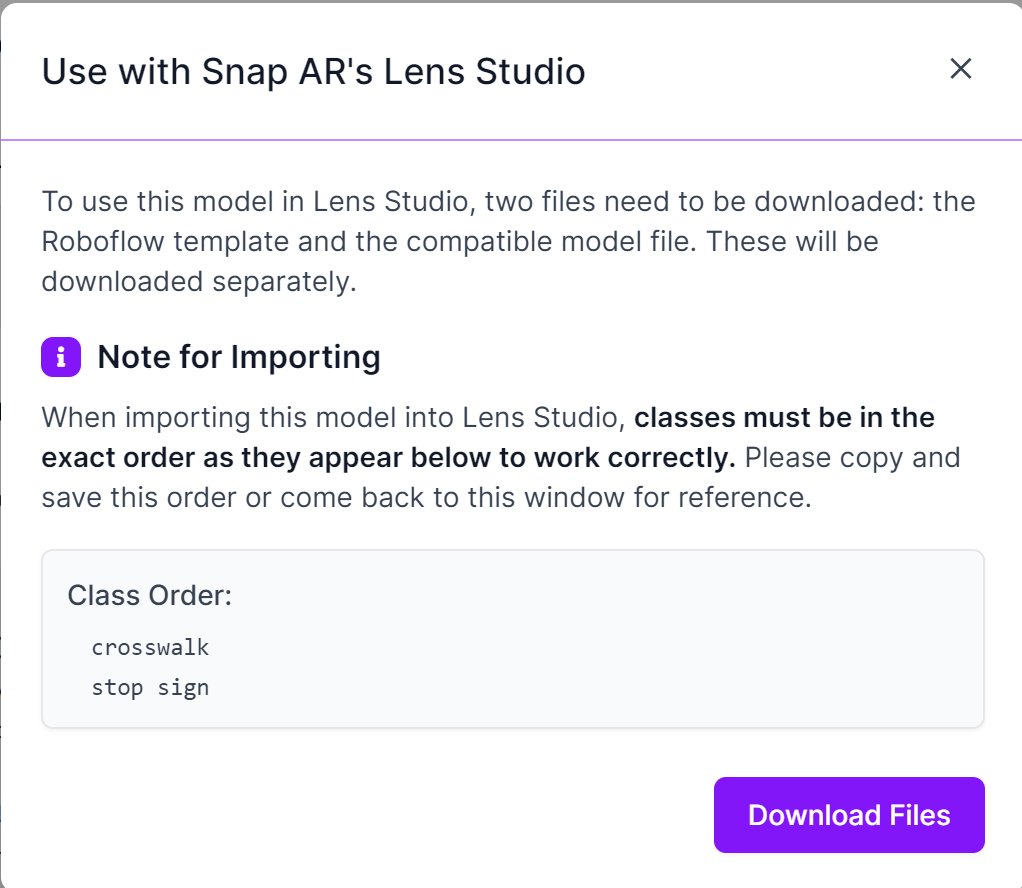
Click on the "Download Files" button and save the downloaded files in a conveniently accessible folder.
Step #5: Download and Setting Up Lens Studio
Before proceeding, ensure you have downloaded and installed Snapchat’s Lens Studio. If you haven't done so, follow the provided link to download the application. Once installed, sign in to your Snapchat account and then return to the location where you saved your Roboflow template and the compatible model file.
Step #6: Open the Lens Studio Template
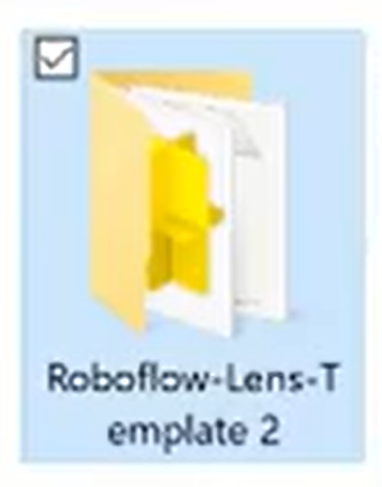
Begin by unzipping the downloaded Roboflow-Lens-Template file. Once extracted, locate the file named Roboflow-Lens-Template.Isproj and click on it to proceed.

This will bring you to the Lens Studio application, which will look something like this:
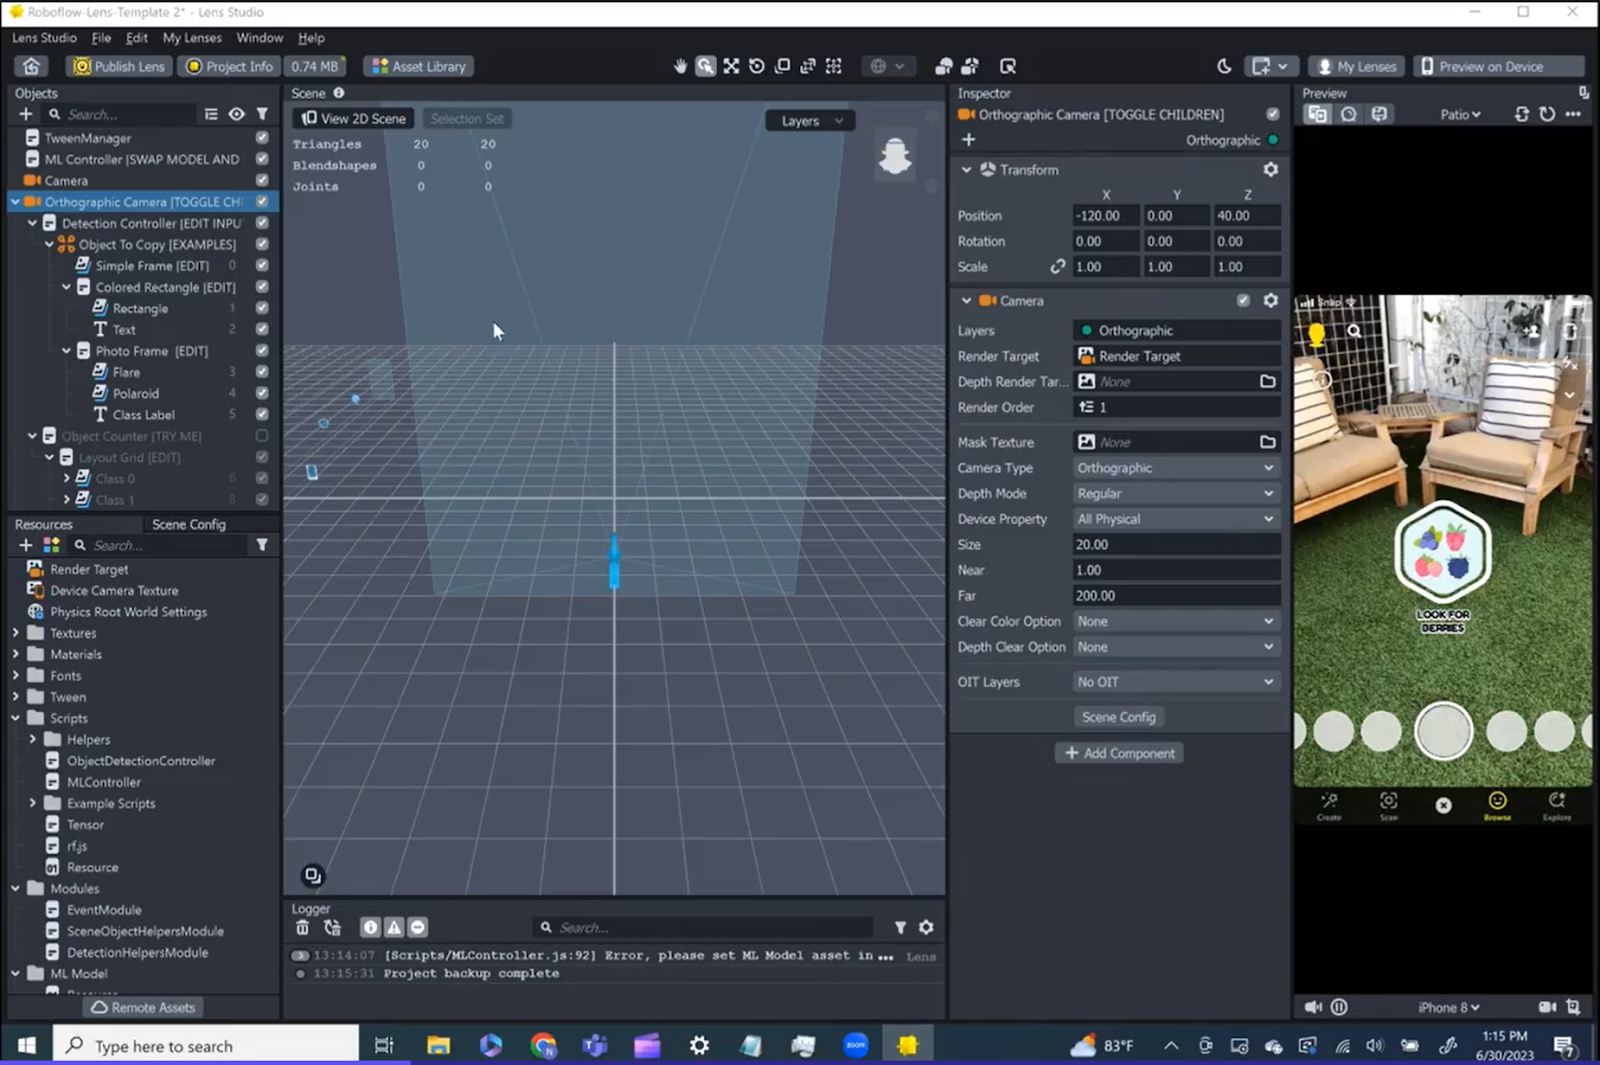
Locate and click on the ML Controller box in the top left of the application:

This loads the default example, which is a coin counting project. Load your model weights (.onnx file) previously downloaded from Roboflow by clicking the folder icon in the ML Model box and dropping your file in the window..
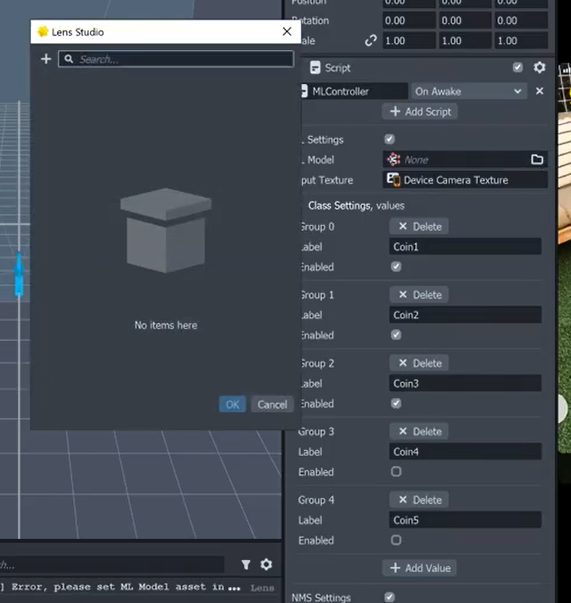
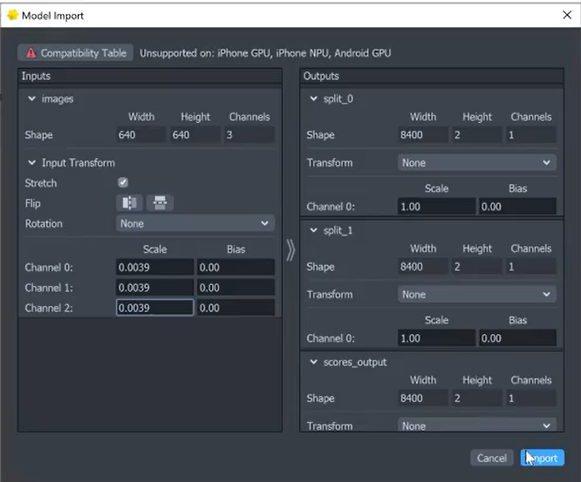
Adjust the weights of the “Scale” to 0.0039 for each channel and import the modified settings:
Step #7: Configure Classes
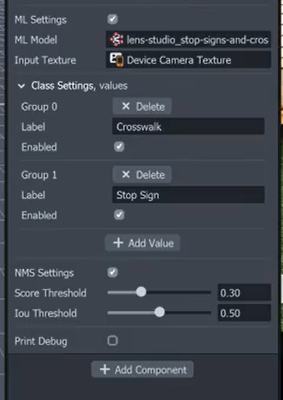
Refer back to Step 4 to remember the order in which the classes were presented to you, in this case, "crosswalk" then "stop sign". Update the labels in the Lens Studio template accordingly, ensuring they match the desired classes. Delete any unnecessary labels.
Step 8: Customize User Instructions and Visuals
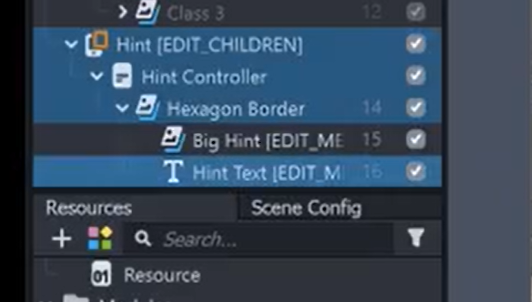
To modify the hint text that instructs users to look for stop signs and crosswalks, click on “Hint [EDIT_CHILDREN]” then “Hint Text”.
This will bring up the “Text” tab next to the preview window. This tab allows you to modify the text that users will see as a hint while using the lens. By default, the text will say "LOOK FOR BERRIES," but we want to tailor it to the specific purpose of detecting stop signs and crosswalks.
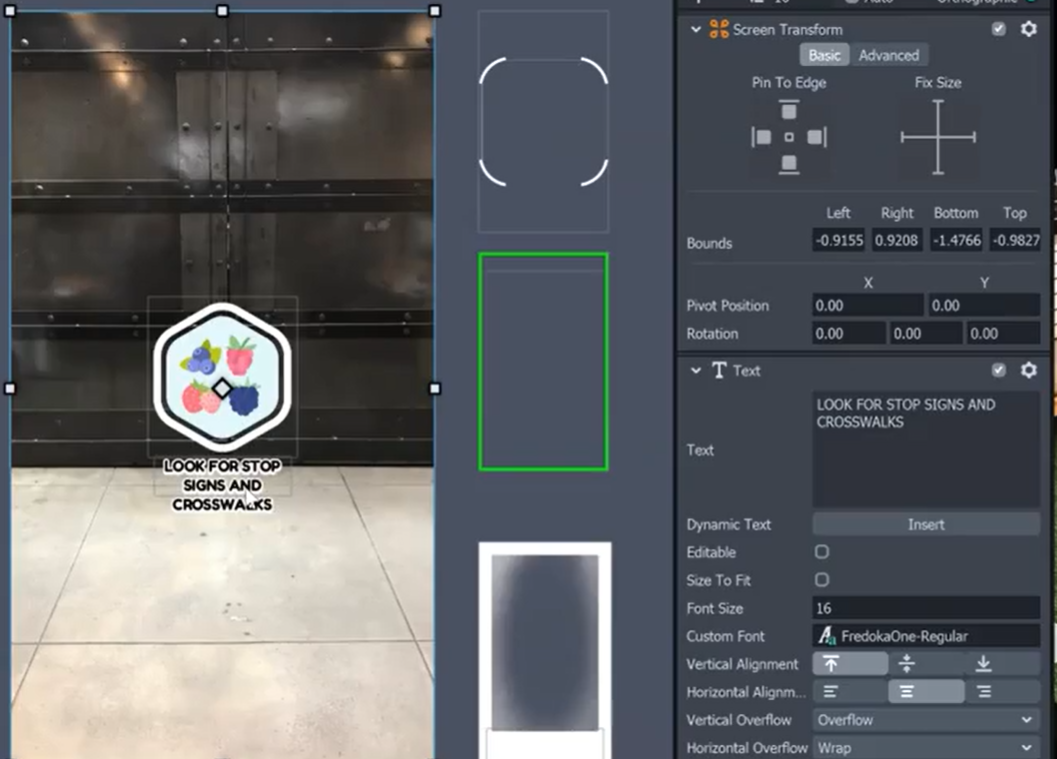
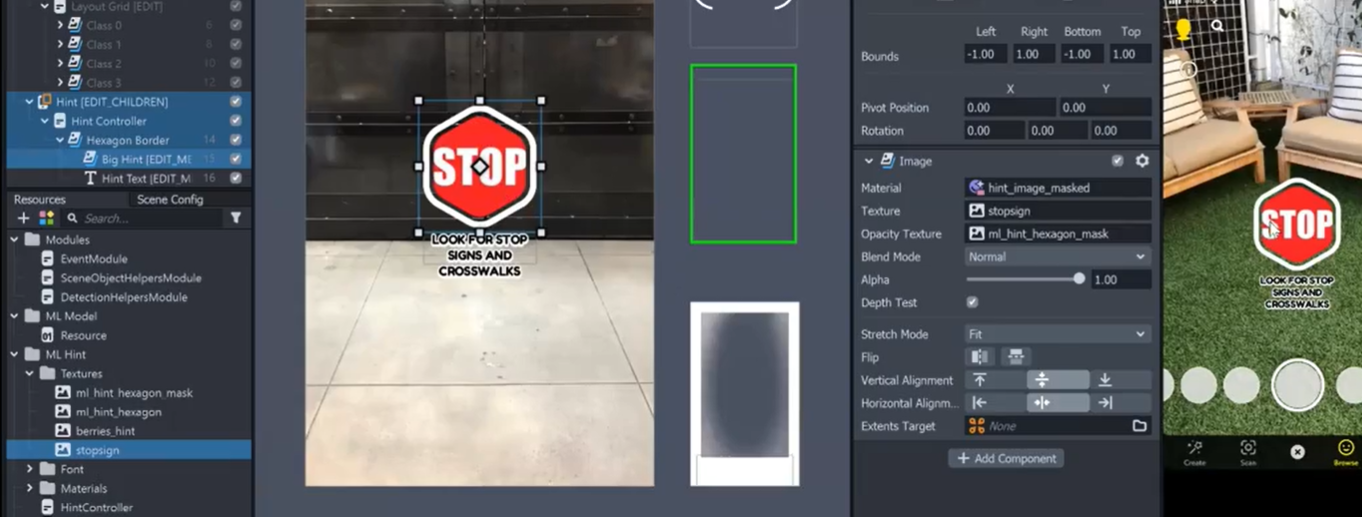
In addition to modifying the hint text, you can further enhance the visual representation of your lens by replacing the default image in the “Texture” box. In this case, we will be replacing the default image with a stop sign image, aligning it with the intended purpose of the lens.
Step #9: Preview and Publish the Lens
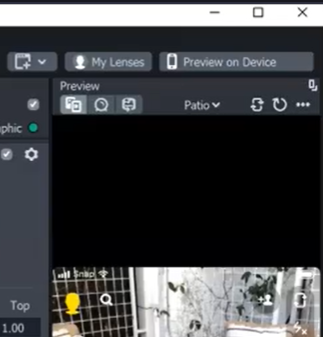
You can preview your lens by clicking the “Preview on Device” button in the top right of the application. This will allow you to preview your lens on your mobile device before submitting it for review and publication
If you are ready to publish your lens, proceed to “Publish Lens” where you can customize the lens name, indicate compatibility with front and rear cameras, and configure advanced graphic features if desired.

Step 10: Lens Approval and Usage
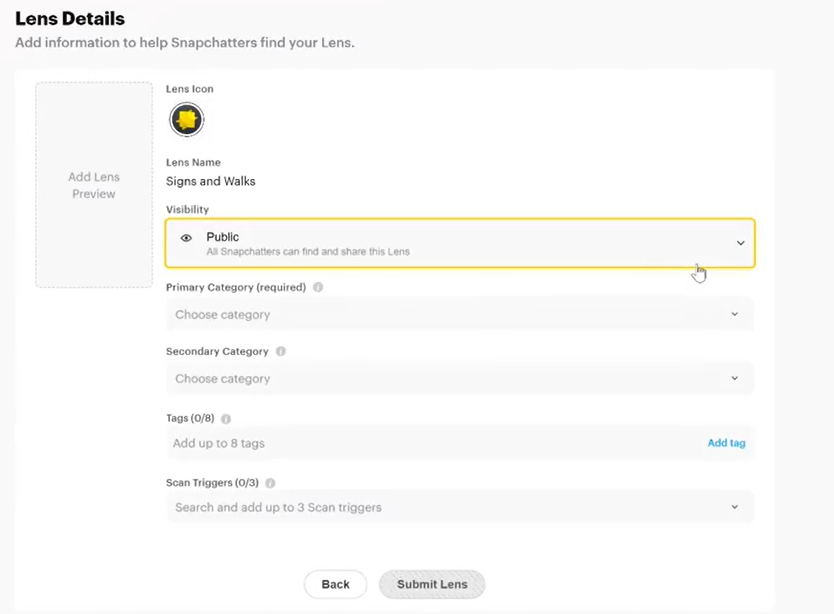
After submitting your lens, you will be directed to my-lenses.snapchat.com. Here, you can set up a new Lens Folder and configure the lens details.
The “Lens Details” page is important for providing information that helps Snapchatters find your lens. You can adjust the visibility, select categories, add relevant tags, and set up scan triggers for your lens. These details enhance the lens's discoverability and optimize its usage. Once you have completed the lens details, submit your lens for review.
When your filter is approved, you can share it with others, allowing Snapchatters to discover and enjoy your lens!
Conclusion
Roboflow's ability to integrate with SnapML opens up exciting possibilities for developers, creators, and even the general public to deploy computer vision models as interactive lenses. With this blog post, you can explore the seamless process of integrating a Roboflow model to Lens Studio and publishing it as a Snapchat lens.
Unlock the potential of computer vision and augmented reality to captivate and entertain Snapchat users worldwide with this powerful combination!