Azure Custom Vision is a computer vision product developed by Microsoft Azure. Using Custom Vision, you can label data for, train, and deploy a computer vision model. Custom Vision is part of Azure AI, a broad suite of products related to computer vision, natural language processing, and machine learning.
In this guide, we are going to show how to label a computer vision dataset in Azure Custom Vision. We will find data for our project, import it into Azure Custom Vision, and annotate data. We will walk through an example of labeling a solar panel dataset for object detection.
Azure Custom Vision supports training object detection and classification models. If you need to label data for instance segmentation, check out Roboflow Annotate. Roboflow offers an extensive suite of tools for use in labeling data, including automated labeling using Segment Anything, collaborative annotation features, and the ability to comment on annotations.
Without further ado, let’s get started!
Label Computer Vision Data in Azure Custom Vision
Let’s walk through the steps to label a computer vision dataset in Azure Custom Vision.
Step #1: Create a Custom Vision Instance
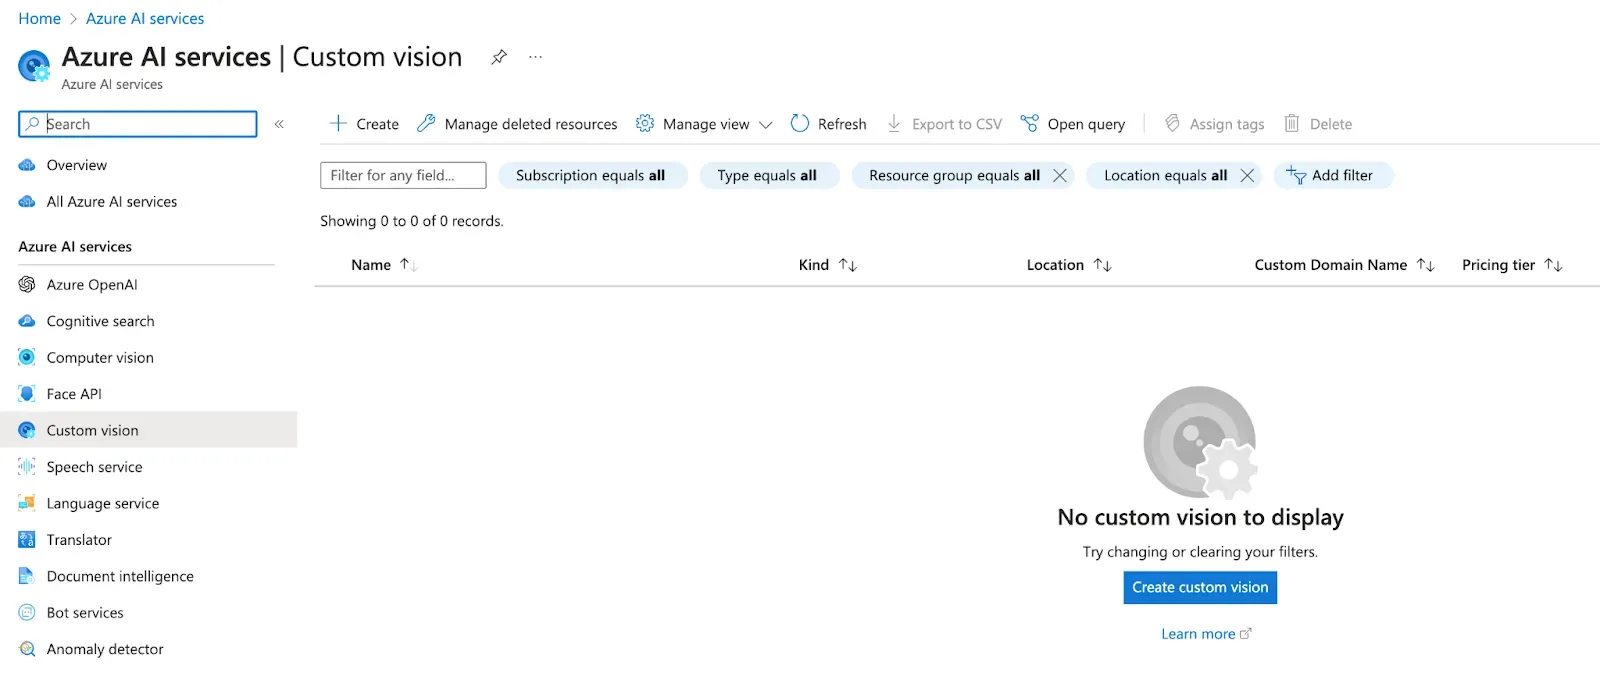
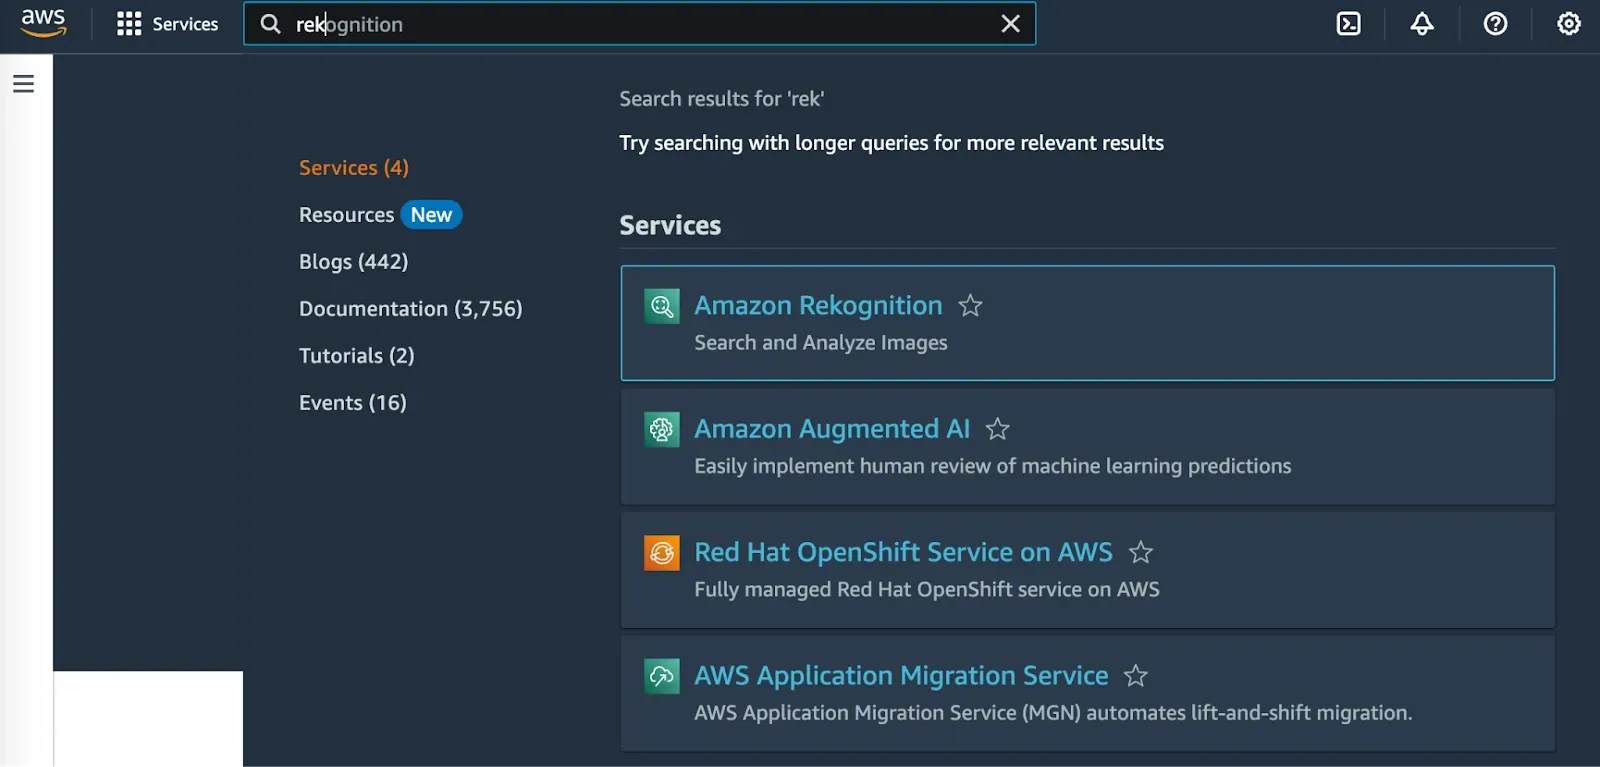
Go to the Azure dashboard and search for “Custom Vision” in the search bar. This will take you to the Custom Vision homepage. Before we can use Custom Vision, we need to create a Custom Vision instance on our account. Click the “Create custom vision” button.
Next, you will be asked to fill out information about your project. First, you will be asked to select whether you want to train, deploy, or both train and deploy with Custom Vision. Select the option relevant to your project.
You will need to attach your Custom Vision instance to a resource group, select a project name, and choose the pricing tier for your instance. Learn more about Azure Custom Vision pricing.
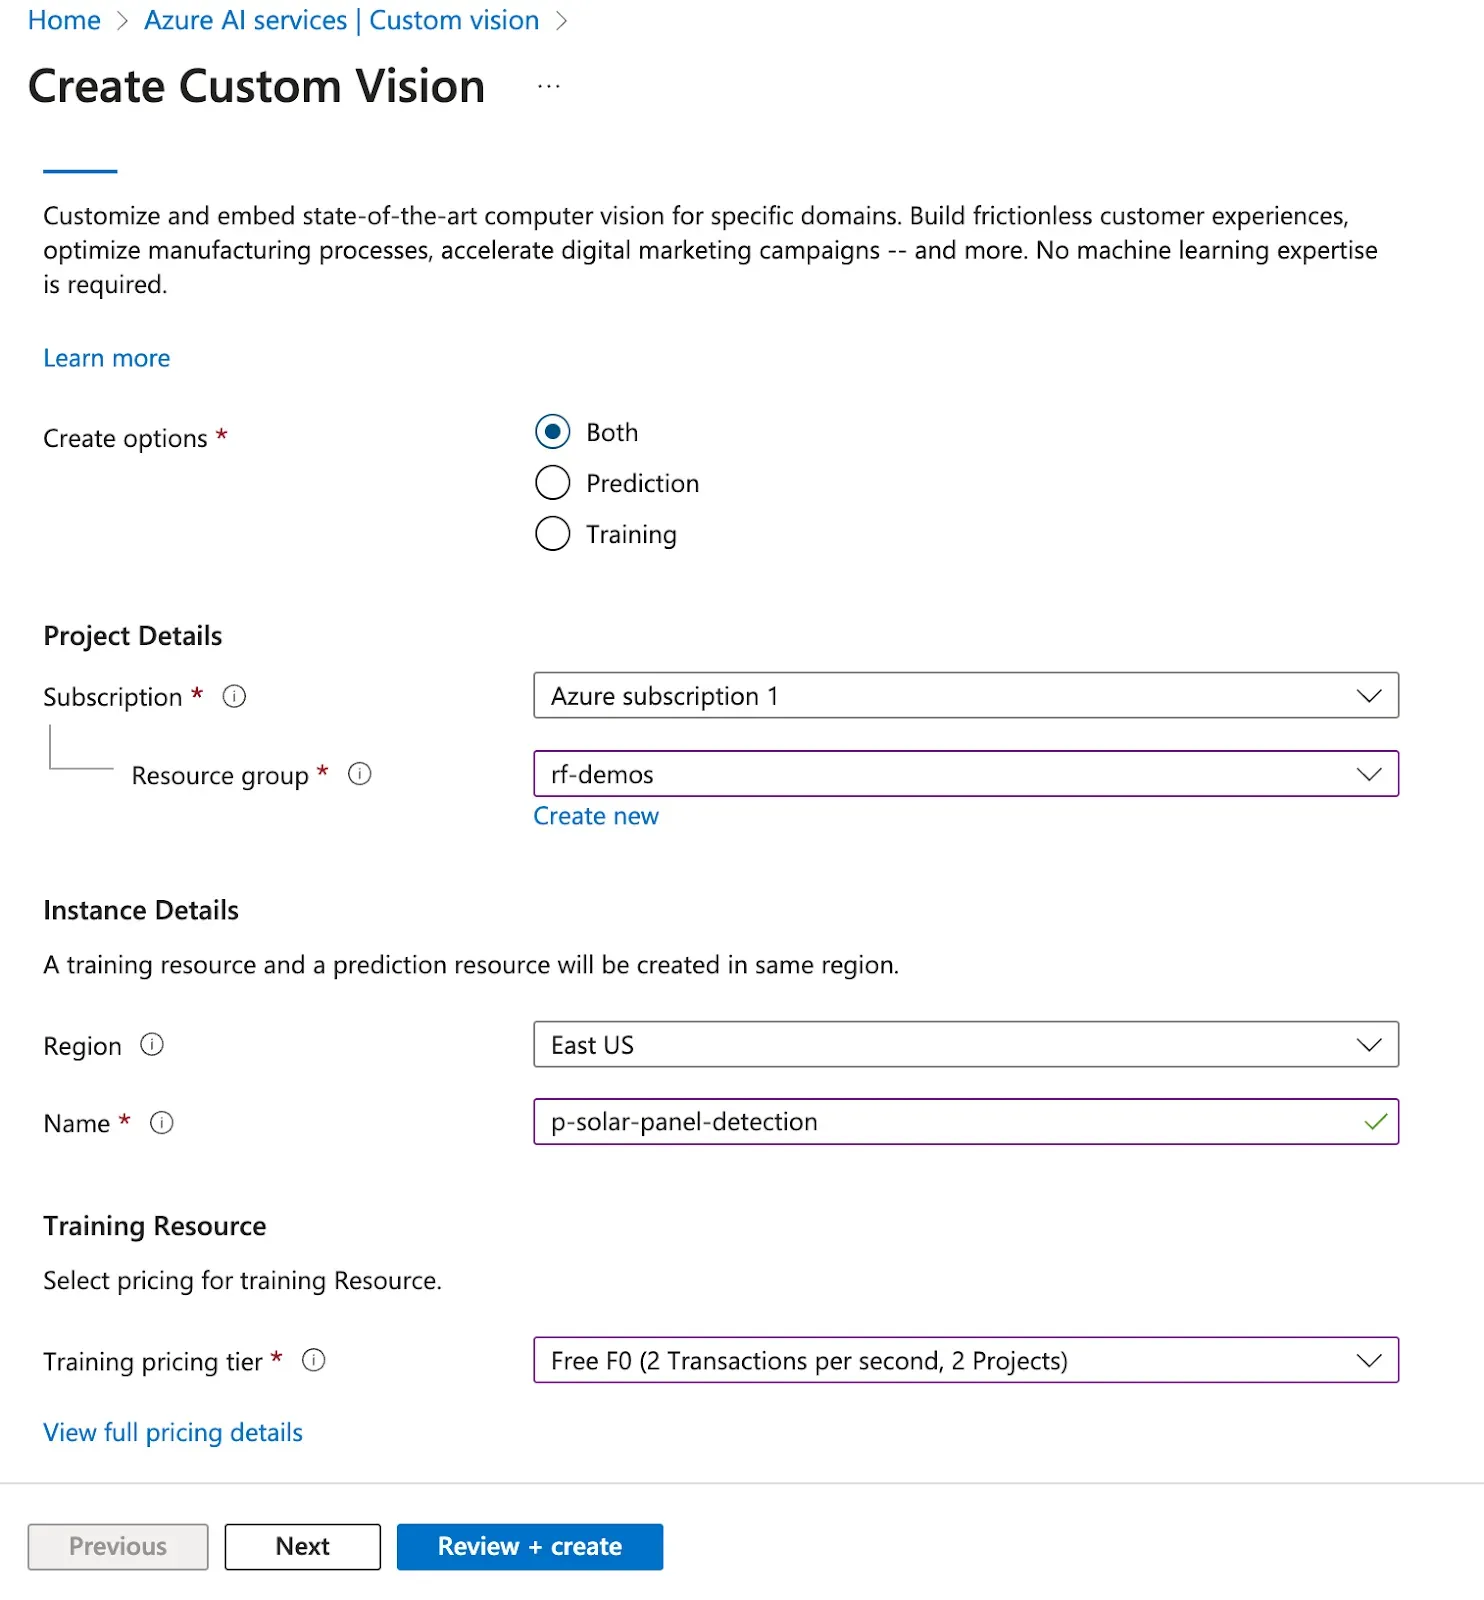
Once you have filled out the form, click “Review + create” to create a new Custom Vision instance. You will be taken to a page that reports the status of your deployment. The deployment step can take a few moments.
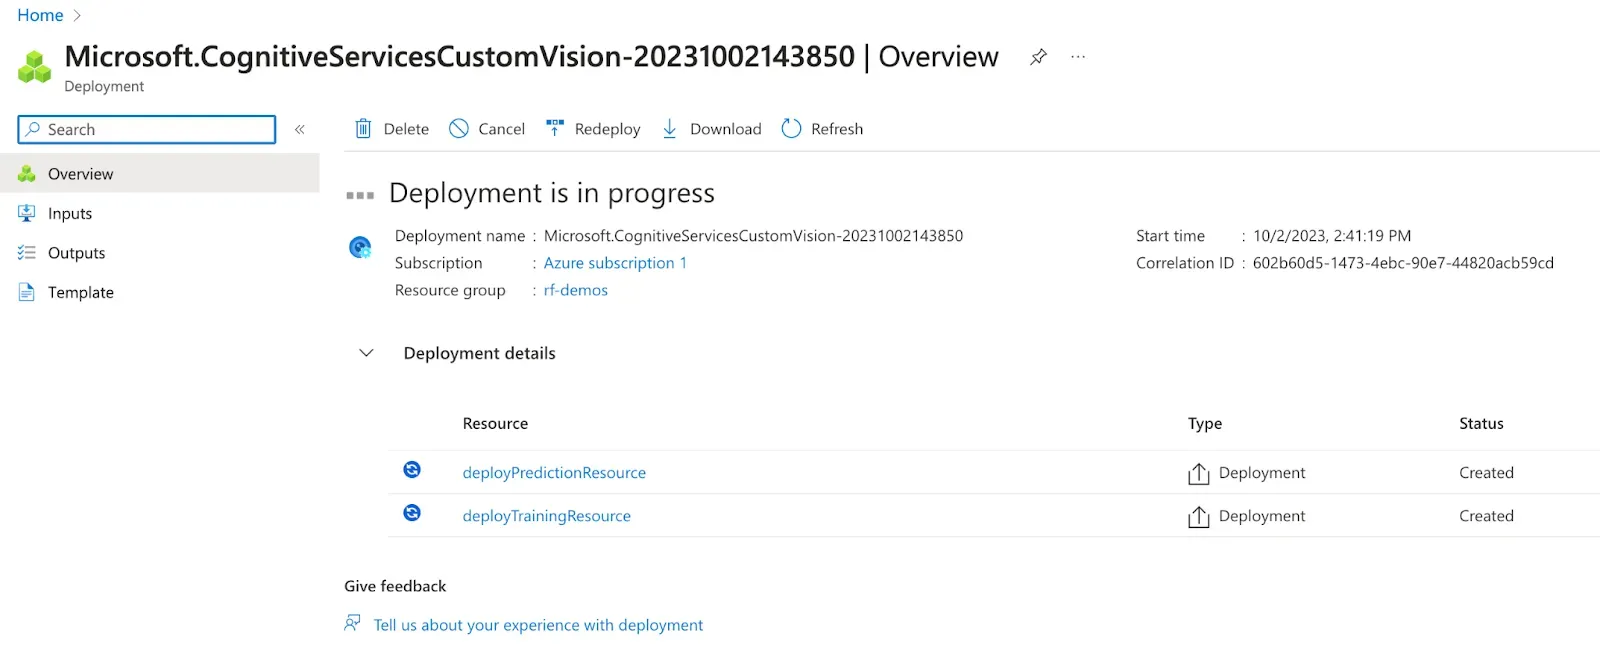
Once your Custom Vision instance has deployed, you are ready to start using Custom Vision.
Step #2: Create a Custom Vision Project
Azure Custom Vision has its own web interface separate from the main Azure dashboard. Open up the Custom Vision dashboard, then click the “Create Project” button. You will be asked to:
- Provide a name for your project.
- Choose an instance of Custom Vision with which your project should be associated (this is what we created in the previous step).
- Choose a project type (object detection or classification).
For this guide, we will train an object detection model.
Click “Create project” when you have configured your project.
Step #3: Find or Collect Images to Labeling
If you already have images to label, you can skip this step.
Before you can train a vision model, you need images for use in model training. Roboflow has a few tools you can use to find and collect images.
Roboflow Collect is an open source, intelligent edge data collection product. With Roboflow Collect, you can gather images from a webcam that meet a particular text prompt (i.e. “car”) or that are similar to a provided image. Collect also has features to avoid gathering images that are too similar to an image already collected.
To learn more about Roboflow Collect, check out the Roboflow Collect project documentation.
If you want to find data that has already been gathered, go to Roboflow Universe. Universe is a community of people sharing computer vision datasets. Over 200,000 datasets have been created on Universe. There are also over 50,000 pre-trained models you can test. There are over 100 million images on Universe.
You can search for images using a text query (i.e. “solar panel”).
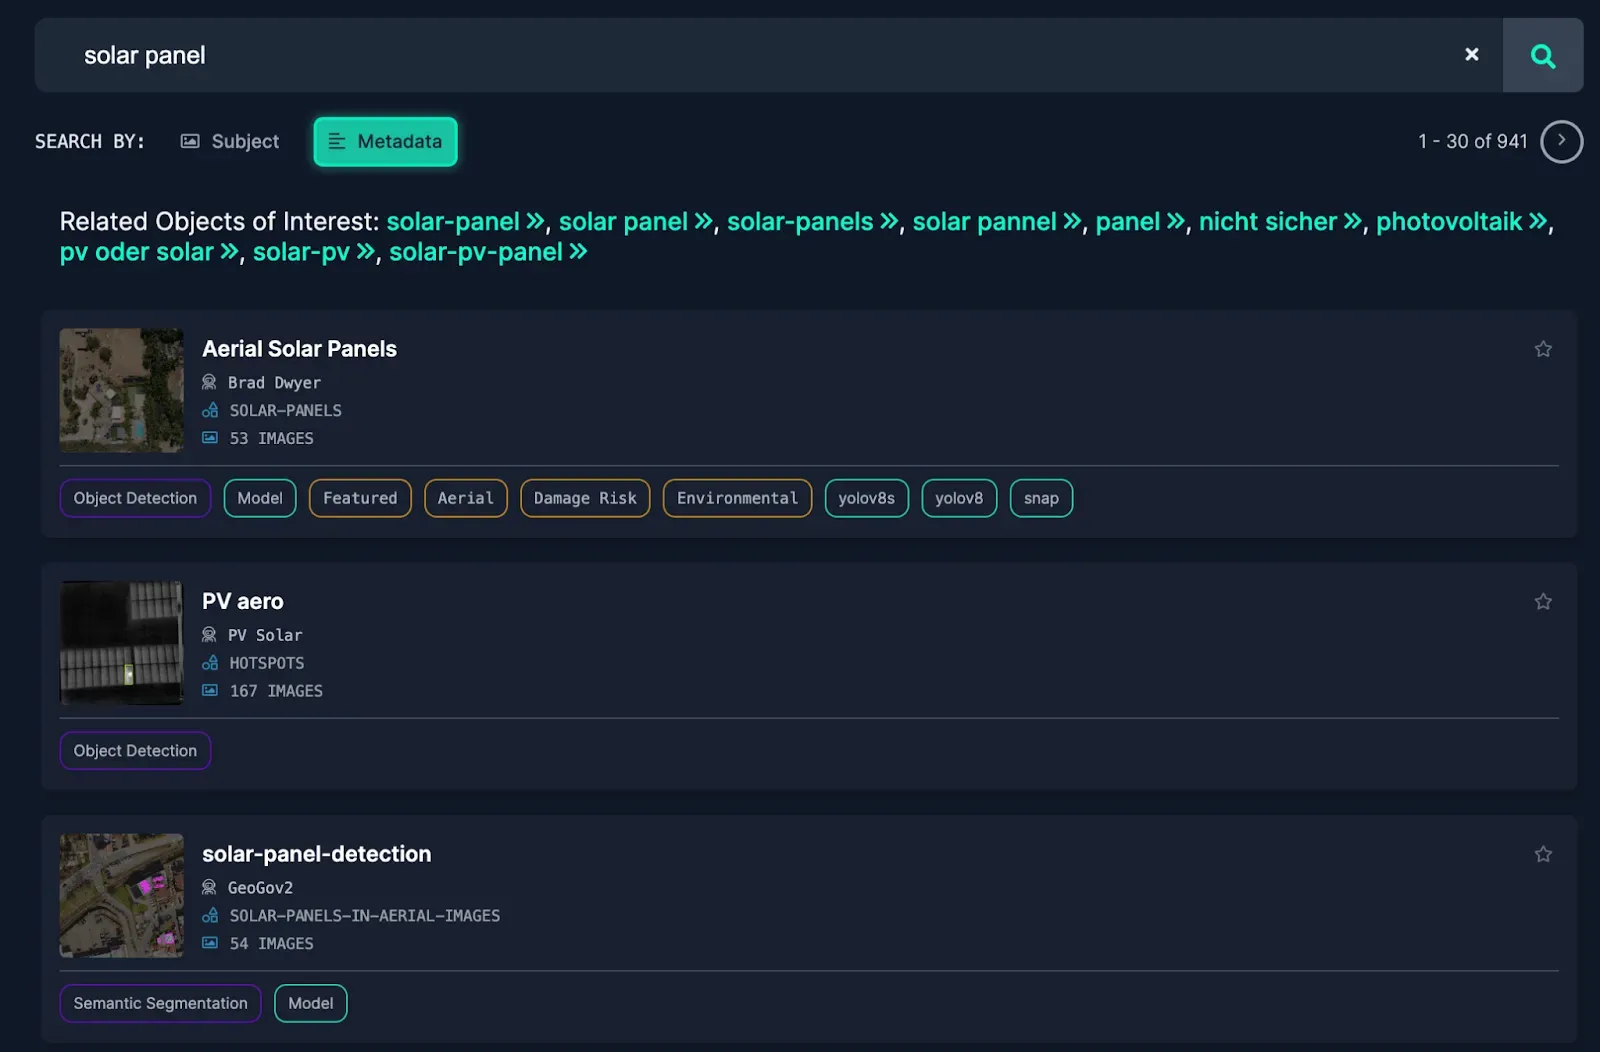
Click on a dataset from a search page to read more information about the dataset. To see images in the dataset, click “Images” in the sidebar. You can see individual images by clicking on one.

To export a dataset, first go to the Dataset tab using the link in the sidebar on the page. Then, click the “YOLOv8” button.
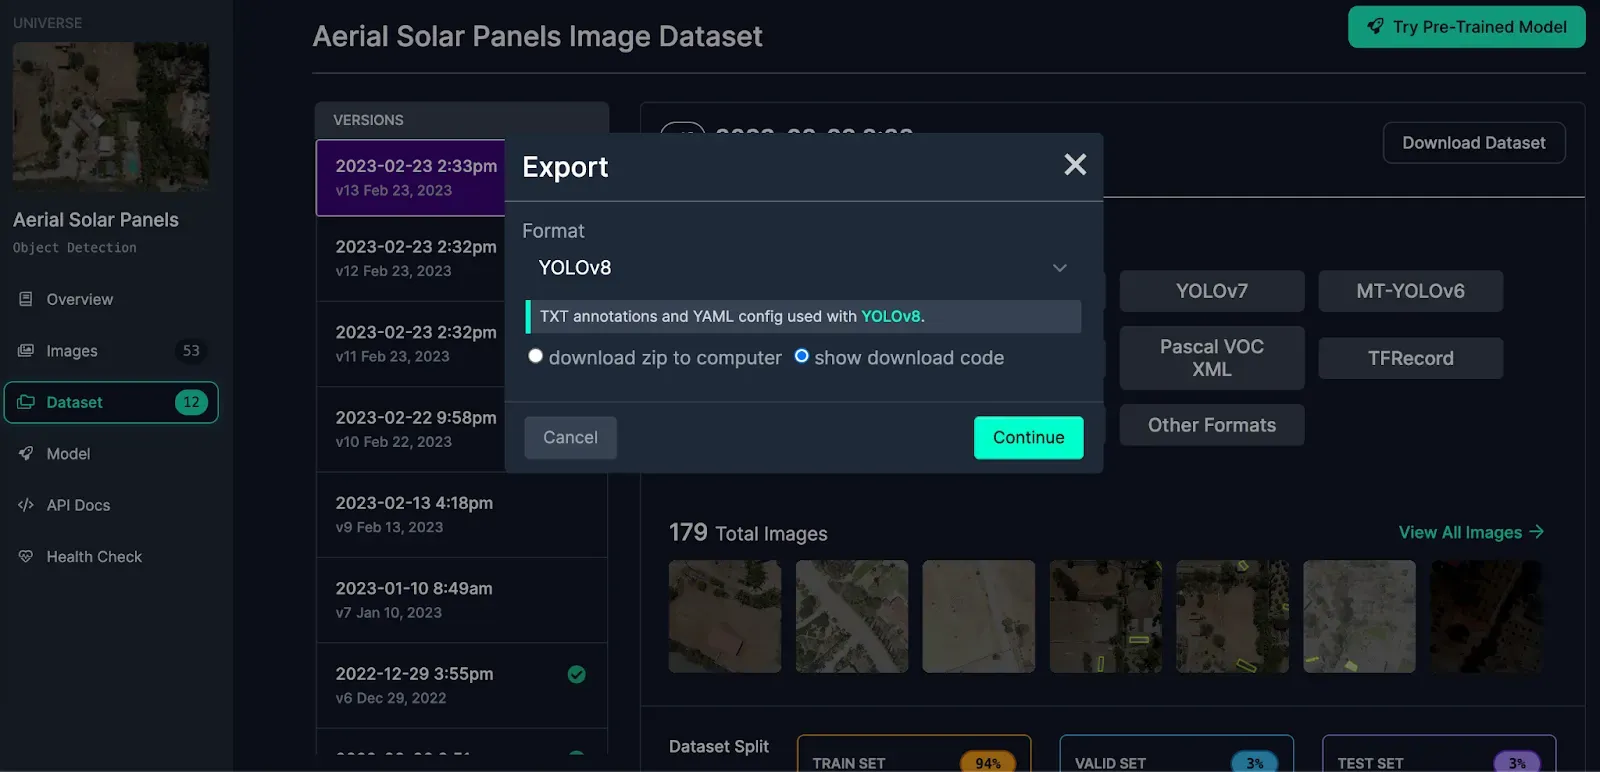
Select the YOLOv8 export format and select “download zip to computer”.
Exporting datasets from Universe directly into Azure Custom Vision is not supported, but you can export datasets you have labeled in the Roboflow web application. Learn more in our guide to training a computer vision model with Azure Custom Vision.
If the dataset you have selected is pre-labeled, you can create a project in Roboflow, upload the dataset, then export from there.
Unzip the folder downloaded from Universe, then navigate to the `train/images` directory. You can upload all the images in this folder to Custom Vision in the next step.
Step #4: Upload Images
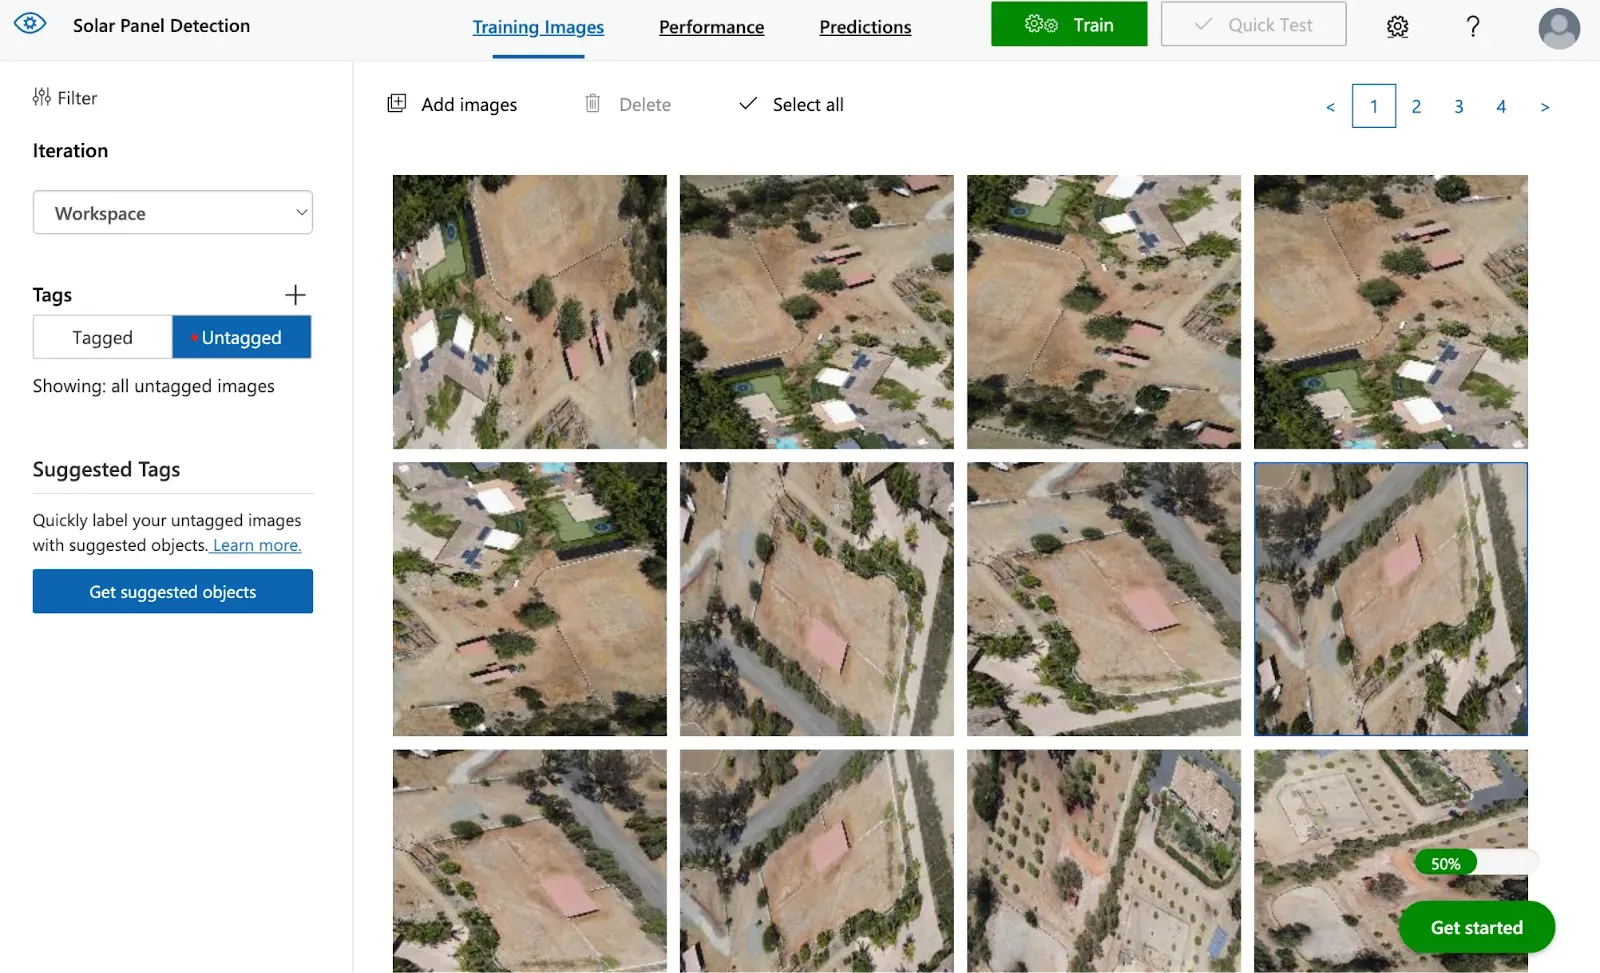
Go to the project you created in Custom Vision. Click the “Add images” button and upload the images you want to annotate.
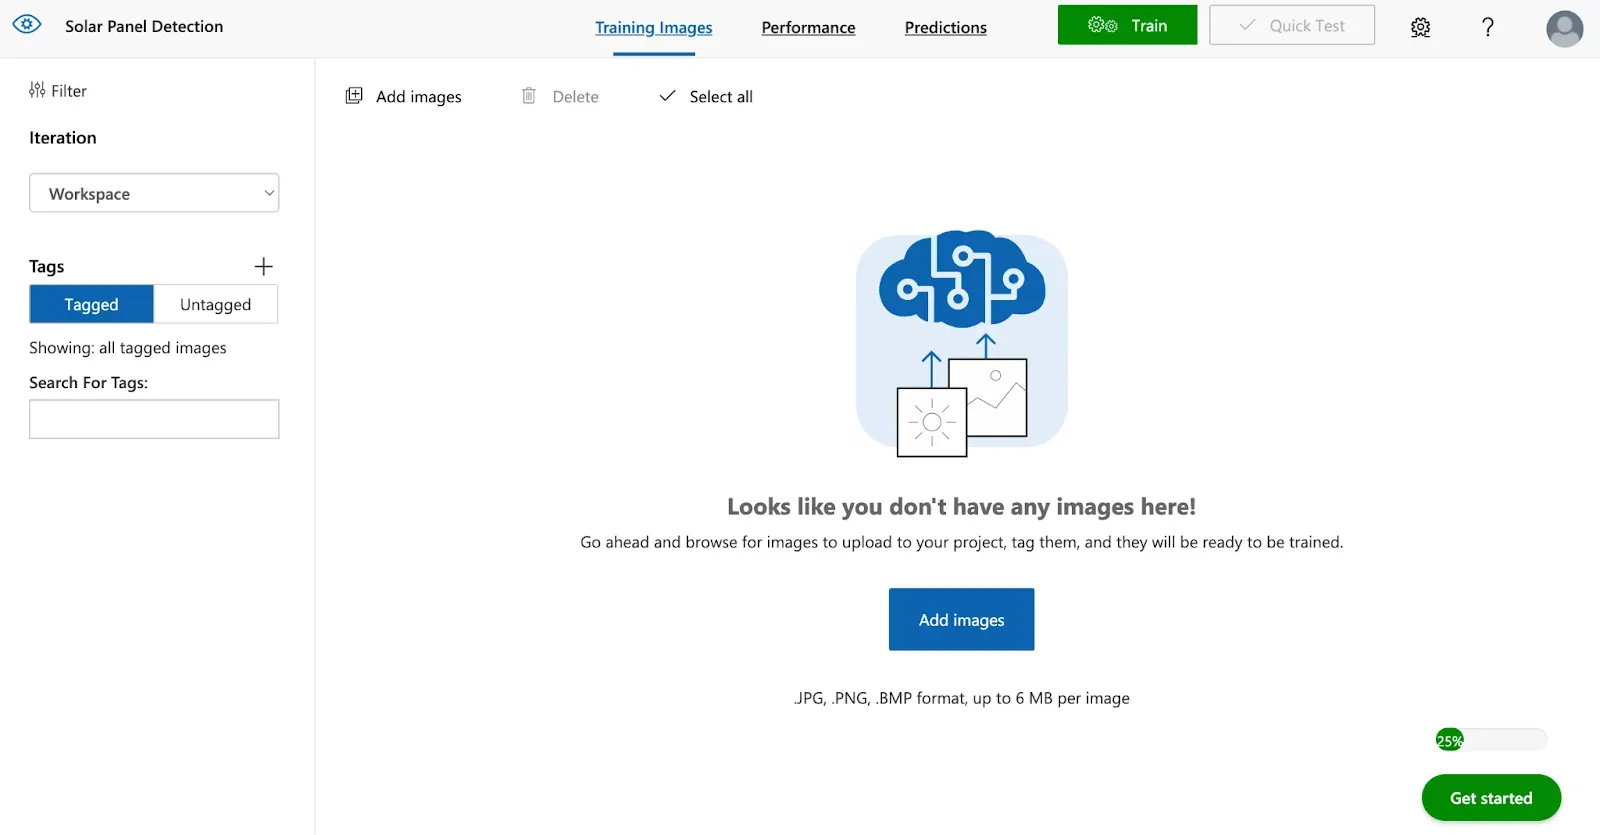
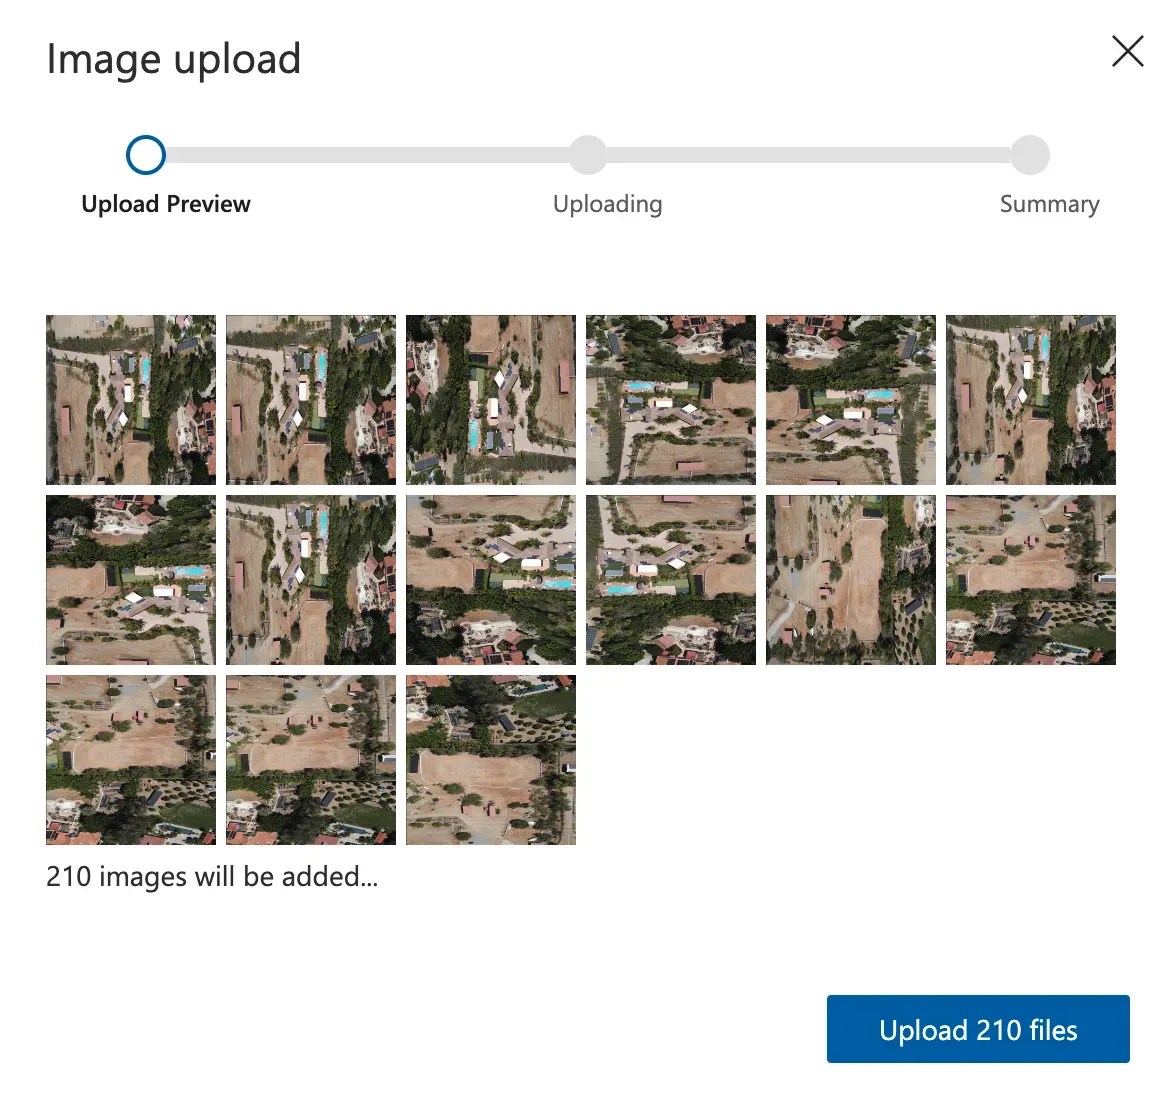
Once you have selected images to upload, a preview window will appear showing some of the images you have uploaded. Click the “Upload files” button to upload your images.
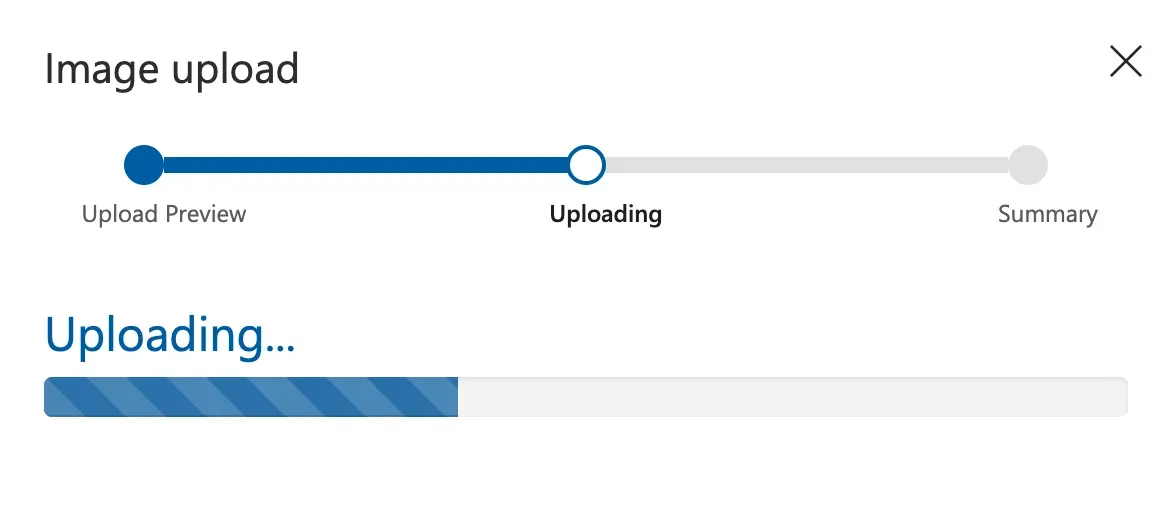
A progress bar will show the status of the image upload process. When your images have been uploaded, you will be able to label them in Azure Custom Vision.
Step #4: Label an Image
Click on an image to start labeling.
A pop up will appear in which you can label the image you have selected.
Since we are labeling data for an object detection model, we need to draw bounding boxes around objects of interest. Azure Custom Vision provides two methods of labeling:
- Manual labeling, in which you draw bounding boxes with your cursor.
- Automated labeling, in which Custom Vision attempts to label an object of interest.
To use the automated labeling solution, you must have a trained model on Azure Custom Vision.
To label an object manually, click on a point at the edge of an object of interest and drag to draw a bounding box.
To label objects automatically, first train a version of your model. Then, a “Suggested objects on” toggle will appear on images in the Custom Vision labeling tool. When you toggle the option, Custom vision will use your model to label an image.
Continue to label all of the images in your dataset. Then, you can train a model using Azure Custom Vision. Read our guide on training models in Azure Custom Vision.
If you need a faster way to annotate images, check out Roboflow Annotate. Roboflow Annotate provides label assistant features you can use to speed up the annotation process. With Smart Polygon, you can draw polygon annotations by clicking on an object rather than manually drawing boxes or polygons.
You can also use model-assisted labeling with models hosted on Roboflow Universe. This allows you to use one of 50,000+ models to automatically recommend annotations while you are labeling images. Learn more about how to label models with Universe-powered model-assisted labeling.
Next Steps
In this guide, we have walked through how to label a computer vision dataset with Azure Custom Vision. Custom Vision supports labeling data and training models for object detection and classification projects.
We also discussed two options for collecting data: searching Roboflow Universe for relevant datasets or collecting images on the edge using Roboflow Collect.
After you have labeled your images, you can train your model in Azure Custom Vision. To learn more about training a model in Custom Vision, read our full guide to training models in Custom Vision.