What is Roboflow Inference?
Roboflow Inference is an opinionated tool for running inference on state-of-the-art computer vision models.
With no prior knowledge of machine learning or device-specific deployment, you can deploy a computer vision model to a range of devices and environments. Inference supports running fine-tuned object detection, classification, and instance segmentation models, and running foundation models (CLIP and SAM).
The following models and architectures can be served with Inference:
- YOLOv5 (object detection, classification, segmentation)
- YOLOv7 (segmentation)
- YOLOv8 (object detection, classification, segmentation)
- CLIP
- SAM
Inference can be deployed in two commands across environments, from NVIDIA GPU devices to computers with ARM CPUs.
With Inference, you can access HTTP and UDP interfaces through which you can run models. This eliminates the need to write model-specific inference code directly in your application.
In this guide, we are going to walk through how to deploy a computer vision model to GCP Compute Engine using Roboflow Inference. We will deploy a computer on GCP and walk through getting Roboflow Inference set up with a model.
Inference is free to use. More advanced features such as device management are available with a Roboflow Enterprise license. Roboflow Enterprise license holders also have access to field engineers who can assist with integration and benchmarking.
Without further ado, let’s get started!
Deploy Roboflow Inference on GCP Compute Engine
To follow this guide, you will need:
- A GCP account.
- A Roboflow account.
- A trained model in YOLOv5, YOLOv7, or YOLOv8 format.
Inference supports deploying models trained on Roboflow and foundation models such as SAM and CLIP. In this guide, we will walk through running inference on a model trained on Roboflow. you do not yet have a trained model on Roboflow, check out the Roboflow Getting Started guide. The Getting Started guide shows how to label images in and train a model on Roboflow.
For this guide, we will deploy a construction site safety model.
Step #1: Create a Virtual Machine
Open Google Cloud Platform and search for “Compute Engine”:
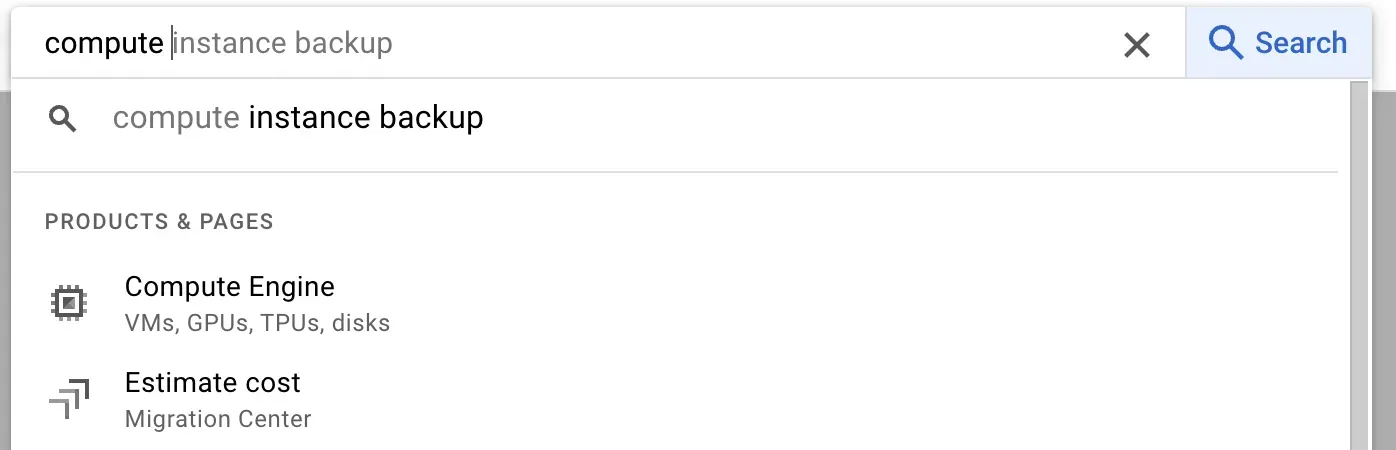
Open Compute Engine and click the “Create Instance” button to create a virtual machine.
Next, you need to configure your instance. The requirements for configuration depend on your use case. If you are deploying a server for production, you may opt for a more powerful machine configuration. If you are testing a model and plan to deploy on another machine in the future, you may instead opt to deploy a less powerful machine.
You can deploy Roboflow Inference on CPU and GPU devices. We recommend deploying on GPU for the highest performance. But, GPU devices are most costly to run and there is additional setup associated with using GPUs. For this guide, we will focus on CPUs.
A cost panel will appear on the right of the screen that estimates the cost of the machine you are deploying.
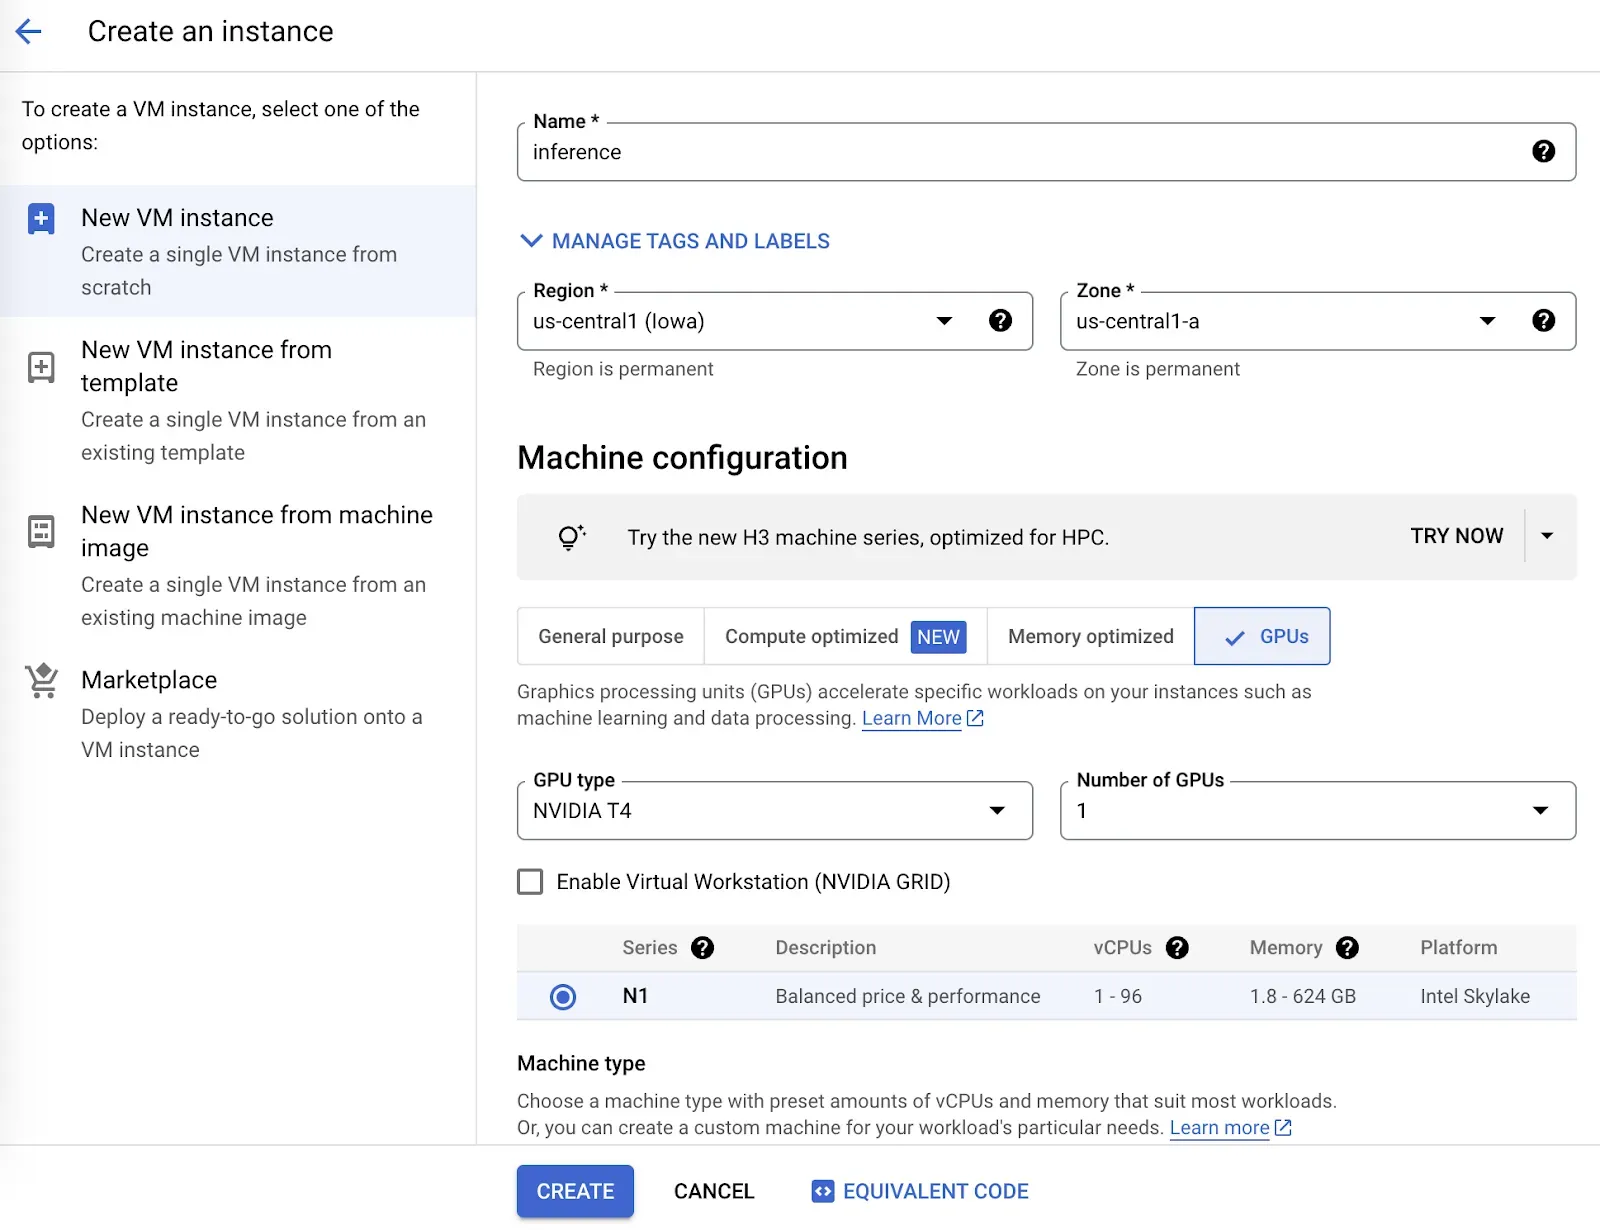
Fill out the required fields to configure your virtual machine. Then, click the “Create” button to create a virtual machine. It will take a few moments before your machine is ready. You can view the status from the Compute Engine Instances page:
Step #2: Sign in to the Virtual Machine
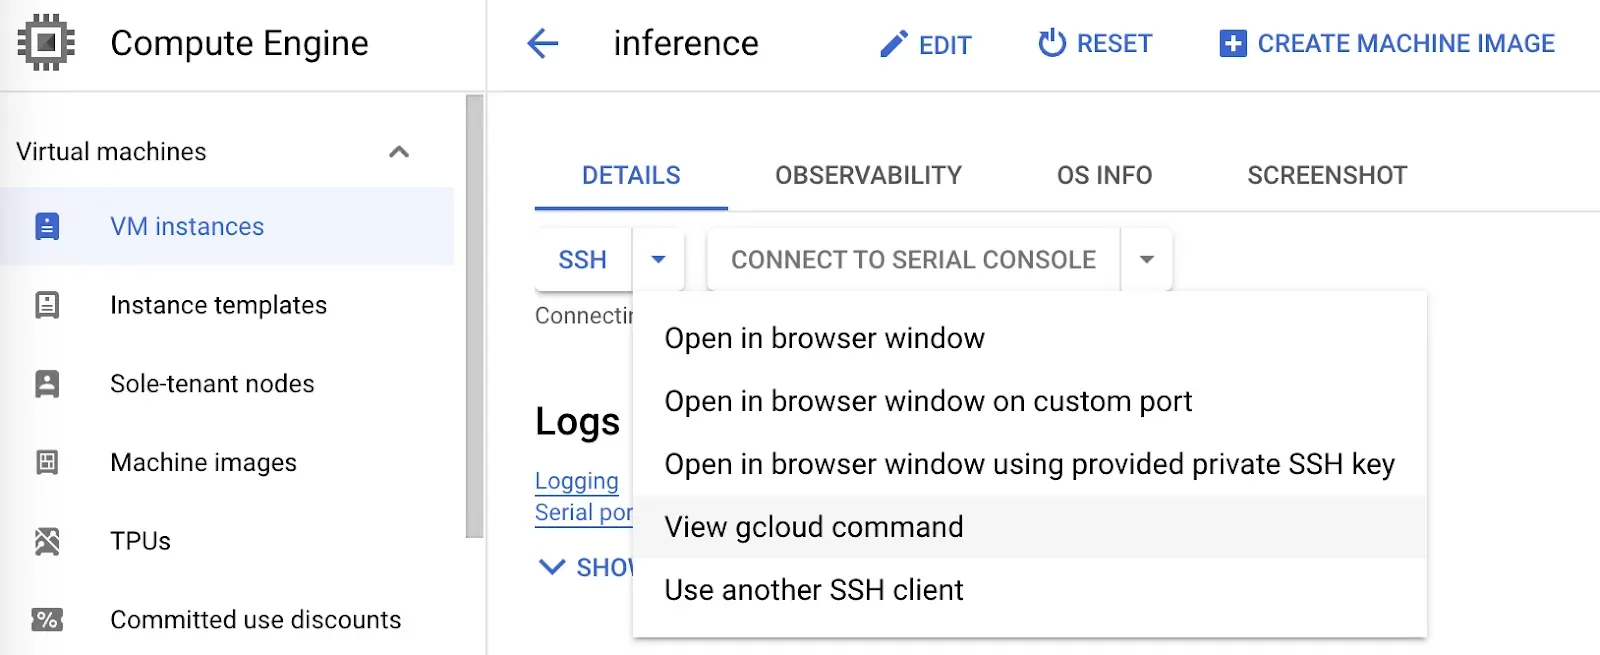
When your virtual machine has been deployed, click on the machine name in the list of virtual machines on the Compute Engine Instances page.
For this guide, we will sign into our virtual machine using SSH in a terminal. You can SSH via the GCP web interface if you prefer.
To sign in using SSH in a terminal, click the arrow next to the SSH button and click “View gcloud command” If you have not already installed gcloud, follow the gcloud installation and configuration instructions to get started.
With gcloud installed, run the command provided by GCP. The command will look something like this:
gcloud compute ssh --zone "europe-north1-a" "inference" --project "your-project-name"After you run the command, a terminal will open in which you can deploy your model.
Step #3: Install Roboflow Inference
Now we have a virtual machine ready, we can install Roboflow Inference. In this guide, we are deploying on a CPU machine. Thus, we will walk through the CPU installation instructions. If you are deploying on an NVIDIA GPU, refer to the Roboflow Inference Docker installation instructions to install Inference.
Whether you are using a GPU or CPU, there are three steps to install Inference:
- Install Docker.
- Pull the Inference Docker container for your machine type.
- Run the Docker container.
The Docker installation instructions vary by operating system. To find out the operating system your machine is using, run the following command:
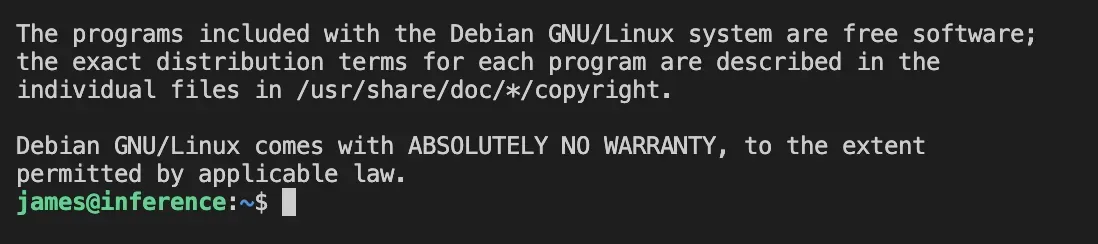
lsb_release -aYou will see an output like this:
No LSB modules are available.
Distributor ID: Debian
Description:    Debian GNU/Linux 11 (bullseye)
Release:        11
Codename:       bullseye
In this example, we are deploying on a Debian machine. Thus, we need to follow the Debian Docker installation instructions. Follow the Docker installation instructions for your machine.
Once you have installed Docker, you can install Inference. Here is the command to install Inference on a CPU:
docker pull roboflow/roboflow-inference-server-cpuYou will see an interactive output that shows the status of downloading the Docker container.

Once the Docker container has downloaded, you can run Inference using the following command:
docker run --network=host roboflow/roboflow-inference-server-cpu:latestBy default, Inference is deployed at http://localhost:9001.
Step #4: Run a Model
Inference runs models locally. Thus, you need to download a model and load it into Inference before you can use the model. Model downloads and loading happen automatically when you make a web request to a new model for the first time.
If you are deploying a model hosted on Roboflow, go to the Roboflow dashboard and select your project. Then, click the Versions link in the sidebar of your project. For this guide, we will be deploying a construction site safety model.
Next, create a new Python file and add the following code:
import requests

dataset_id = ""
version_id = "1"
image_url = ""

api_key = "ROBOFLOW_API_KEY"
confidence = 0.5

url = f"http://localhost:9001/{dataset_id}/{version_id}"

params = {
    "api_key": api_key,
    "confidence": confidence,
    "image": image_url,
}

res = requests.post(url, params=params)

print(res.json())
In the code above, replace the following values with the information available on the Version page we opened earlier:
- dataset_id: The ID of your dataset (in this example, “construction-safety-dkale”).
- version_id: The version you want to deploy (in this example, 1).
- image_url: The image on which you want to run inference. This can be a local path or a URL.
- api_key: Your Roboflow API key. Learn how to retrieve your Roboflow API key.
When you have substituted the requisite values, run the Python script.
The first request will take a few moments to process because your model will be downloaded to Inference. After your model has been downloaded, Inference will process requests using the downloaded model.
Next Steps
Now that you have Inference configured on your machine, the next step is to set up a web server such as nginx so you are able to query your Inference endpoint from different machines. All requests are authenticated using your Roboflow API key. Alternatively, you can deploy your model as part of a VPC so that only certain systems can query your Inference server.
Inference is designed with high performance setups in mind. Roboflow uses Inference to power millions of API calls going to the over 50,000 models deployed on Roboflow. We serve vision deployment needs for some of the world’s largest enterprises.
With a Roboflow Inference Enterprise License, you can access additional Inference features, including:
- Server cluster deployment
- Device management
- Active learning
- YOLOv5 and YOLOv8 model sub-license
Contact the Roboflow sales team to learn more about Roboflow Enterprise offerings.
When you are ready to start writing logic that uses your model, check out supervision. supervision is an open source Python package that provides a range of utilities for use in building computer vision applications. supervision is actively maintained by the Roboflow team.
With supervision, you can:
- Filter predictions by class, box area, confidence, and more.
- Plot object detection and segmentation predictions on an image.
- Use ByteTrack for object tracking.
- Use SAHI for small object detection.
- And more.
To see the full range of capabilities available in supervision, read the supervision documentation.
Furthermore, check out Templates, a collection of detailed guides that show how to implement various logic that uses predictions, from sending emails when a prediction is returned to reading analog dials.