AWS Rekognition is Amazon Web Services’ computer vision platform. With Rekognition, you can label data for, train, and deploy computer vision models. Rekognition is integrated with S3 and accepts data in the SageMaker Studio format. Roboflow has an export to Rekognition option that you can use to bring your data directly into AWS Rekognition, too.
In this guide, we are going to walk through how to train a computer vision model with AWS Rekognition Custom Labels. We will label data in Roboflow, import data into AWS Rekognition Custom Labels, train a model, and evaluate the model.
Without further ado, let’s get started!
Train a Model with AWS Rekognition
To follow this tutorial, you will need an AWS account and a free Roboflow account. Once you have an AWS and Roboflow account, you are ready to get started.
Step #1: Label Data for Use in Model Training
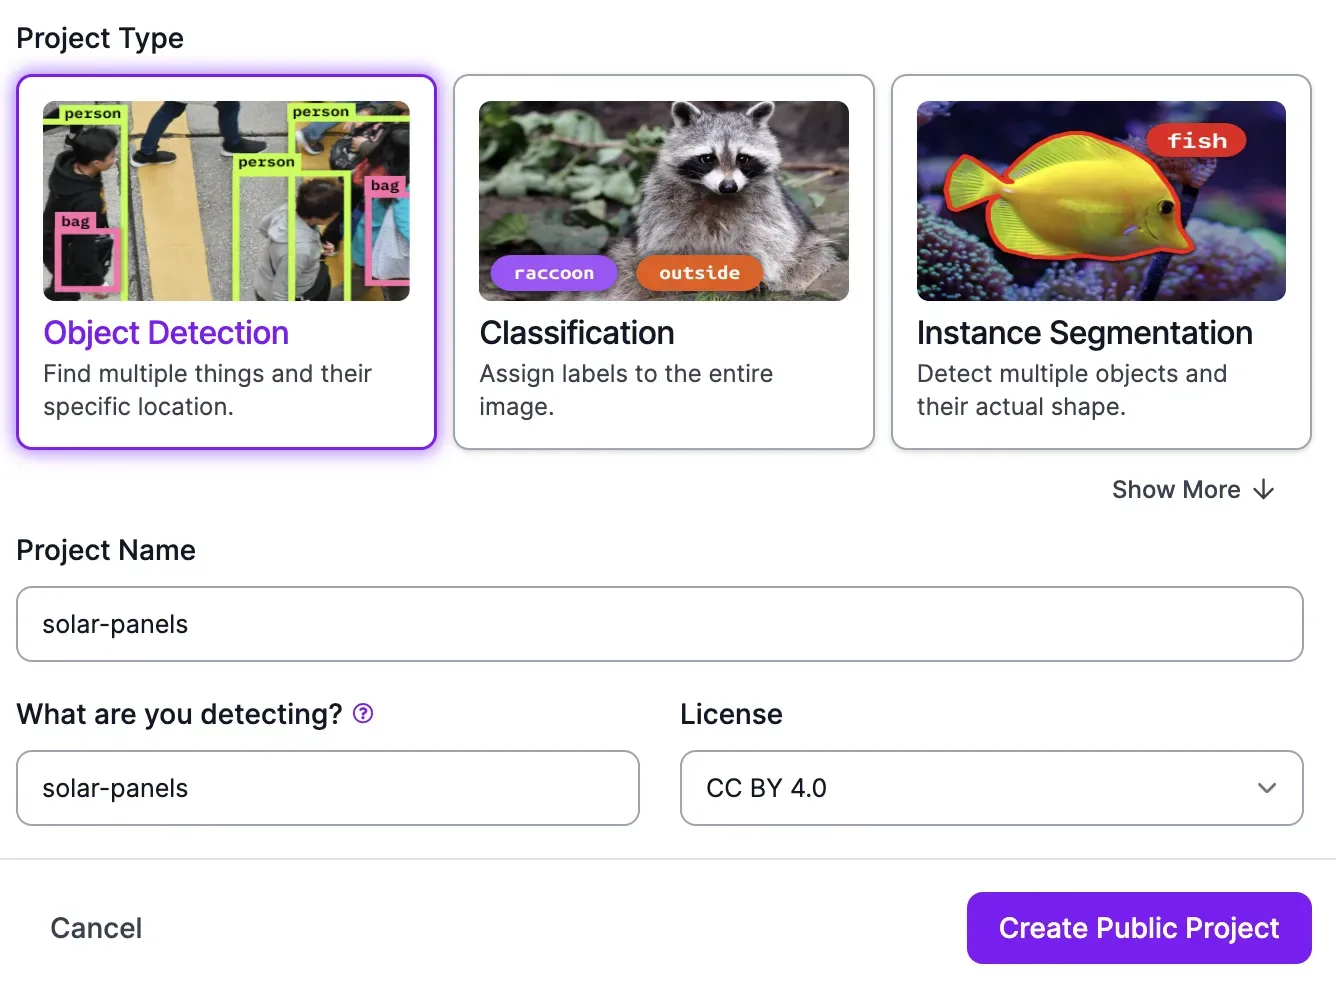
Go to the Roboflow dashboard and click the “Create a Project” button. A form will appear asking you to select a project name, the type of object(s) you want to identify, and a project type. Provide the requested information, then click “Create Project”.
Next, upload your images and any annotations you have to the Roboflow platform. You can label unannotated images in Roboflow and inspect and adjust annotated images. Roboflow supports annotations in over 30 different formats.
To upload your images, first drag in a folder of your images to the Roboflow web interface:
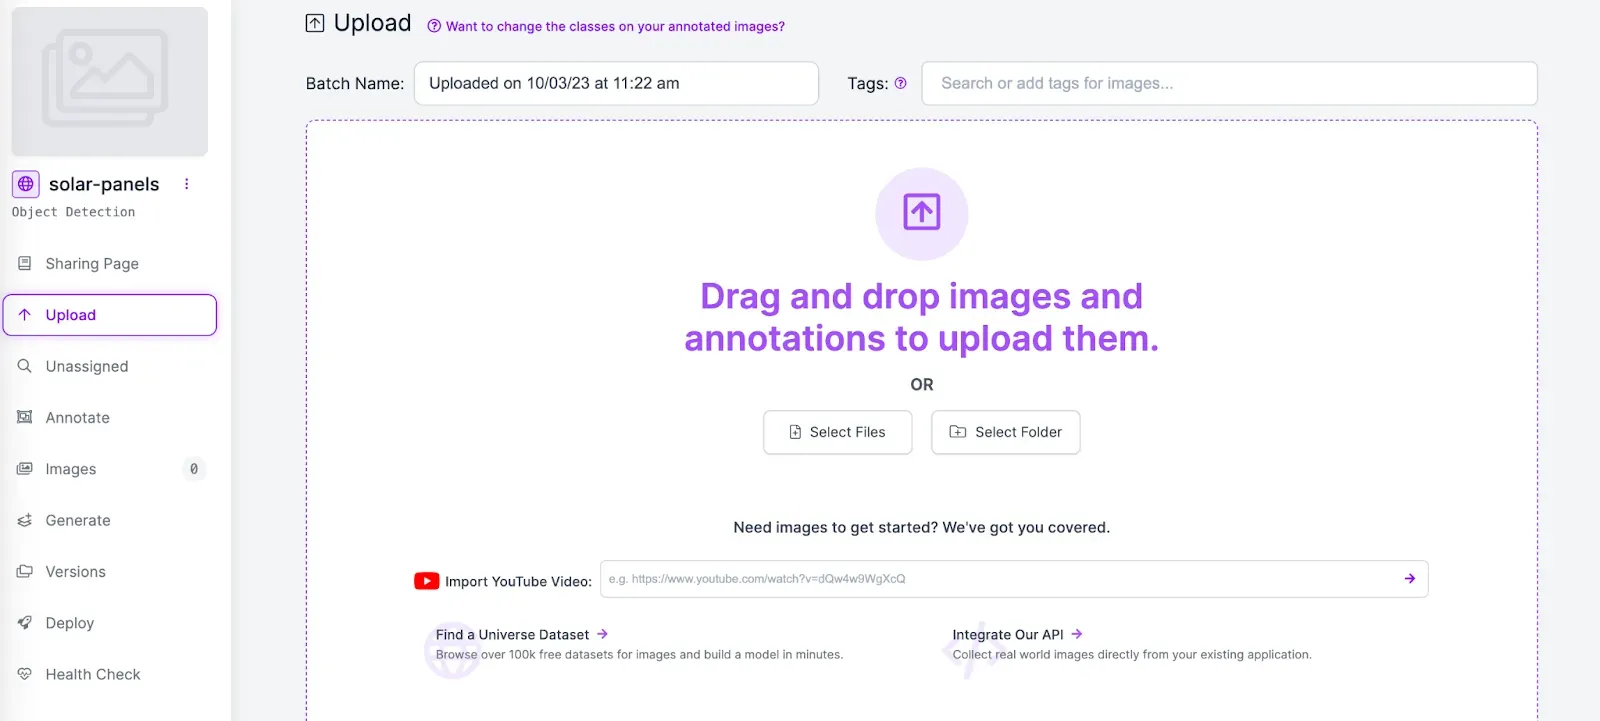
Once you have dragged your images into the web interface, click “Upload Images”. Your images will then be uploaded to the Roboflow platform. The amount of time this process takes depends on the number of images in your dataset.
After your images have been uploaded, you can start annotating your data. Click on an image to start annotating.
To draw a bounding box, press “b” on your keyboard or select the bounding box tool in the right control panel. Then, click where you want to start drawing a box and drag until you have finished drawing the box. You can then create or choose a class to assign to the box.
To learn more about the Roboflow annotation tool, check out the complete guide to using Roboflow to annotate data.
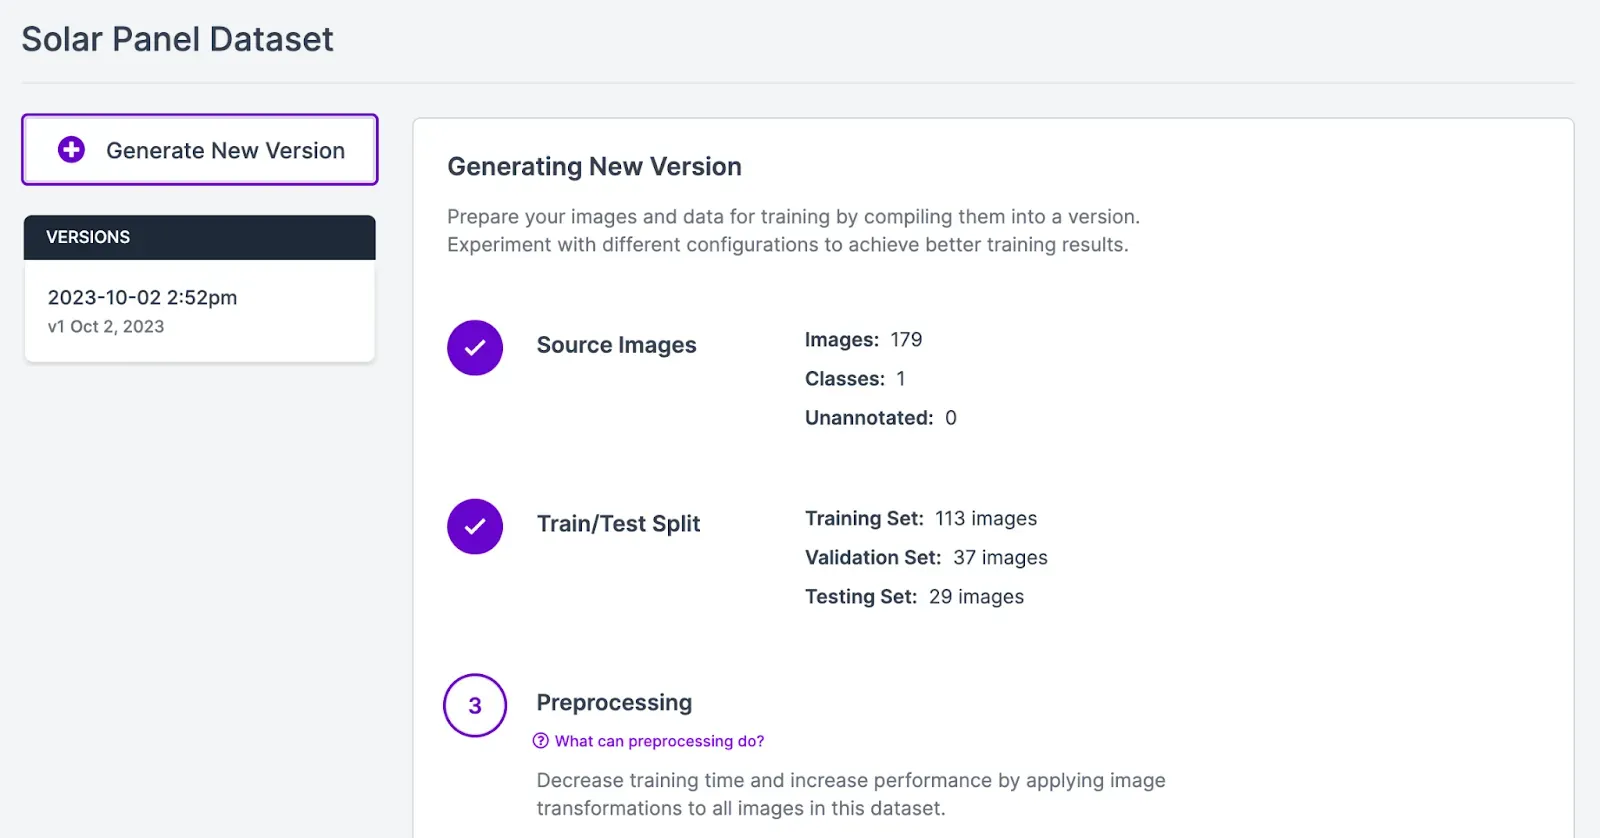
Once you have labeled your data, click “Versions” in the sidebar of the Roboflow product to generate a project version. Here, you can preprocess your data and apply augmentations. Learn more about preprocessing and augmentation best practices.
We recommend leaving the preprocessing steps as defaults for your first model version, and reading our guidance on augmentations to evaluate which ones may be appropriate for the model you are training.
For this guide, we will apply a 90 degree rotate augmentation. This augmentation will help our model to perform effectively at different angles, a key consideration for aerial imagery like we are using in the example solar panel dataset in this guide.
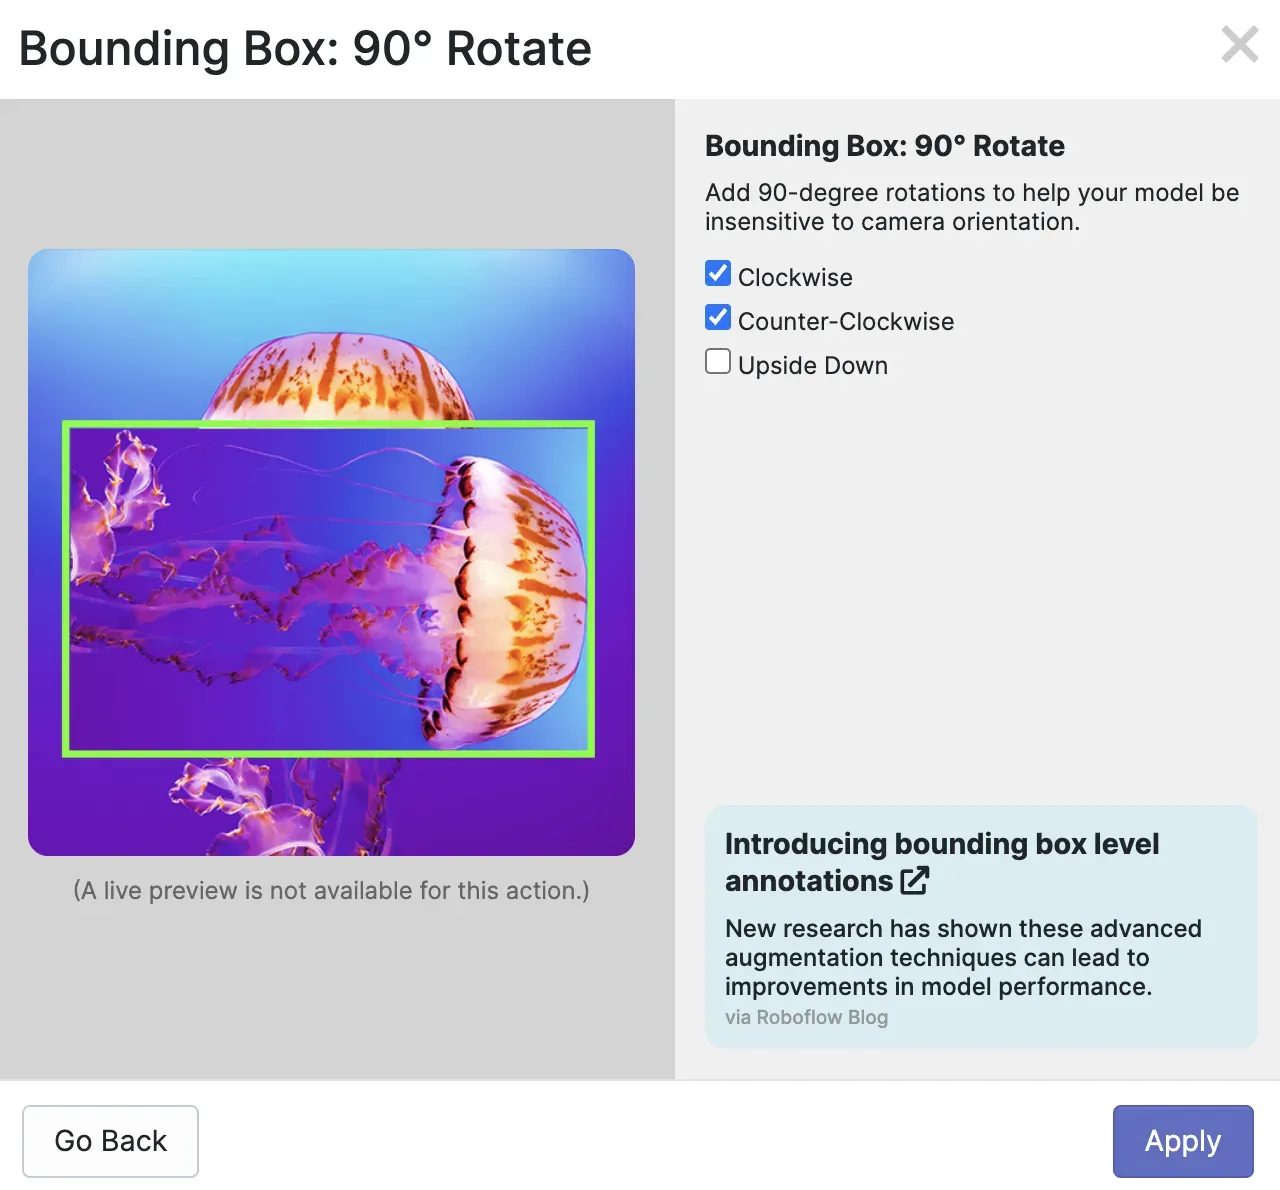
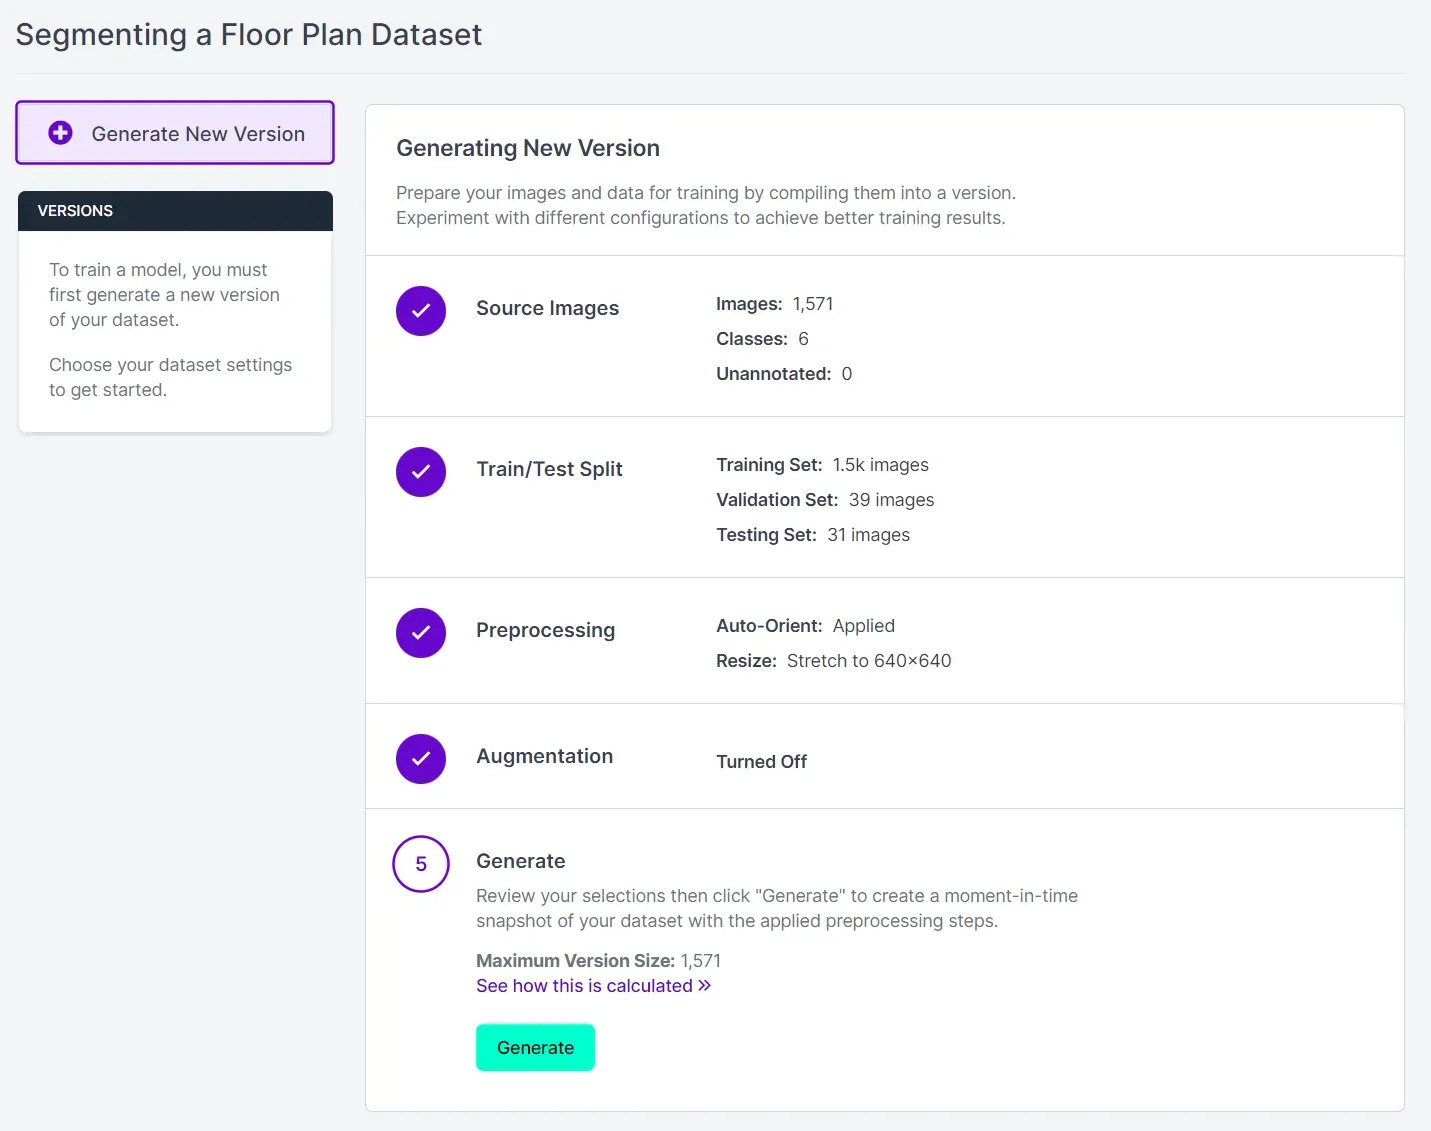
Click “Generate” at the bottom of the page to generate a dataset.
Your dataset will be generated. We will come back to the dataset in the next step.
Step #2: Create an AWS Rekognition Project
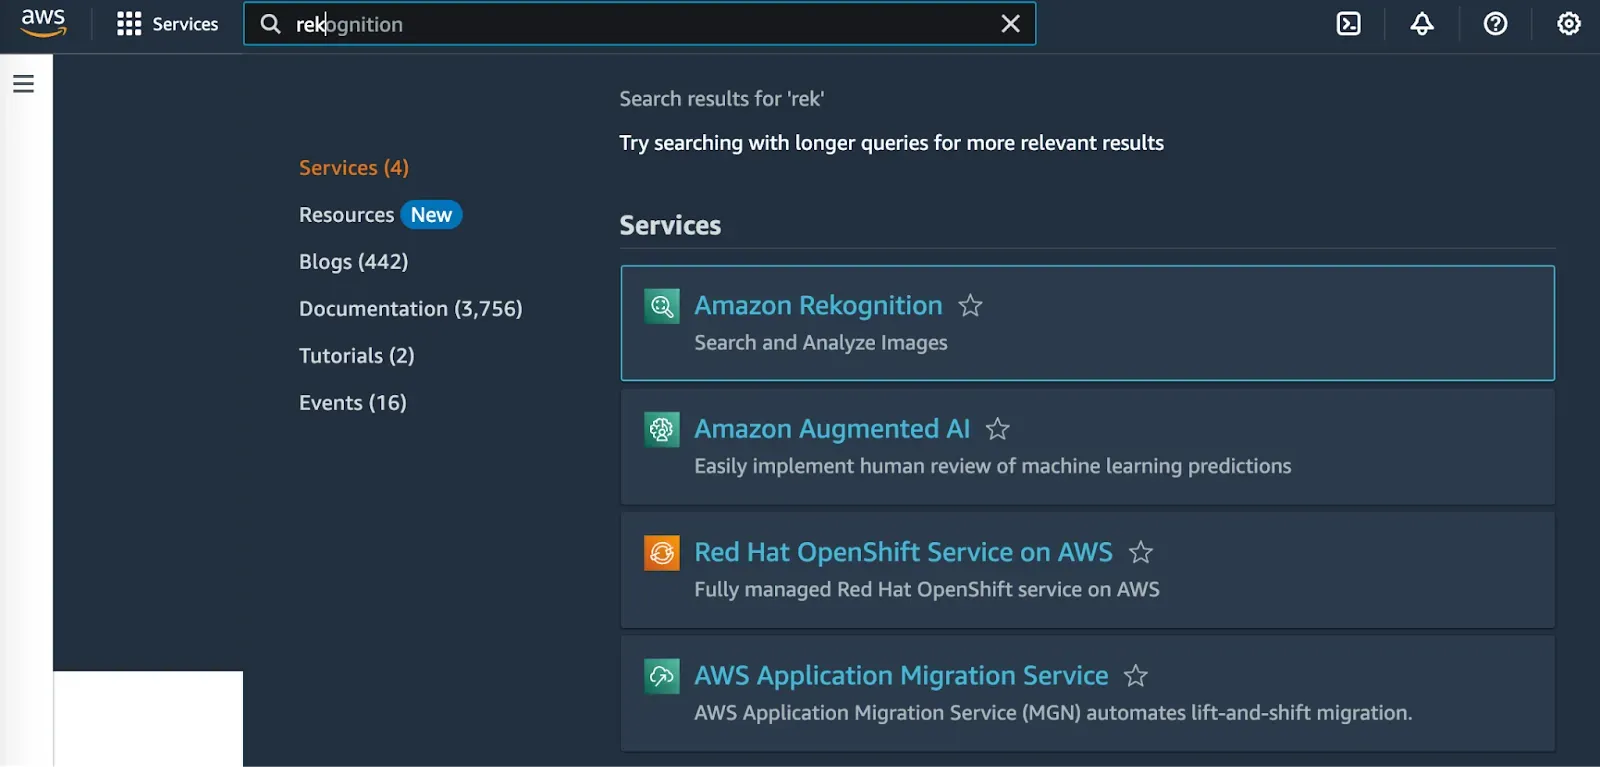
Open up the AWS Console and search for “Rekognition”. Open Amazon Rekognition.
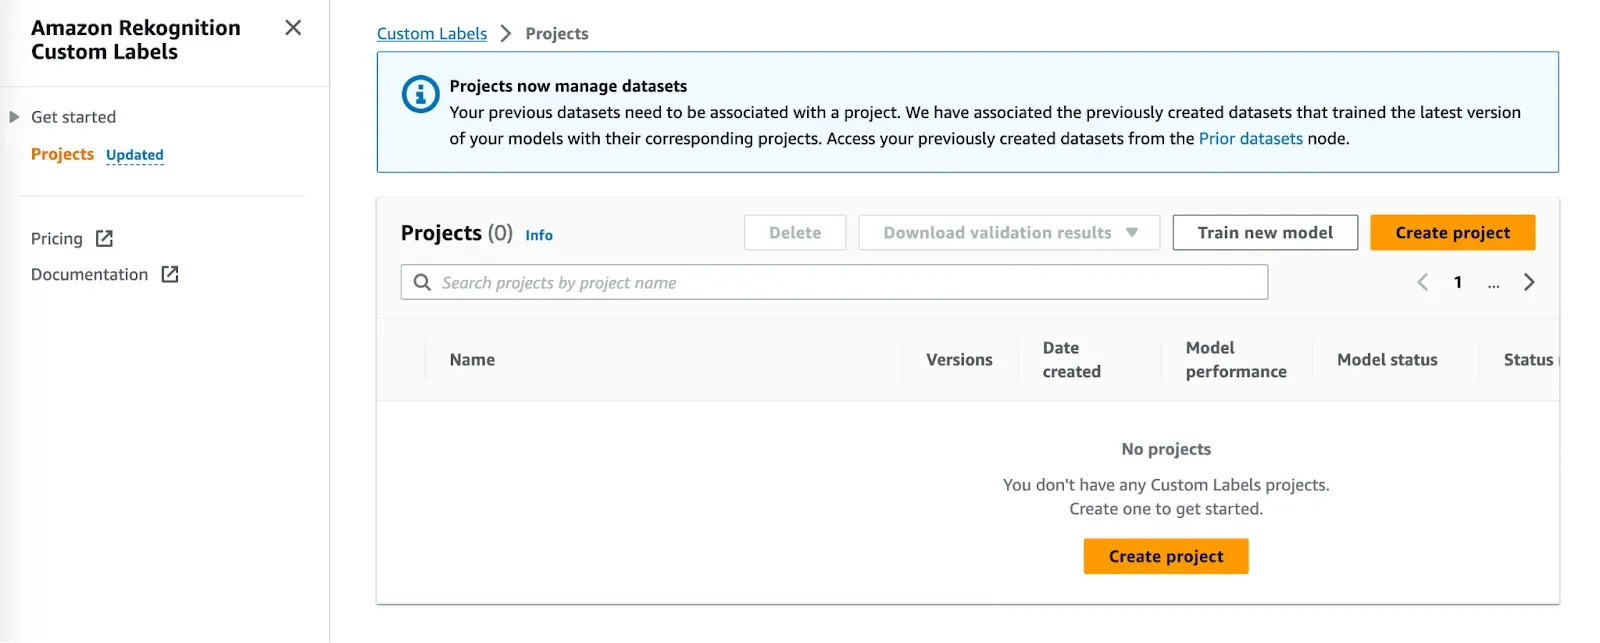
Next, click “Use custom labels” in the Rekognition sidebar and then click “Projects”. Here, you can create a project. Click “Create project” to create a project.
Next, choose a name for your project then click “Create project”:
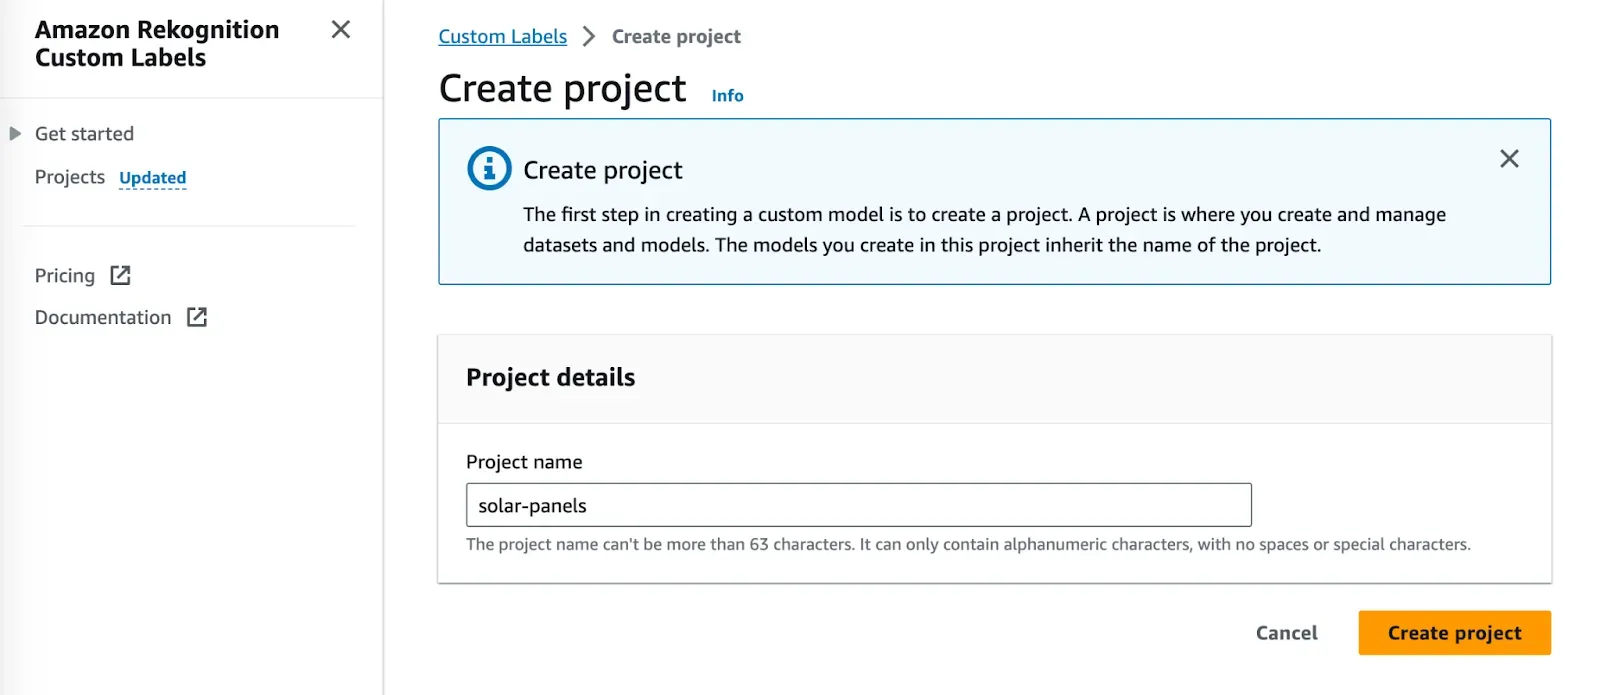
Your project will be available in the Projects list in Custom Labels and in the sidebar in the Custom Labels dashboard.
Step #3: Create an AWS Rekognition Dataset
Open your project in AWS Rekognition Custom Labels. A panel will appear showing the four steps you need to complete to train and evaluate a model:
- Create a dataset
- Label images
- Train a model
- Check performance metrics
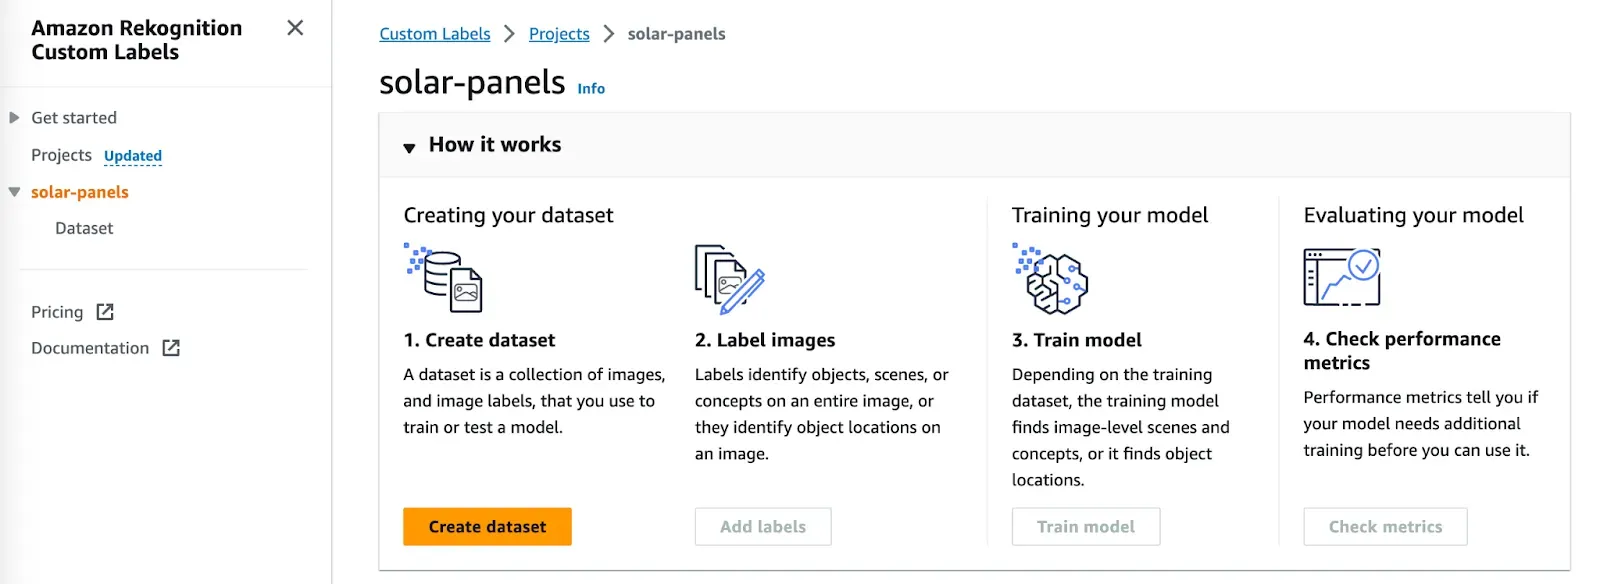
To get started, we need to create a dataset. Click the “Create dataset” button.
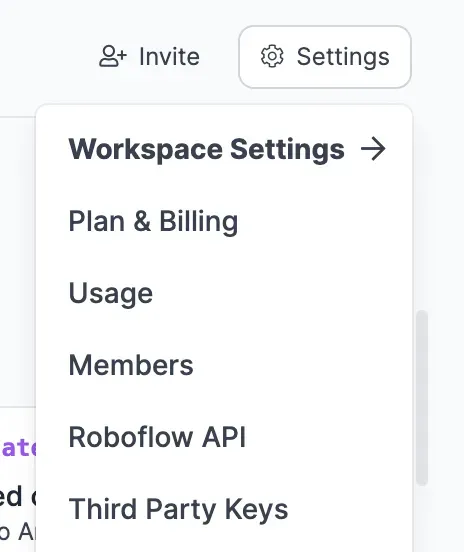
In a new tab, go to the Roboflow dashboard and click “Settings”, then click “Third party keys”.
On the Third party keys page, follow the link to create a programmatic access user. This user should have permission to write to S3. During user set up, click the “Attach policies directly” option then click “Create policy”.
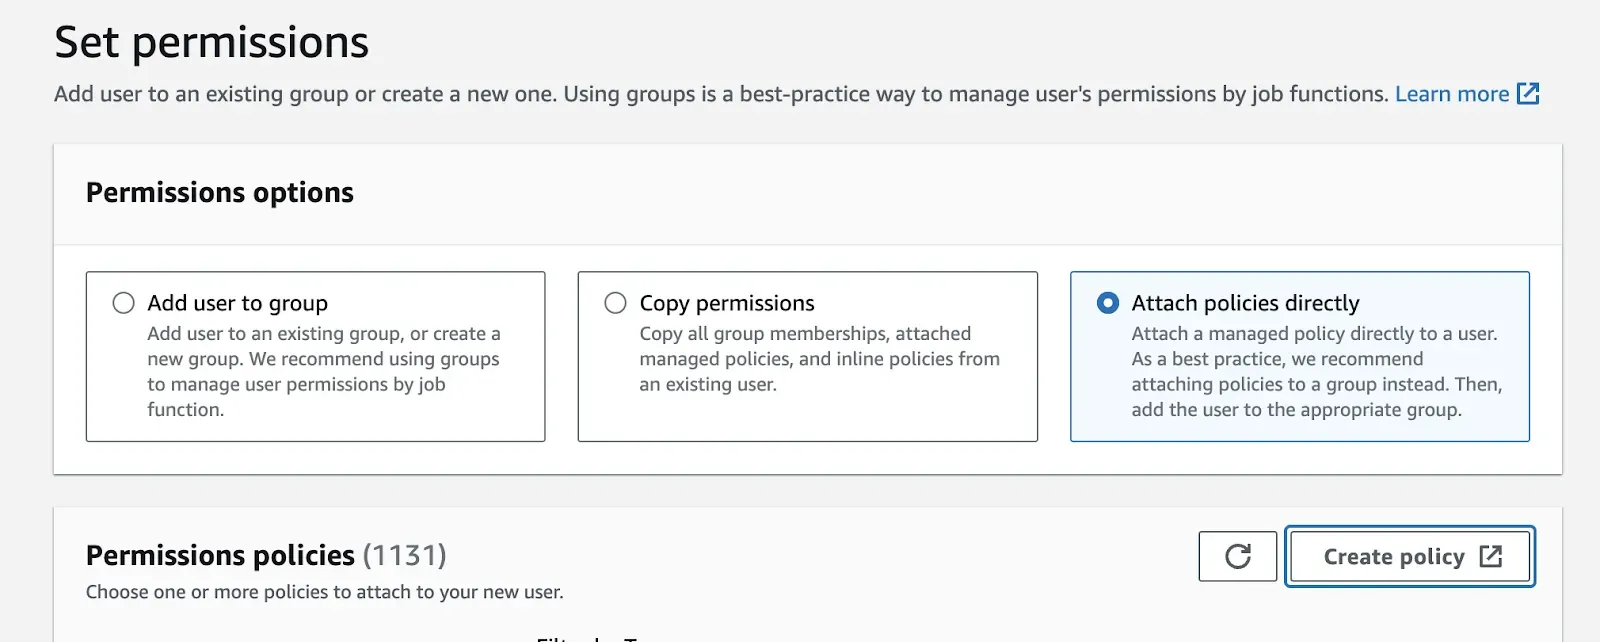
Copy the policy in the “these IAM policies” link on the Roboflow dashboard into a new policy:

Go back to creating a user click the refresh icon next to the “Create policy” button. Select the policy you created.

Once you have configured permissions, proceed to create your IAM user. You can create an access key using the “Access key” section on your IAM user page.
Copy the access keys into the relevant sections in your Roboflow settings.
Next, go back to the dataset you created in Roboflow earlier. Navigate to the Versions tab in the sidebar on your project page. Then, click the “Export Dataset” button. Here, you can export your dataset directly into AWS Rekognition.
Click the “AWS Rekognition Custom Labels” export option, then click “Continue”.
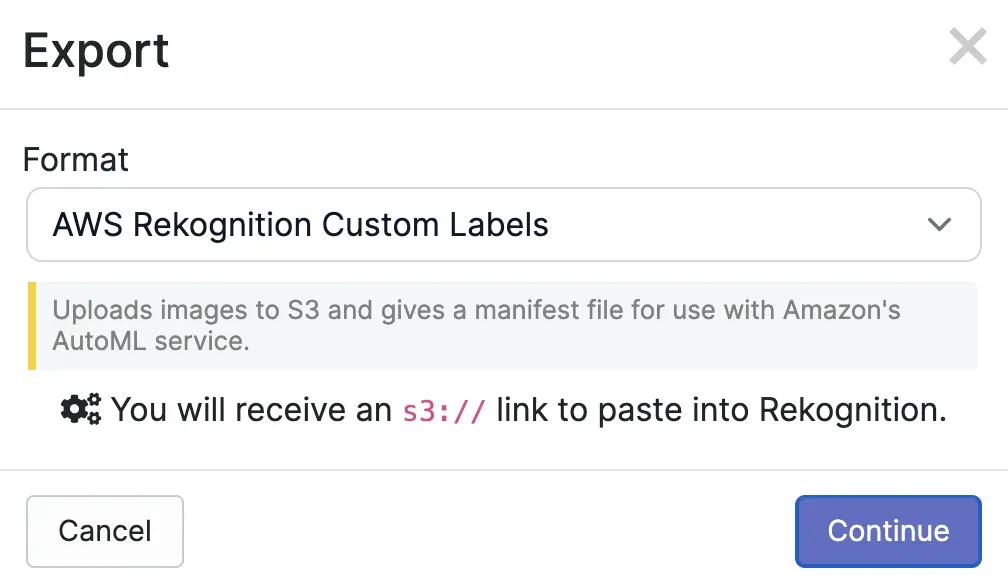
This will export your dataset into S3, Amazon’s storage service, and return two URLs you can use to import your labeled train and test datasets into AWS Rekognition.
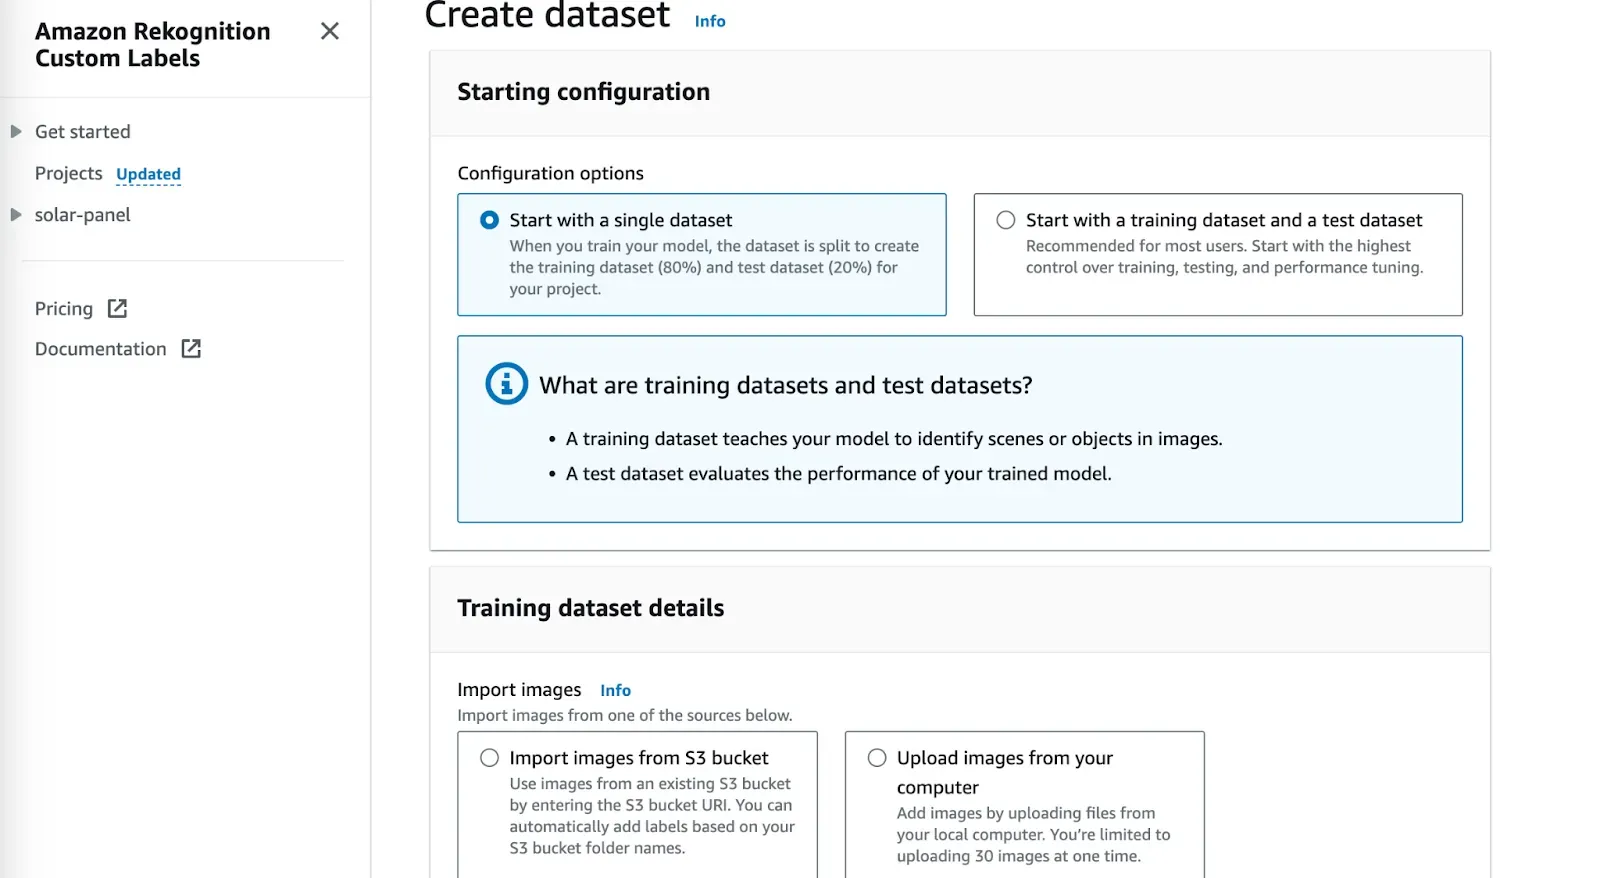
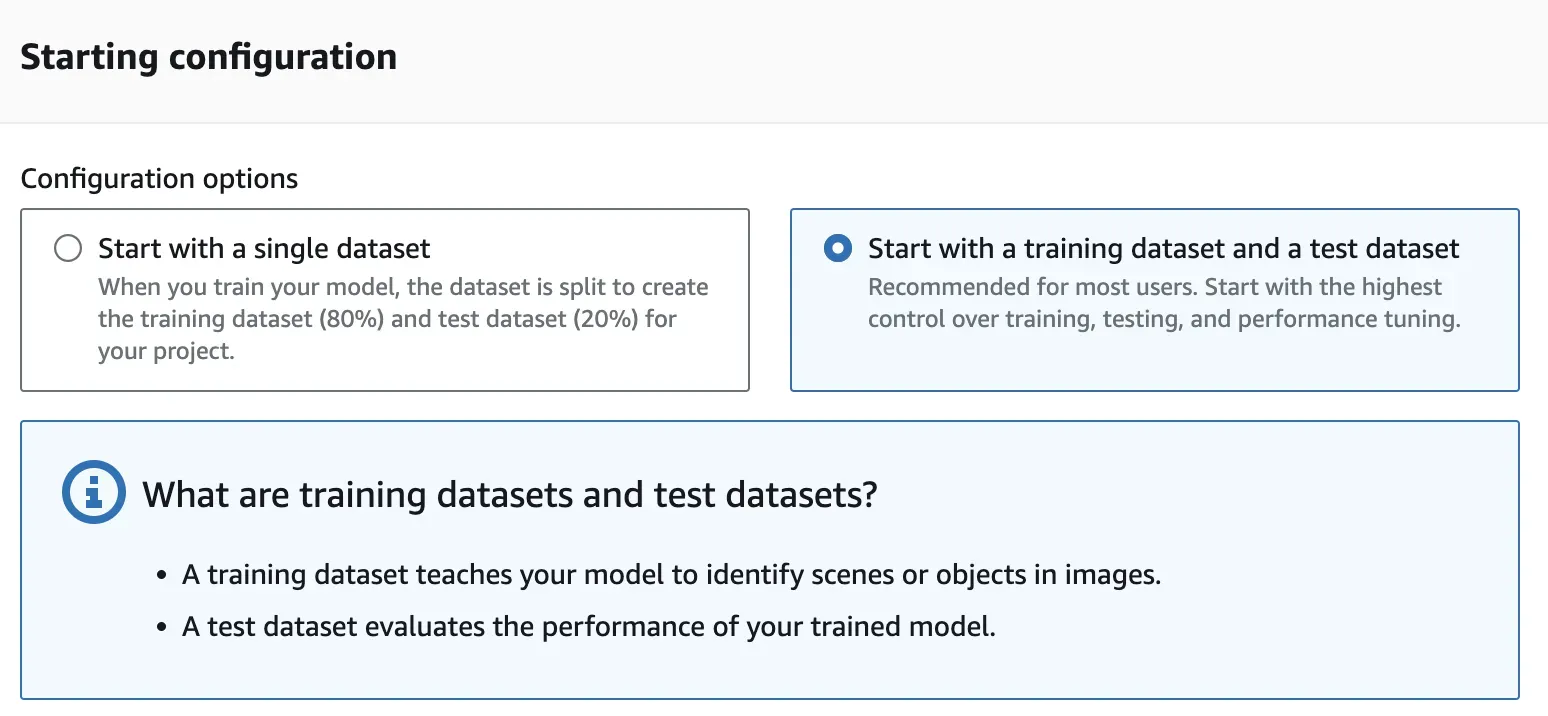
Return to the dataset creation page we opened in another tab earlier in the tutorial. Select the “Start with a training dataset and a test dataset” option:
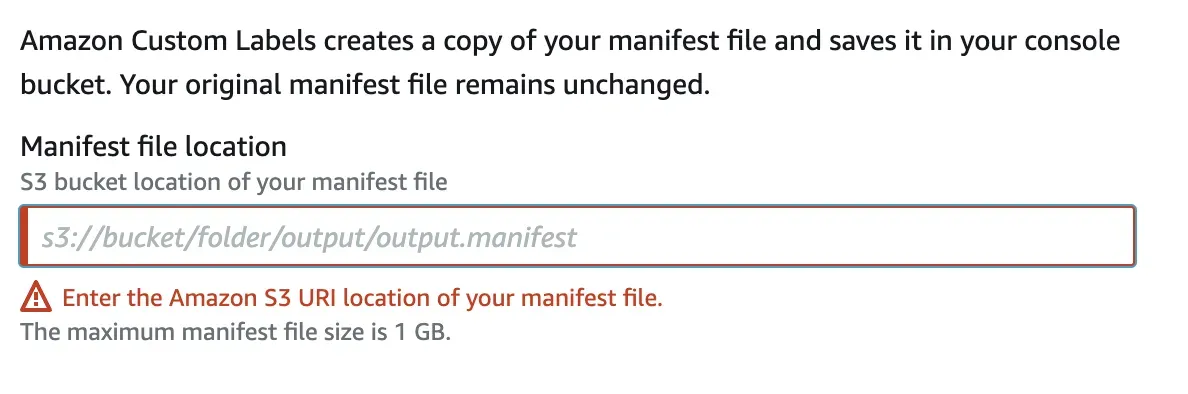
Then, select the “Import images labeled by SageMaker Ground Truth” option:
Copy the training and test URLs from the Roboflow dashboard and paste them in the corresponding boxes on the page.
Next, click “Create Datasets” at the bottom of the page to upload your data.
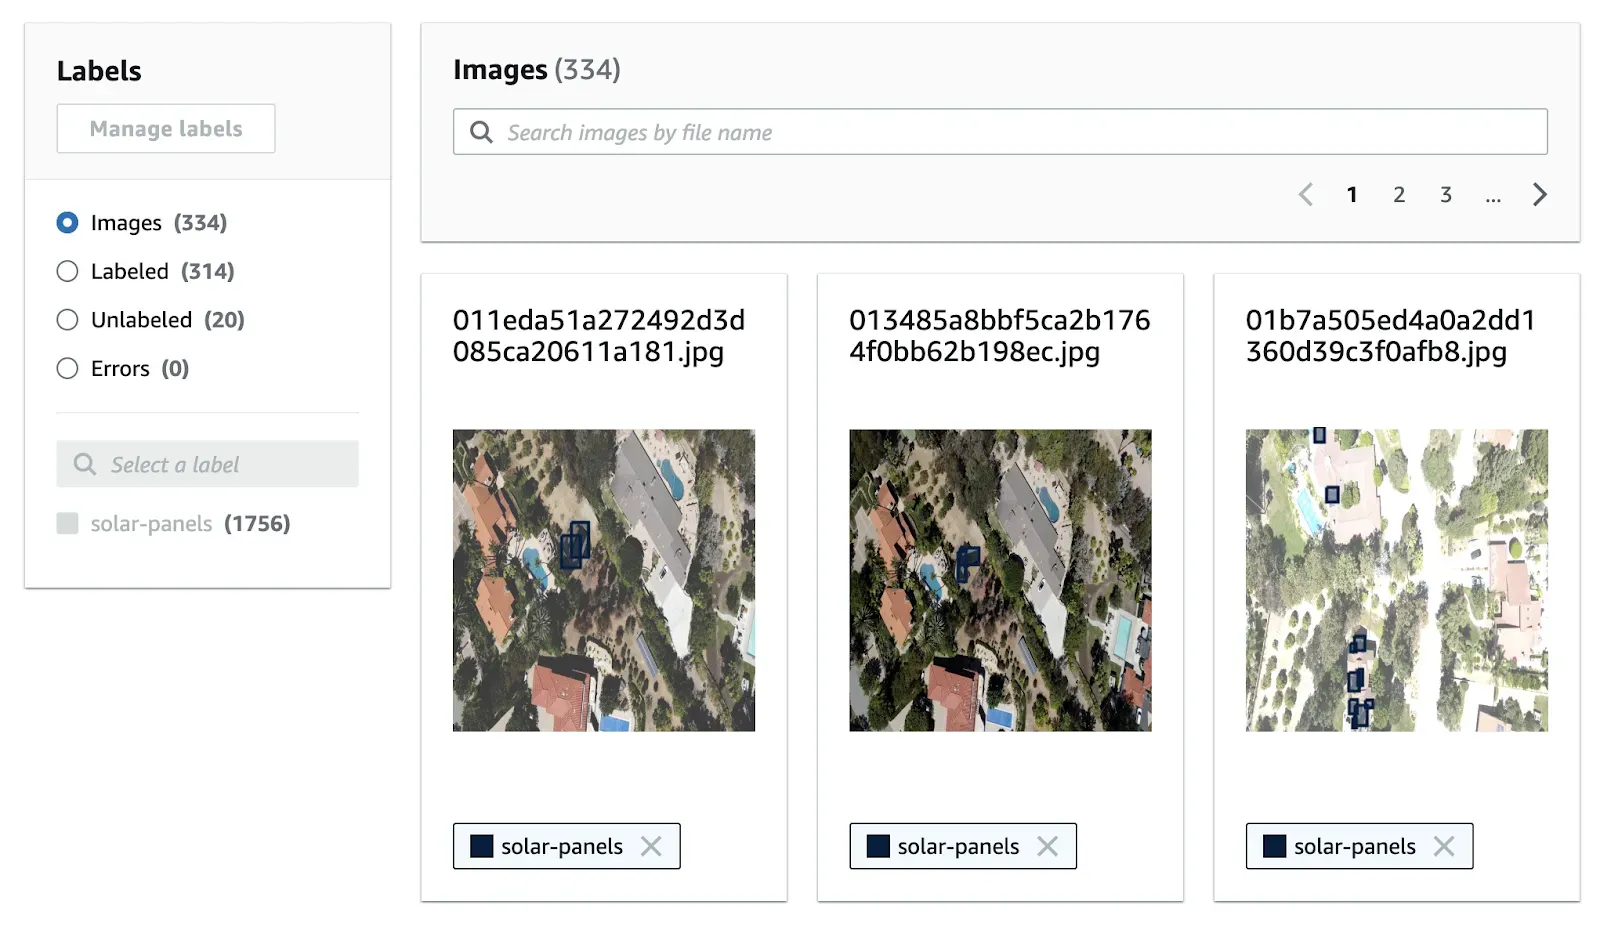
You will be able to see your labeled data in your Custom Labels project:
Step #4: Train a Model
Now we are ready to train a model.
Click the “Train model” button in the top right corner:

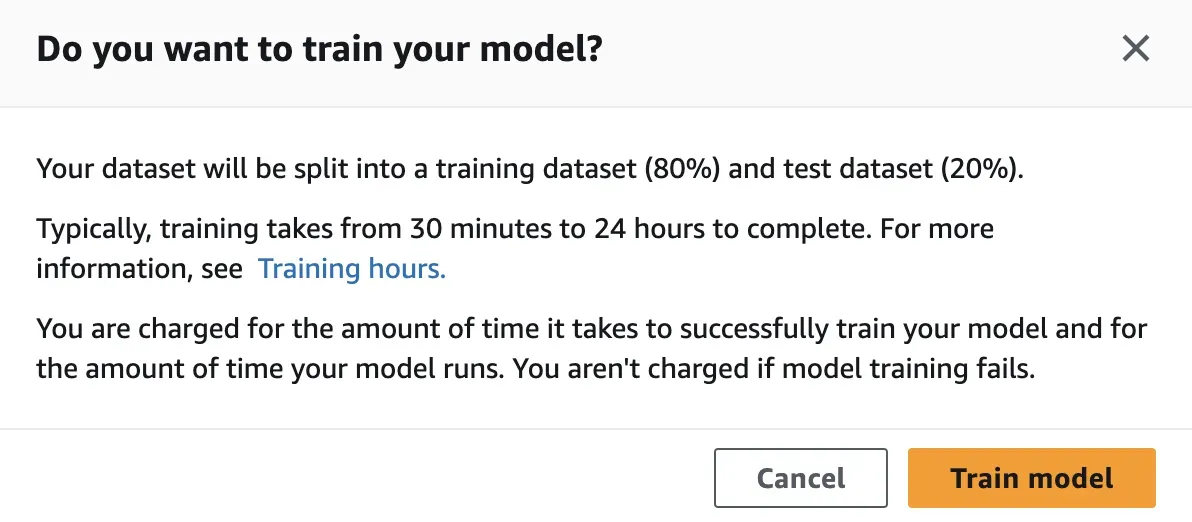
Fill out the required information to configure your model training, then continue to start training. A pop up will appear asking you whether you are ready to train your model. Read the disclaimer with regard to cost and training time. When you are ready, click “Train model”.
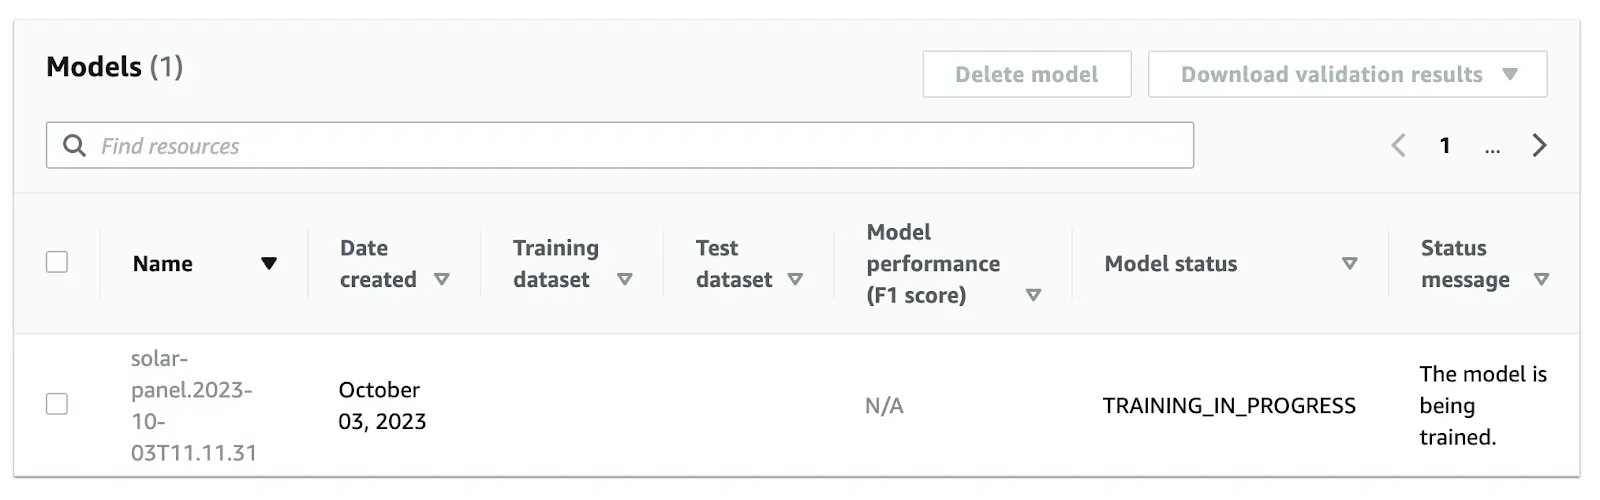
AWS states that training times can vary between 30 minutes and 24 hours. You can check whether your model has been trained from your Custom Labels project dashboard:
Step #5: Test and Deploy the Model
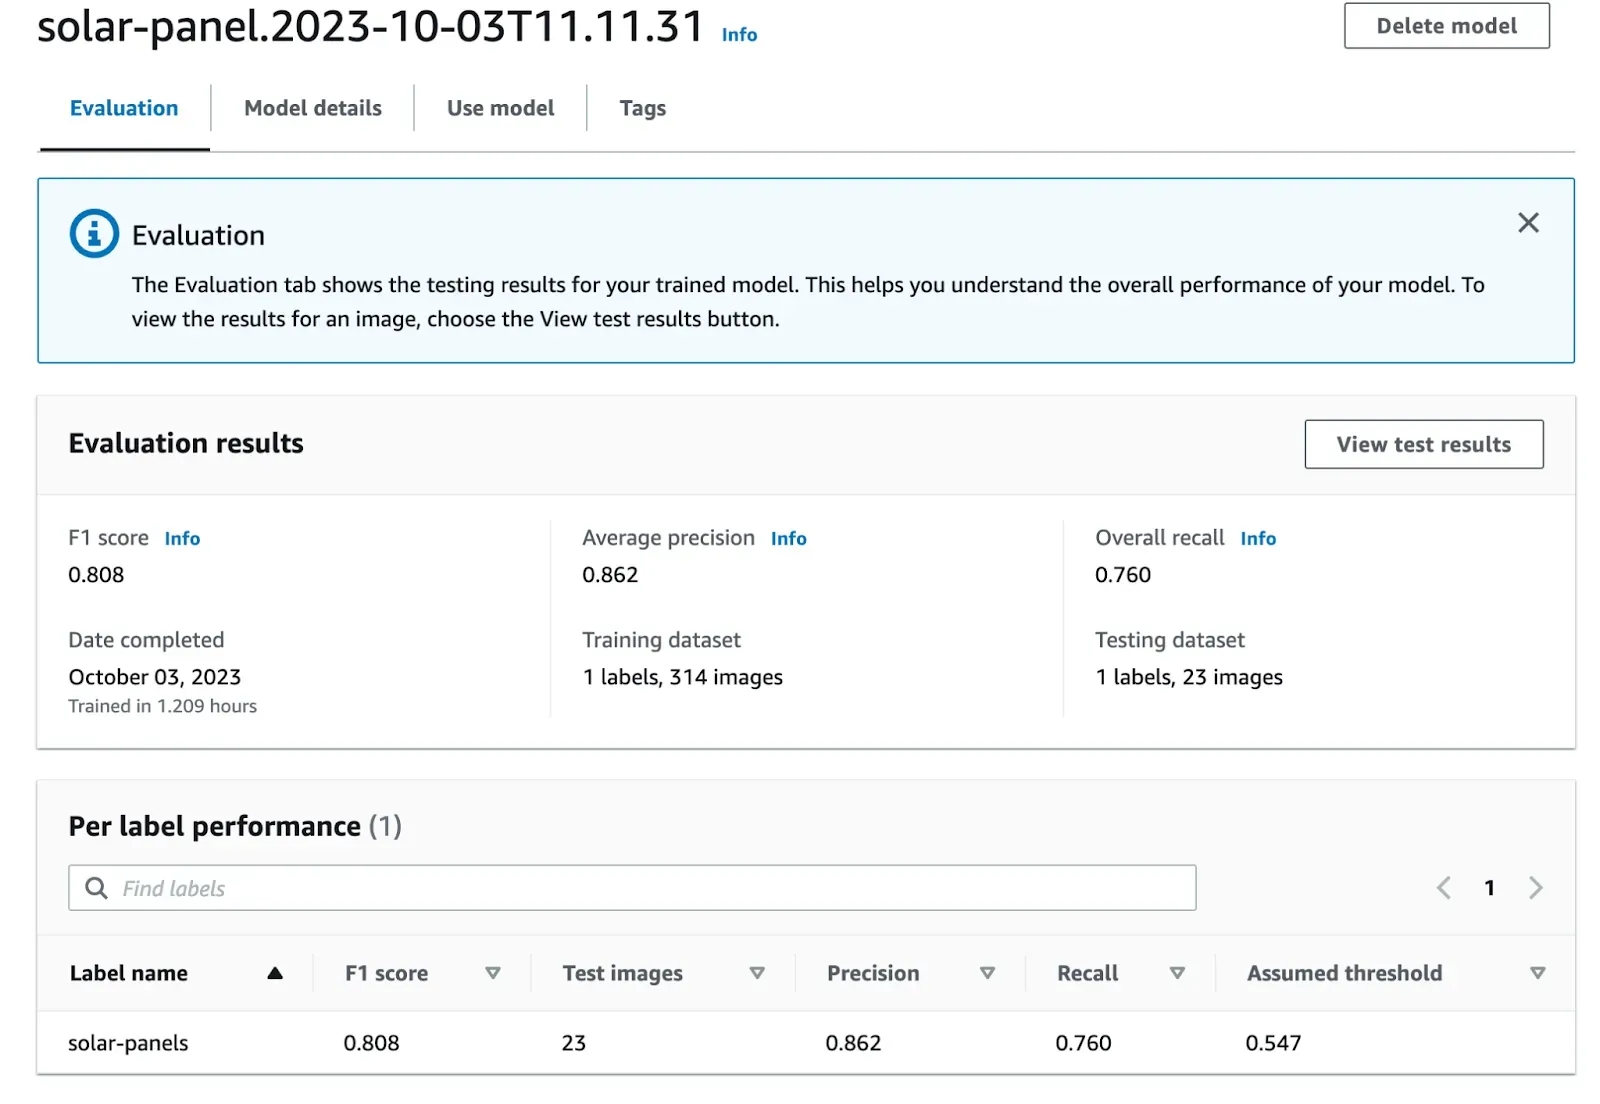
Once your model has been trained, you can view evaluation results in the Custom Labels dashboard. The evaluation results show F1 score, average precision, and recall all in aggregate, as well as at a class level.
To test and deploy your model, click the “Use model” tab and configure how many inference units you want. For testing, “1 inference unit” (the minimum) is recommended. Then, click “Start” to start deploying your model.
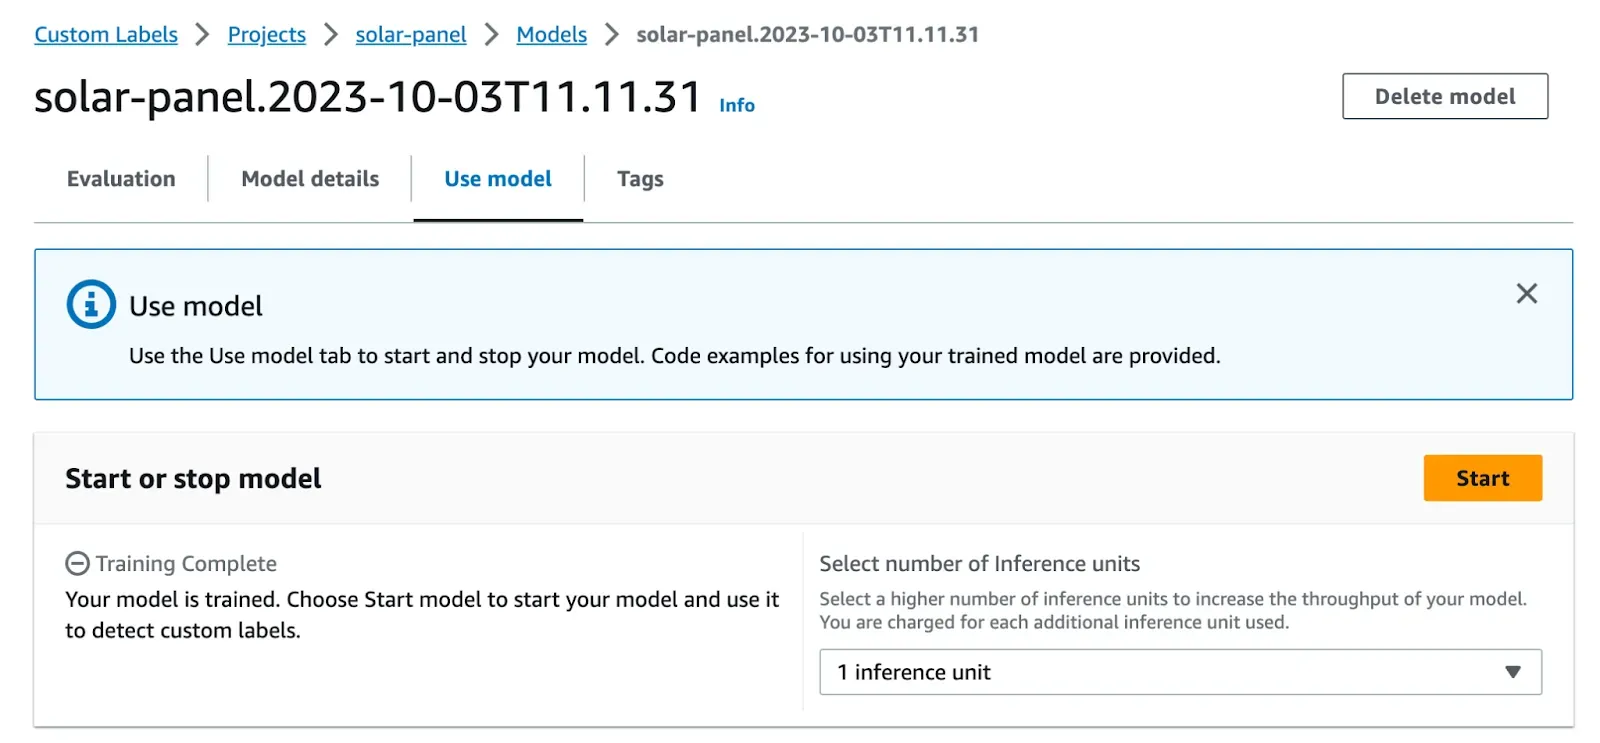
A confirmation modal will appear that notes you will incur running costs after your model has been deployed until you stop the model. When you are ready, click “Start” to start deploying your model.
Deploying your model can take 30 minutes or so, after which point you will be able to test your model.
Next Steps
Now that you have trained a computer vision model in AWS Rekognition, you can evaluate your model performance, make changes to your model if required, then think about model deployment.
Roboflow maintains an open source package called supervision with utilities for working with computer vision models. You can use supervision to filter predictions by a range of options (class, bounding box area, confidence, etc.), draw bounding boxes on images, and more.
To learn more about supervision, check out the supervision documentation.